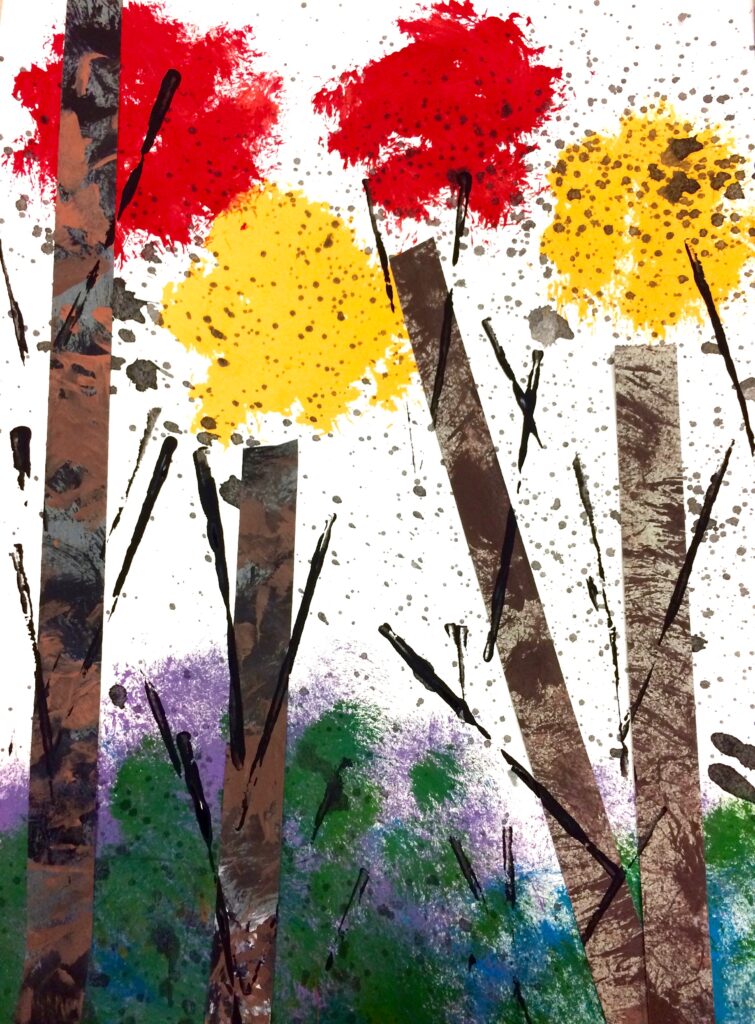
One of our favorite projects to create in the art studio are trees. This project consists of various materials and layers on paper. Allow 40 minutes to create these beautiful abstract forests.
Materials:
12 x 18 sulphite Paper at least #80
Tempera Paints- various colors
Various Brushes- large and small round
Cardboard for stamping branches
Painted Paper Strips
Glue, Scissors
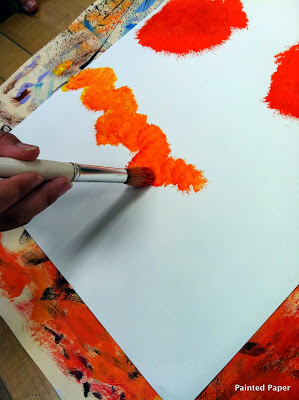
Step 1
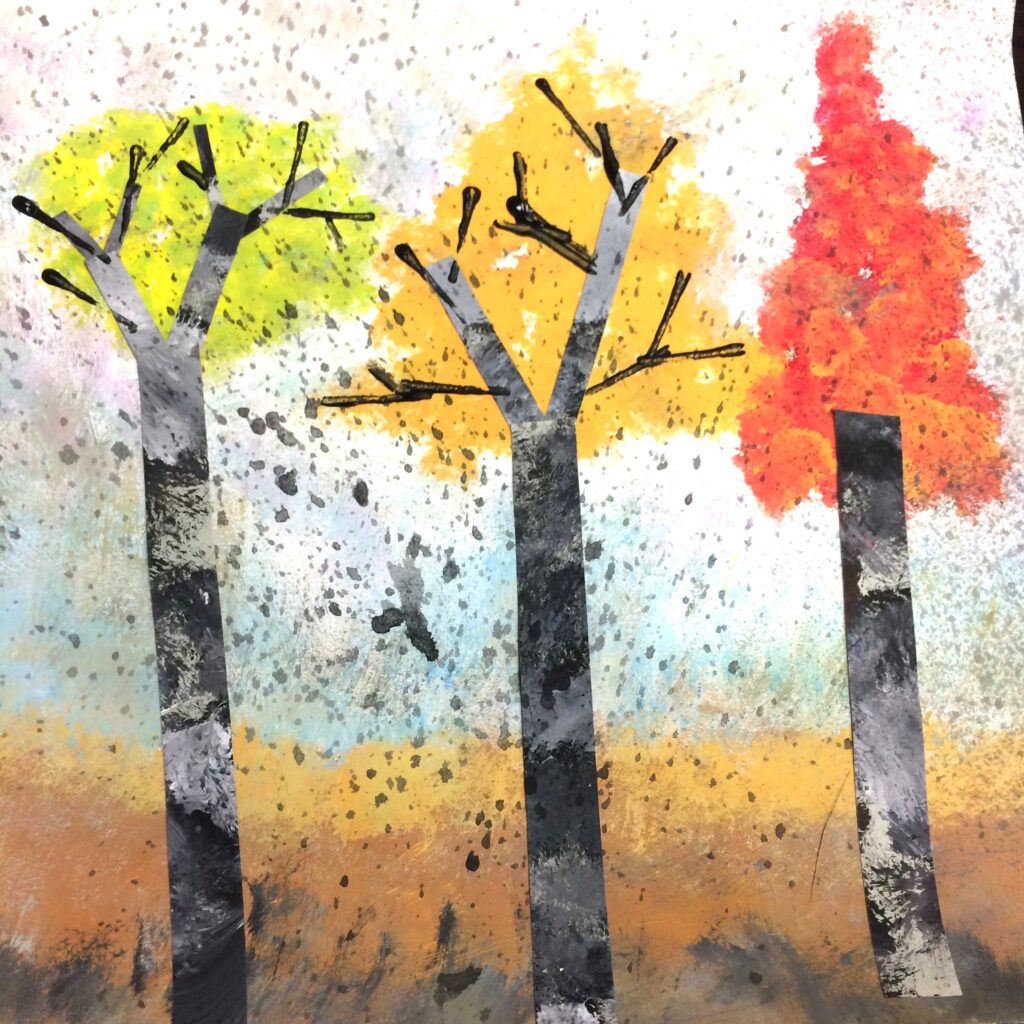
Using tempera paint, quickly paint the top area of the paper where tops of trees would be located – make sure not to use too much paint. I suggest using two different sets or groups of tree tops. Consider one larger set of tree tops in the foreground (using one color) and one medium-sized set of tree tops in the middle ground using another color.
Step 2
At the bottom of the paper, use three different tempera paint colors. Gently overlap each color to give the illusion that there is a forest way in the background.
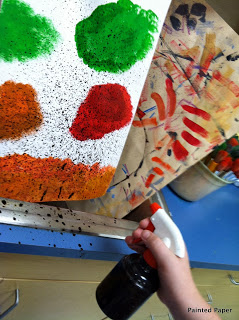
Optional: Consider using a spray bottle of watered down black tempera creates a texture look on paper.
Step 3
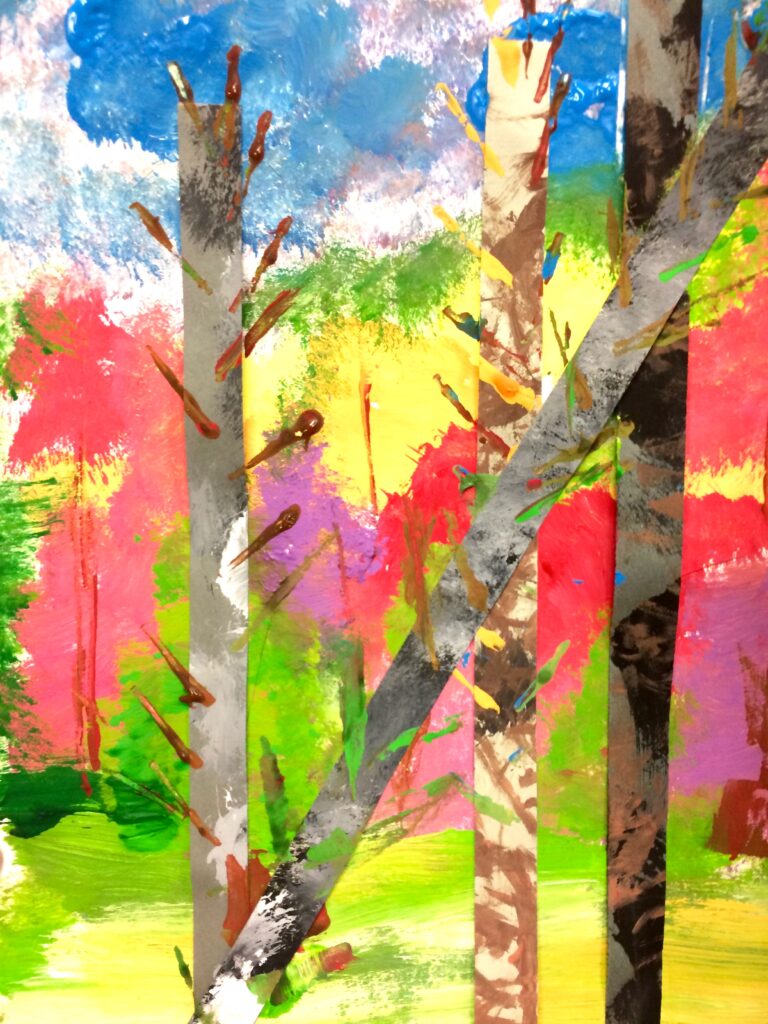
Glue down painted paper strips that resemble the trunks of the trees. These strips were pre-painted in a previous class. To make painted paper check out this blog post for some helpful tips.

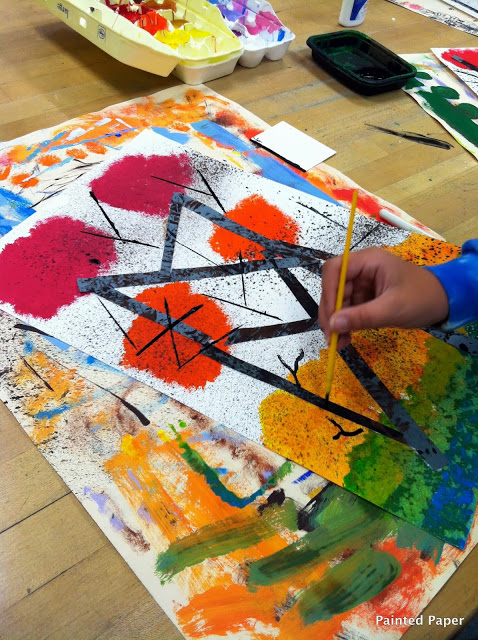
Using the edge of a small piece of cardboard, stamp lines with black tempera paint to represent branches on the thin trunks. Another option is to paint thin lines to create branches.
This is really easy to do and gives a great design element to the paintings.
Keep on Creating and enjoying the beauty of Autumn!

Leave a Reply