This was an interview I did a few years ago with the Jessica Balsley from the Art of Education. It pretty much sums up my teaching style and how I create my lessons.
When it comes to teaching “The Masters” most of us resort to sharing their most popular work, doing a quick project and calling it a day. Starry Night, anyone?
If you’ve had the chance to browse the popular blog Painted Paper Art you will notice just the opposite. Creative leader, Laura Lohmann has the ability to teach “The Masters” (techniques, art history, interdisciplinary connections – she does it all) in the most authentic way I have ever seen.
So, of course, I asked to pick her brain on this unique style of teaching to share with all of you. Thankfully, she said yes!
Laura’s philosophy can be boiled down to three big ideas:
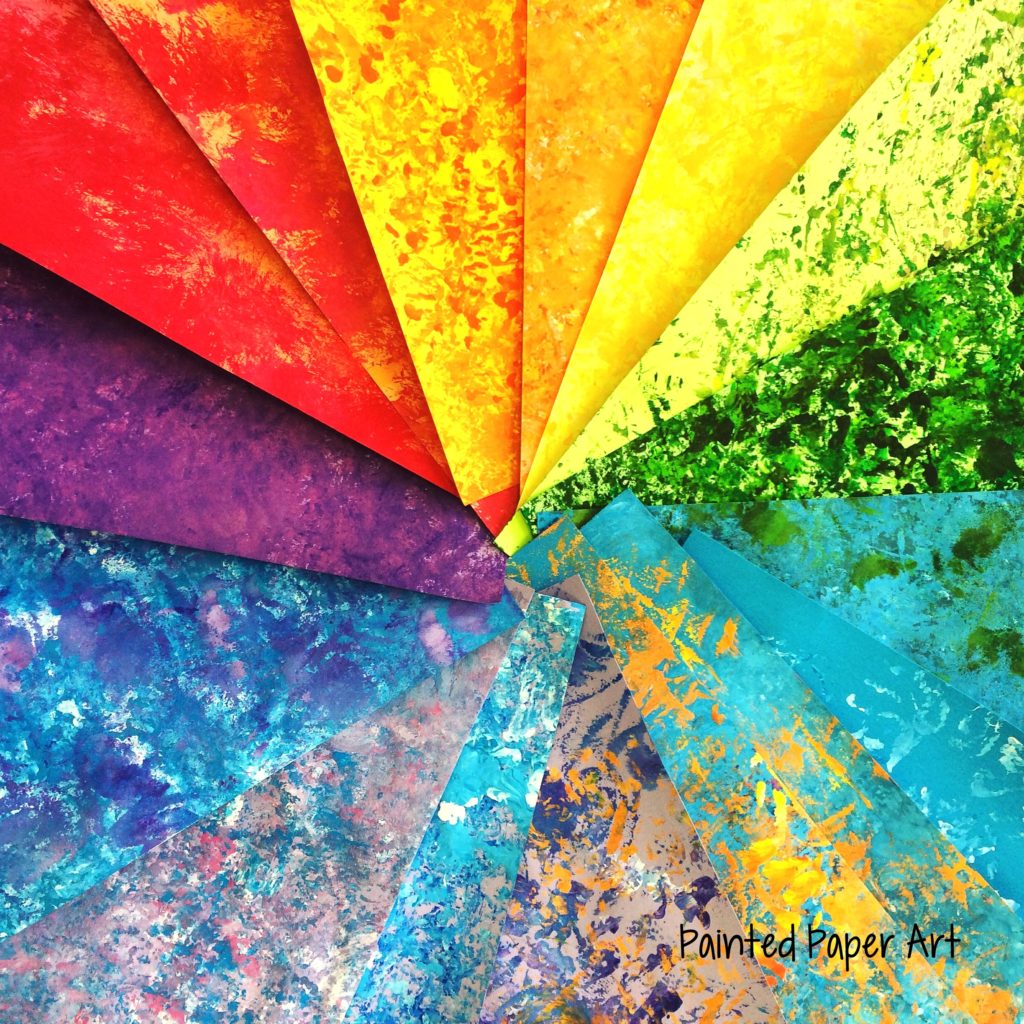
1. Painted Paper
The name of her blog says it all. A very large percentage of her classroom experiences are conducted with one medium — tempera paint. While the rest of you are running for the hills, Laura suggests we embrace it. The depth of color and range of effects you can get from layering paint on paper (quality tempera paint, that is) can’t be replaced. It just takes some really specific techniques to ensure students have success with this medium.
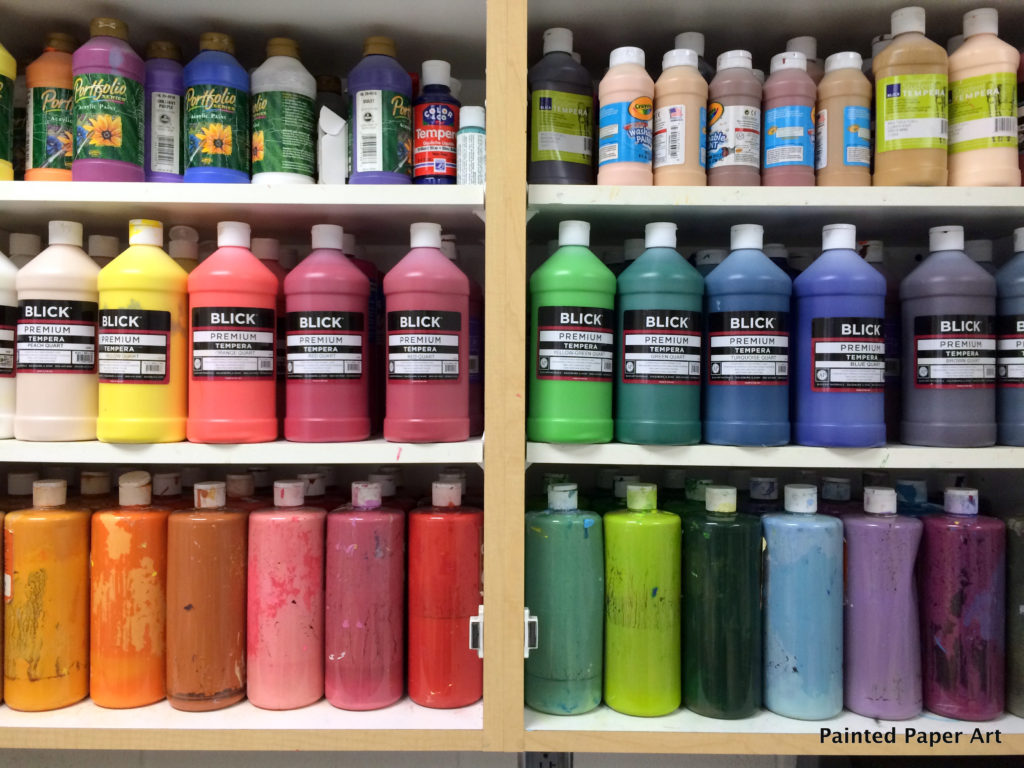
2. Quality Materials
To obtain vivid colors, Laura suggests using premium tempera, NOT washable tempera. “The washable tempera is not opaque,” says Laura, “and that is where a lot of people get discouraged because it gets muddy.” Of course, you will pay a little bit more, but Laura claims that it lasts longer and we believe her!
3. Control and Organization
Laura previously taught on a cart and had to be very organized if she wanted to use paint in the classroom. “I set up the classroom in a scientific way and taught students to dispense materials carefully, almost as if prepping plates for a restaurant.” Two strategies she still can’t live without are dispensing small amounts of paint in egg cartons or plastic containers and using large 12″x18″ sheets of tagboard as placemats under all artwork.
So, what techniques make up this work, and how do The Masters play into it all? We aren’t done yet.
Here are 8 classic planning and painting techniques from The Masters, as recommended by Laura.
1. Work in themes.
“I personally like an overall theme because when I have grades 1-5, all of my students study the same artists and my visuals around my classroom are already out. They are all seeing the same thing and I can really immerse my classroom.” Not only is the same theme explored school-wide, but smaller themes that go deeper within each artist are also explored.
2. Focus on lesser-known works.
I love this tip. It should be stamped on every art teacher’s diploma at graduation time.
Traditionally at the elementary level, we choose the most famous artwork from, let’s say, Van Gogh or Monet, make our students memorize it, copy it, and move on, never to explore the artist again. Why do we do this? Maybe we should rethink it, like Laura. A theme allows her to focus not only on the most famous work, but also on some of the lesser-known studies as well. This is full immersion for her students.
“We research and get to know everything about the artists. Images from every period of work are displayed. We cover where they lived, what they ate, who they were friends with, and what inspired them.”
Which brings us to #3.
3. Obtain great resources.
Laura mentions her love of art ed resources, and many of us can relate. She says, “I basically borrow, purchase and find every single resource I can on the artist.” From pop-up books of Monet’s home and garden to videos, YouTube snippets, and coffee table books, students have a rich library from which to pull inspiration. “My own vacations are also a wonderful inspiration for the students,” Laura mentions.
4. Bring in other disciplines beyond art history.
Bringing in other disciplines to deepen students’ knowledge keeps teaching The Masters from becoming cliché. For example, when teaching Monet, Laura brings in science as students learn about the different types of water lilies, as well as the different seasons in which he painted. She incorporates math as students learn about the building plans for his pond and home. She also brings in other life experiences such as telling students about the recipes he cooked.
From here, students get to work.
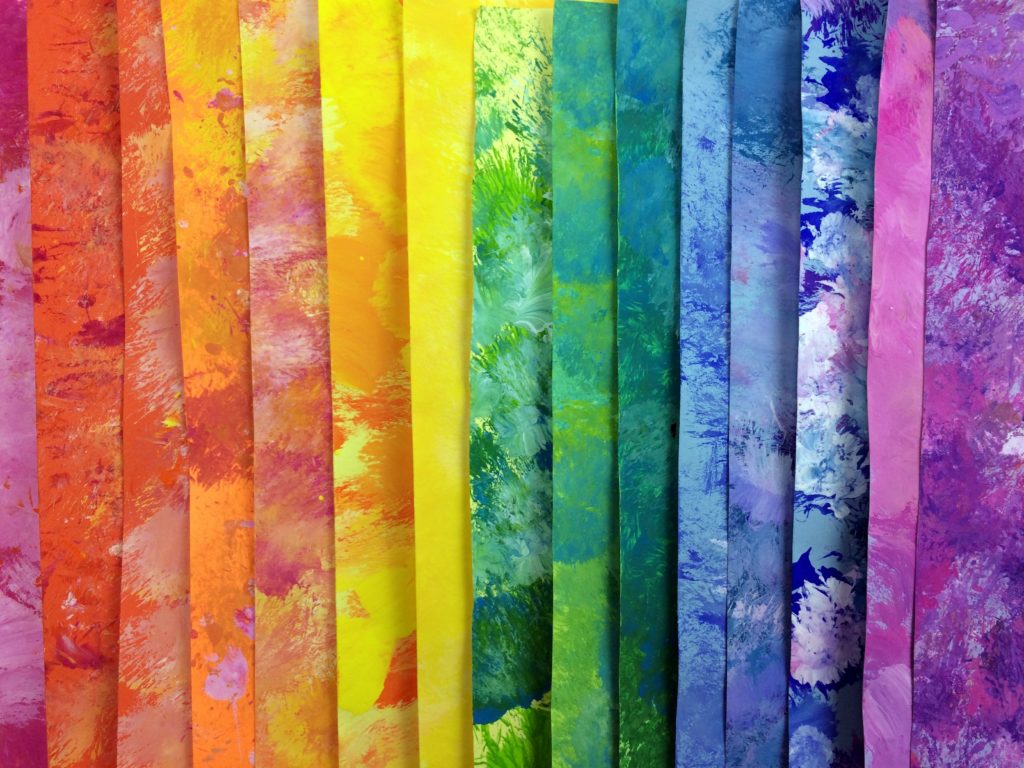
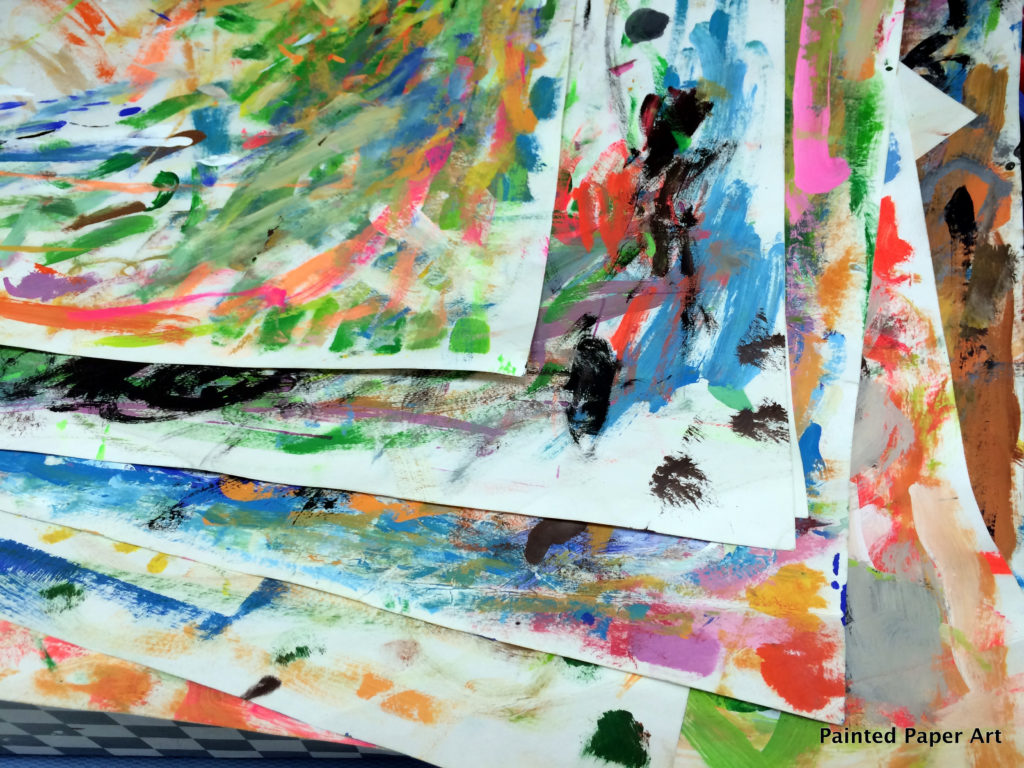
5. Have students create underpaintings, or as Laura calls it, “painted paper.”
Laura chooses to pre-paint plain (boring) construction paper with analogous colors BEFORE students start creating on the paper. By adding paint to the paper first, it makes the final creation have more depth and come alive. Students make a huge batch of painted paper the last week of school so they even have the infamous ‘Painted Paper’ to start the year off on Day 1.
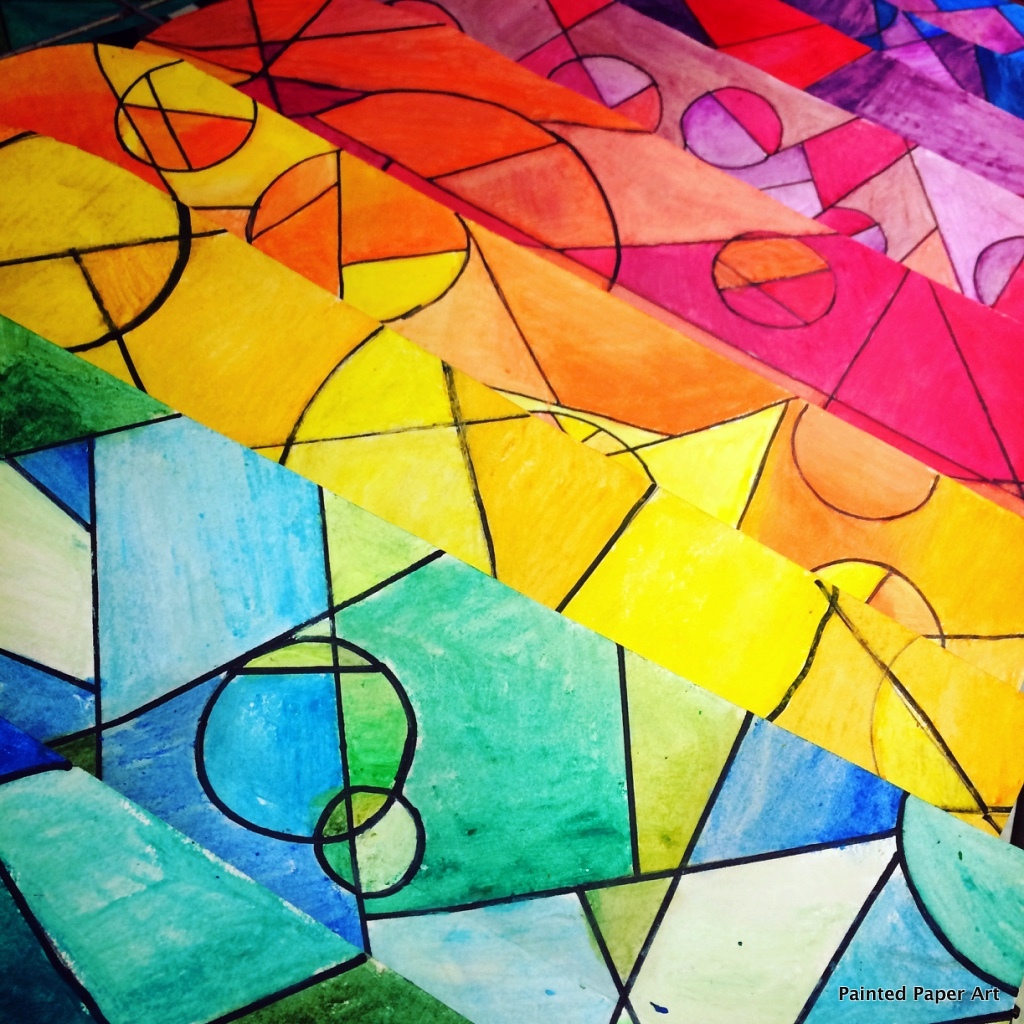
6. Layer techniques.
There are so many fun ways to layer with multiple materials. Laura’s students have been known to drag oil pastels around the paper and then paint on top just for the texture it creates. Sometimes they start with pastels, then painted paper, then move on to the final details. “Having at least 3 layers of media creates the richest artwork,” Laura advises.
Just think about it. The great masters did this!
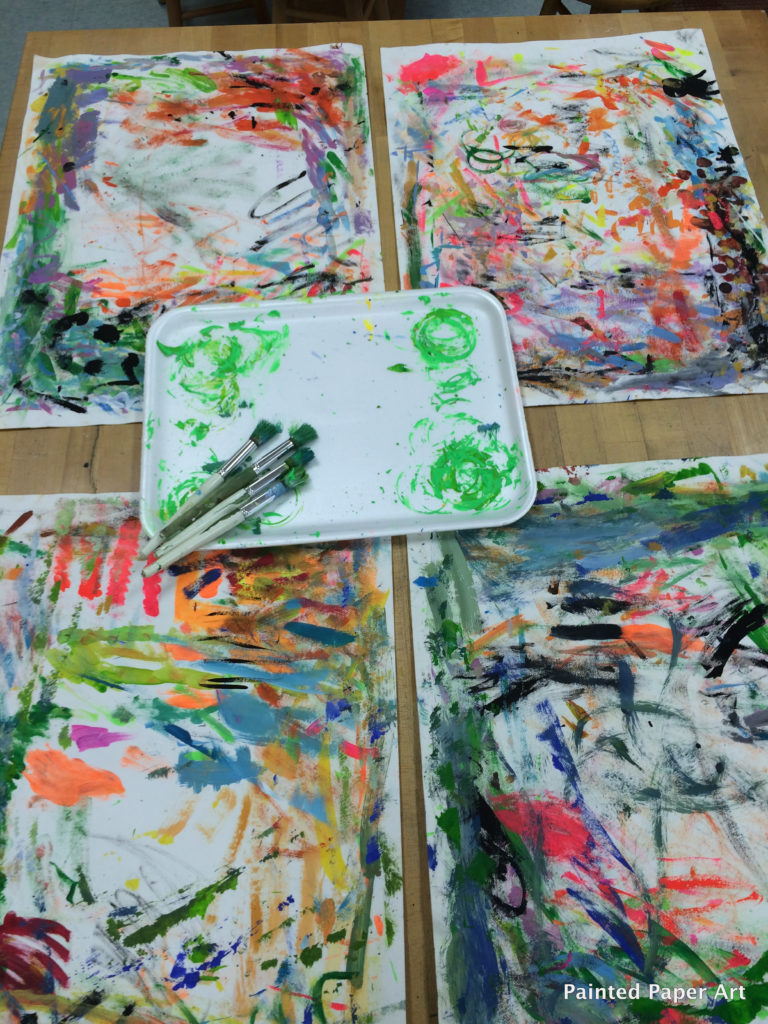
One last tip to create layers is to avoid rinsing the brush when painting. This gradually builds a richness of color. To ‘clean’ the brush between colors, students simply paint it off on the placemats, which by the end of the year become painted papers in themselves. Genius!
7. Keep technique at the forefront.
We can’t talk ‘The Masters’ without mentioning good, solid technique. Little things, such as using materials wisely, using a paintbrush properly, and knowing when to stop, make a big difference. Don’t forget to make good technique an important part of every lesson!
People have always told Laura “I would never use tempera paint – you must be crazy!” However, teaching students proper use and techniques will lead to amazing results.
8. Incorporate movement and active learning.
They were active participants in their lives and in their work. They went to cafes, painted outdoors ‘en plein air’ and immersed themselves in the subjects and surroundings for constant inspiration. How often do we bring this aspect into the art room?
Thank you, Laura, for taking the time to share your brilliance with us!
Jessica Balsley
Jessica Balsley is the Founder and President at AOE. She is passionate about helping art teachers enhance their lives and careers through relevant professional development.
Helpful Tip From Laura’s Easel
One last tip to create layers is to avoid rinsing the brush when painting. This gradually builds a richness of color. To ‘clean’ the brush between colors, students simply paint it off on the placemats, which by the end of the year become painted papers in themselves.

Thank you for sharing this. I enjoy reading about your process and feel simultaneously inspired and validated as a visual artist who teaches PK-5 in a small private school in Philadelphia. You are a teacher’s teacher; I am grateful to learn from you. 🙂