Inspiration
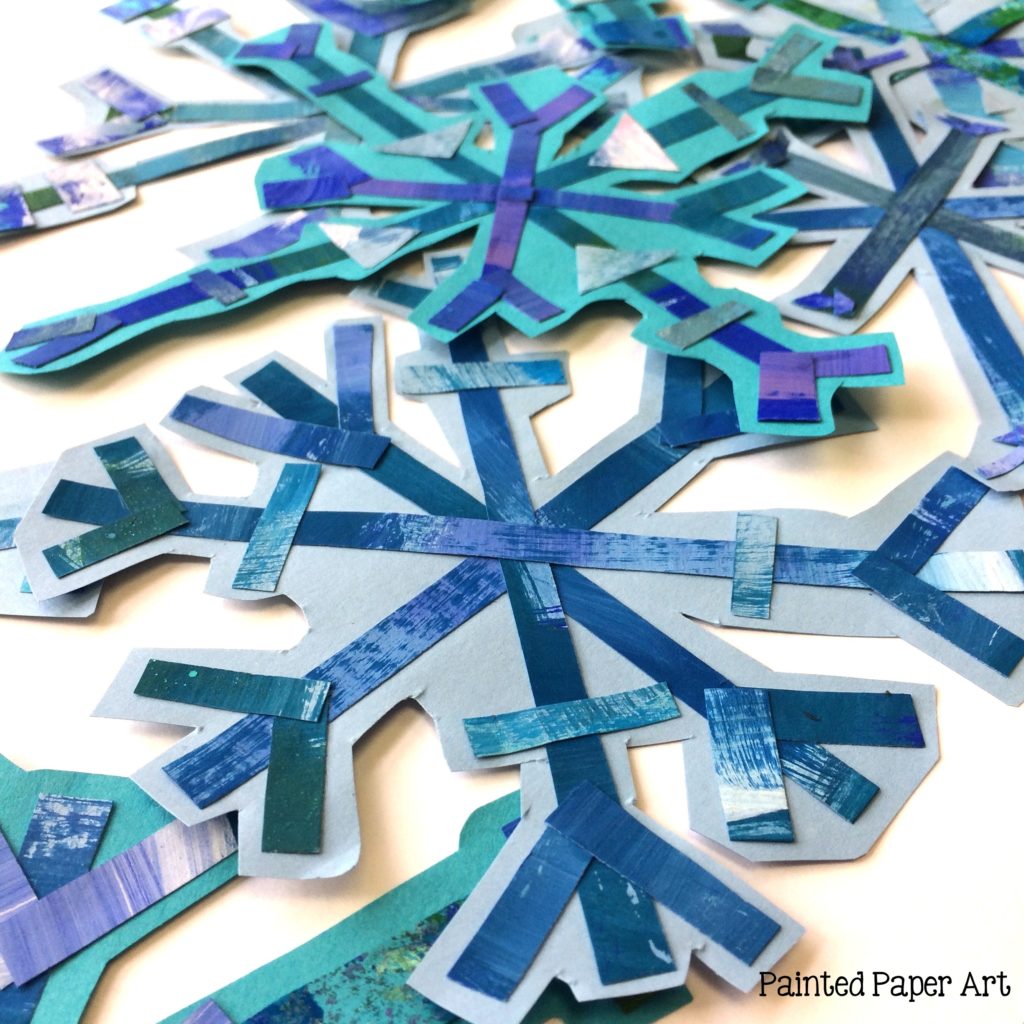
Why not have your little artists create beautiful snowflakes using a fun process of creating painted paper, while learning about the unique characteristics of snowflakes.
Did you know a snowflake starts as a tiny grain of dust or pollen floating in a cloud. Water vapor from the air sticks to the grain and freezes, forming into a tiny hexagonal crystal. From there, more vapor condenses on the crystal as it travels to the ground, and the snowflake’s “arms” take shape.

Supplies Needed:
• Construction Paper
• Painted Paper – Tempera or Acrylic Paint on Paper
• Glue, Scissors
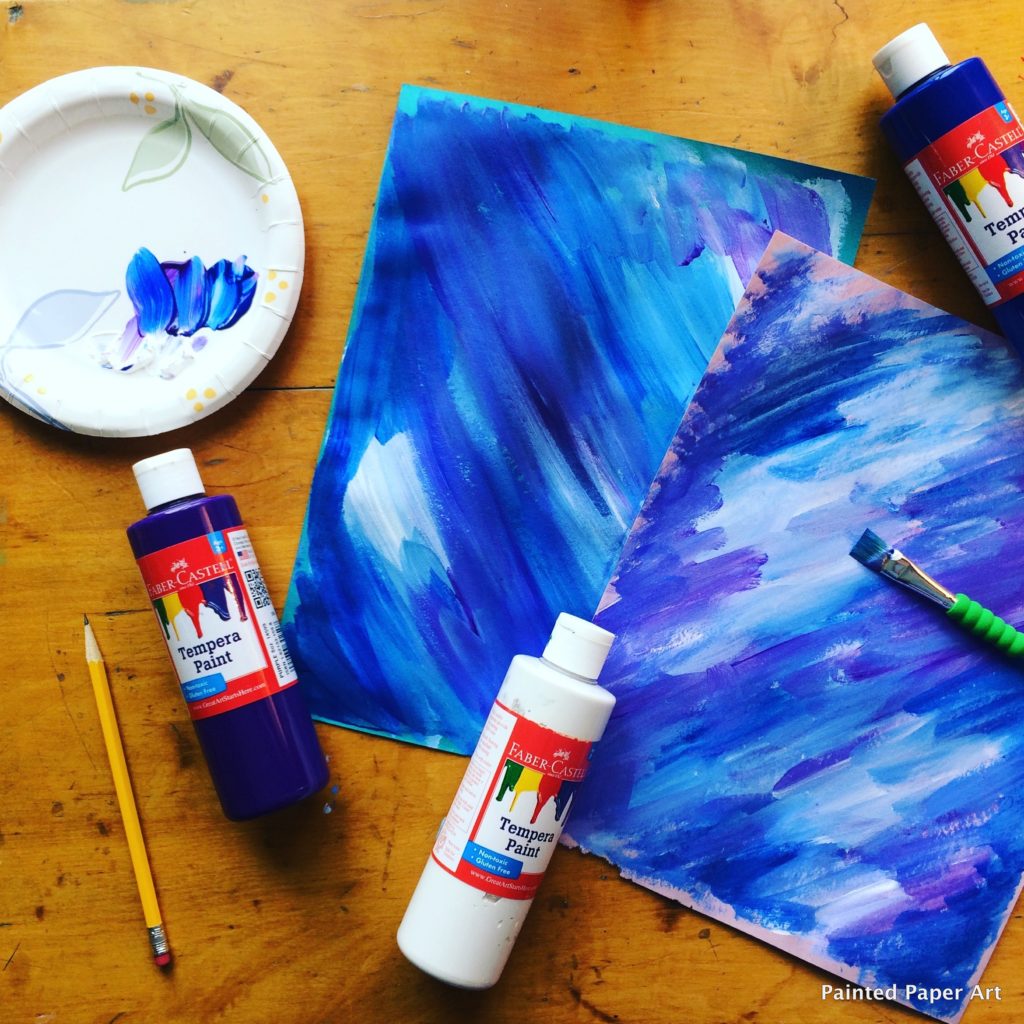
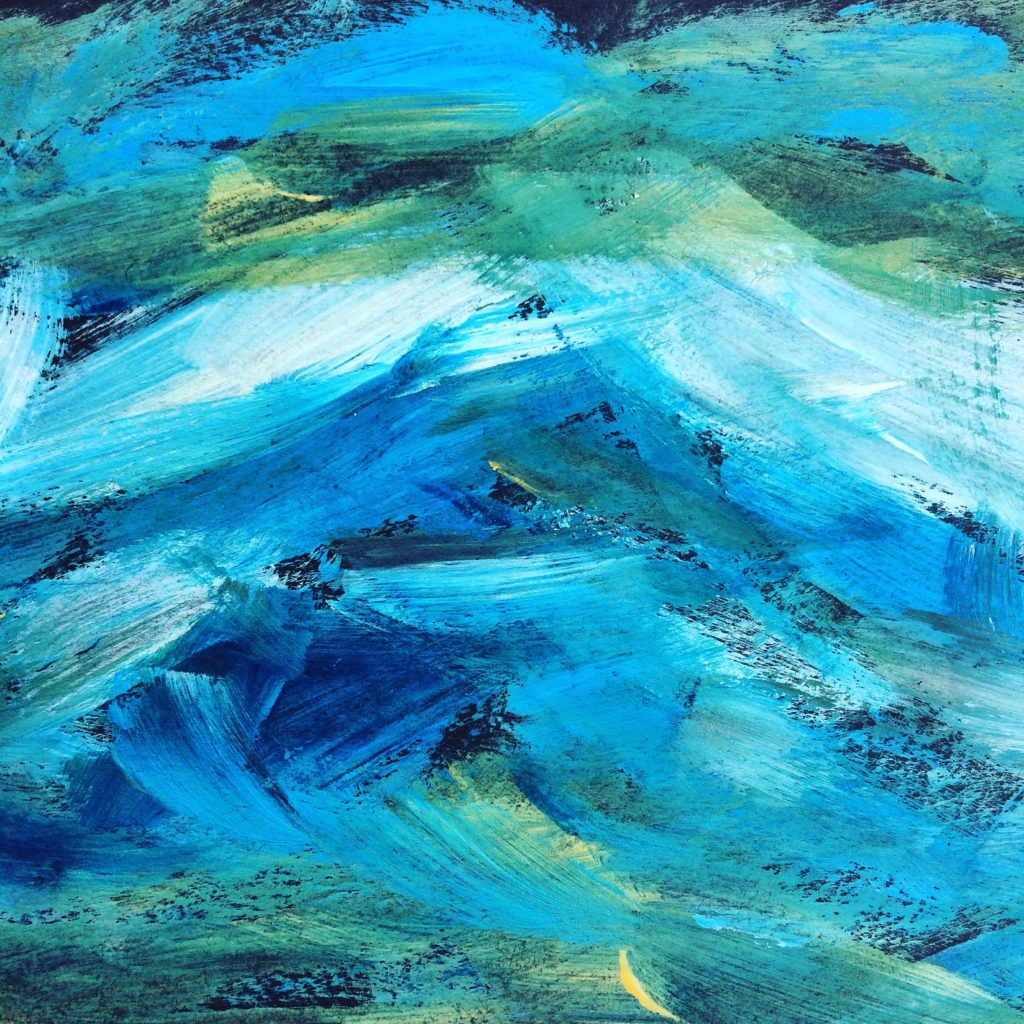
Step One: Creating Painted Paper
Start by creating painted paper. This is such a fun step!
Check out how we create painted paper in our art studio. Let Dry overnight.
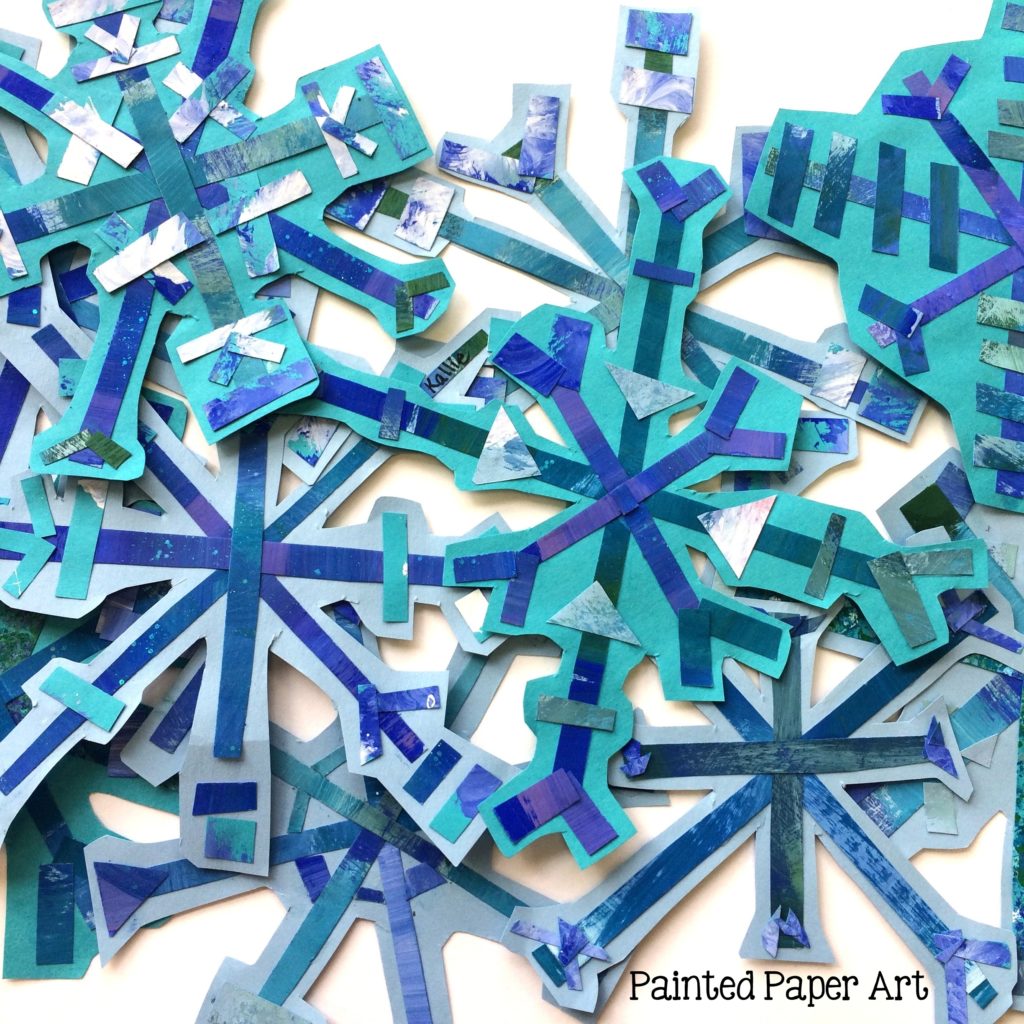
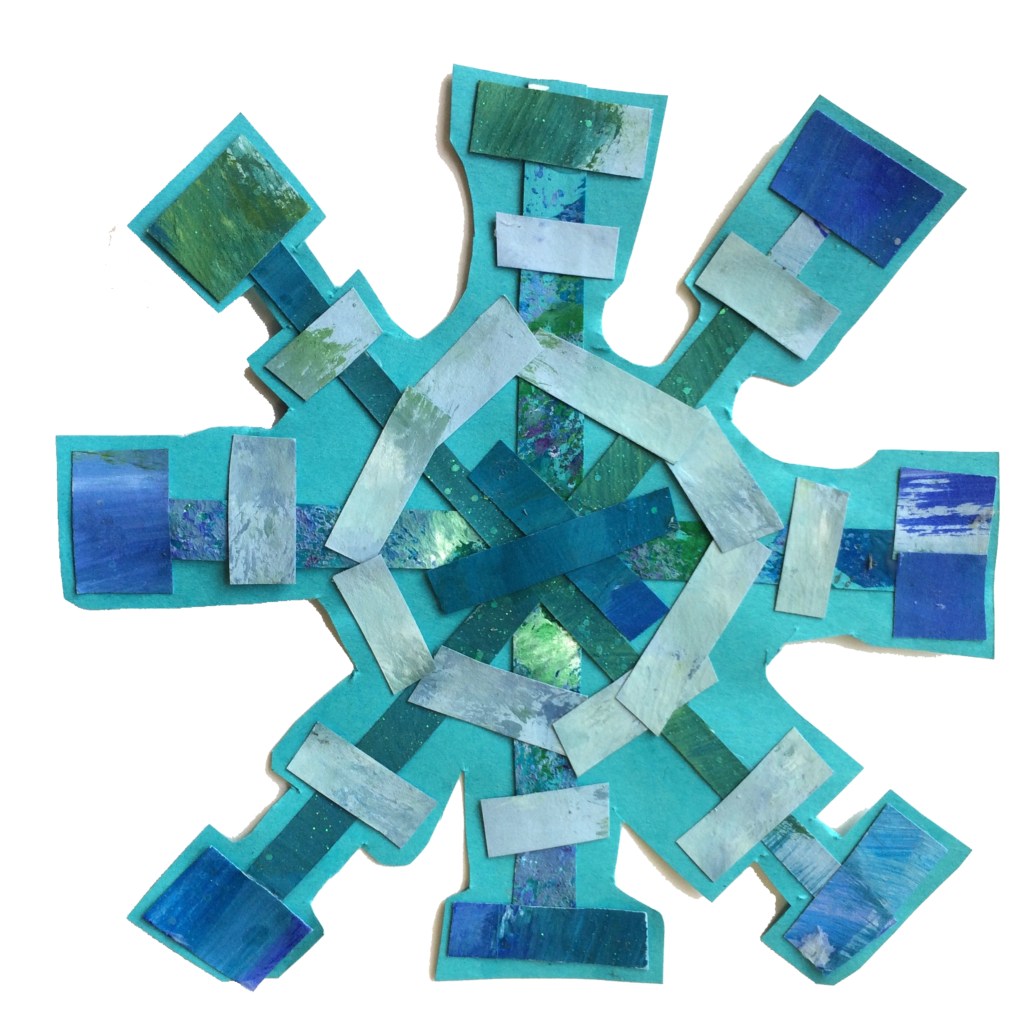
Step Two: Assembling the Snowflake
Use a square piece of construction paper. Cut painted paper into strips.
1. Use 2 long strips of painted paper and create a “+” in the center of the construction paper. Next, add a “X” over the “+” strips. Once strips are laid out, glue down onto the construction paper. 2. Cut additional strips into shorter pieces and glue down at the ends of the “X” and “+” longer strips creating a radiating pattern. Once the strips of paper are glued down, cut around the snowflake pattern leaving a border of the construction paper around the painted paper strips.

Keep on Creating!

When you are gluing your painted paper collages, do you use liquid glue? How do you get the paper to stick solidly? When I have my studets dab dots of glue on their paper, it inevitably leaks and gets sticky. Any tips? Thank you for all of your inspiring art and advice!
I use a sponge placed in a container that has glue in it. I tap my pieces of paper on the sponge it works amazing for little ones. No spills. 🙂