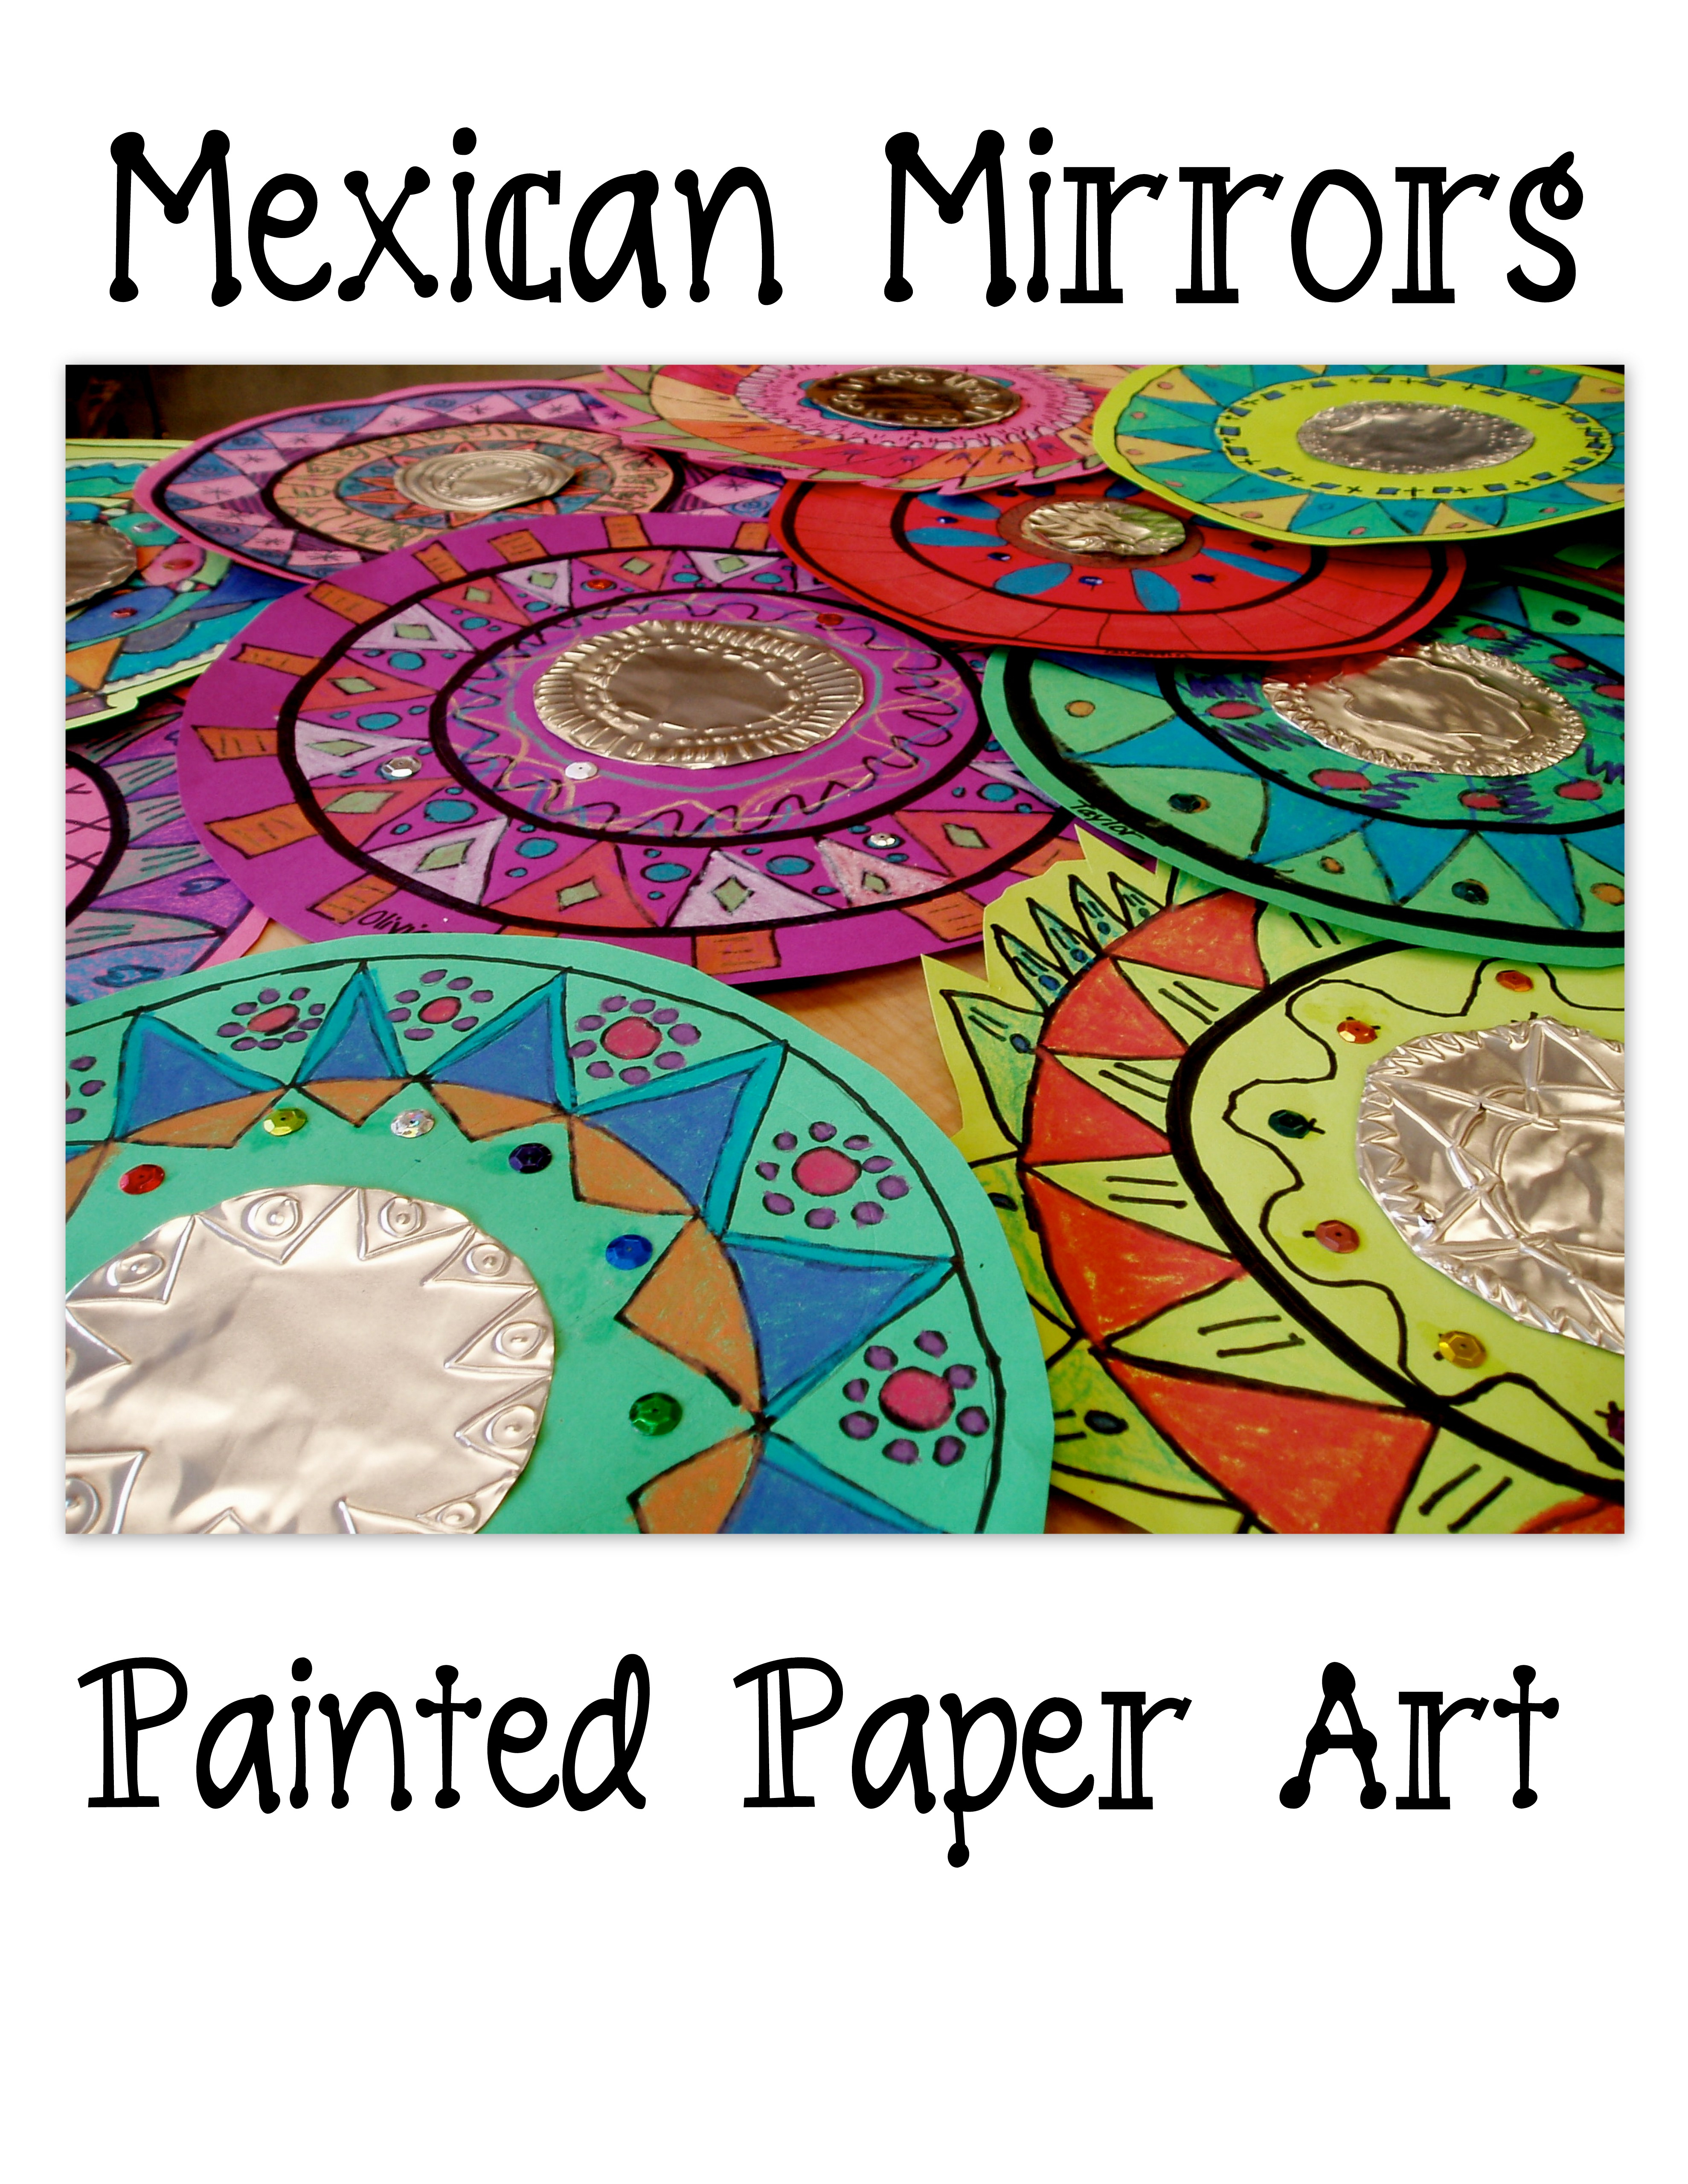
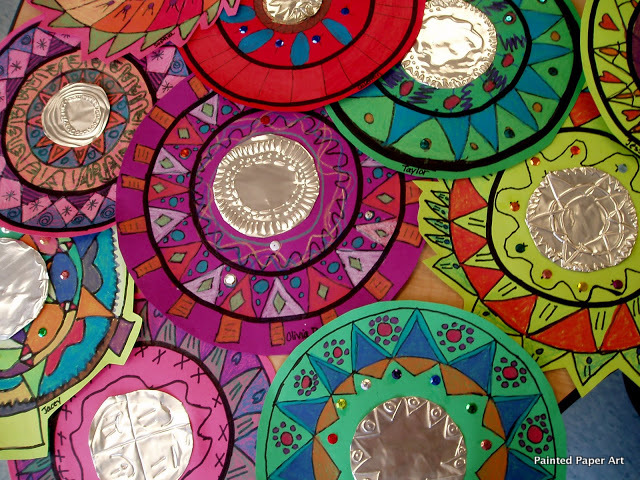
 We love creating a Mexican Marketplace in our school and including different items sold at the marketplace. Decorative mirrors are commonly found in Mexico at the marketplace and are usually made from tin with a mirror in the middle. My 4th grade students did a fantastic job creating radial designs on their folk art mirrors inspired by the ones sold at the market. Totally terrific! Totally fun!
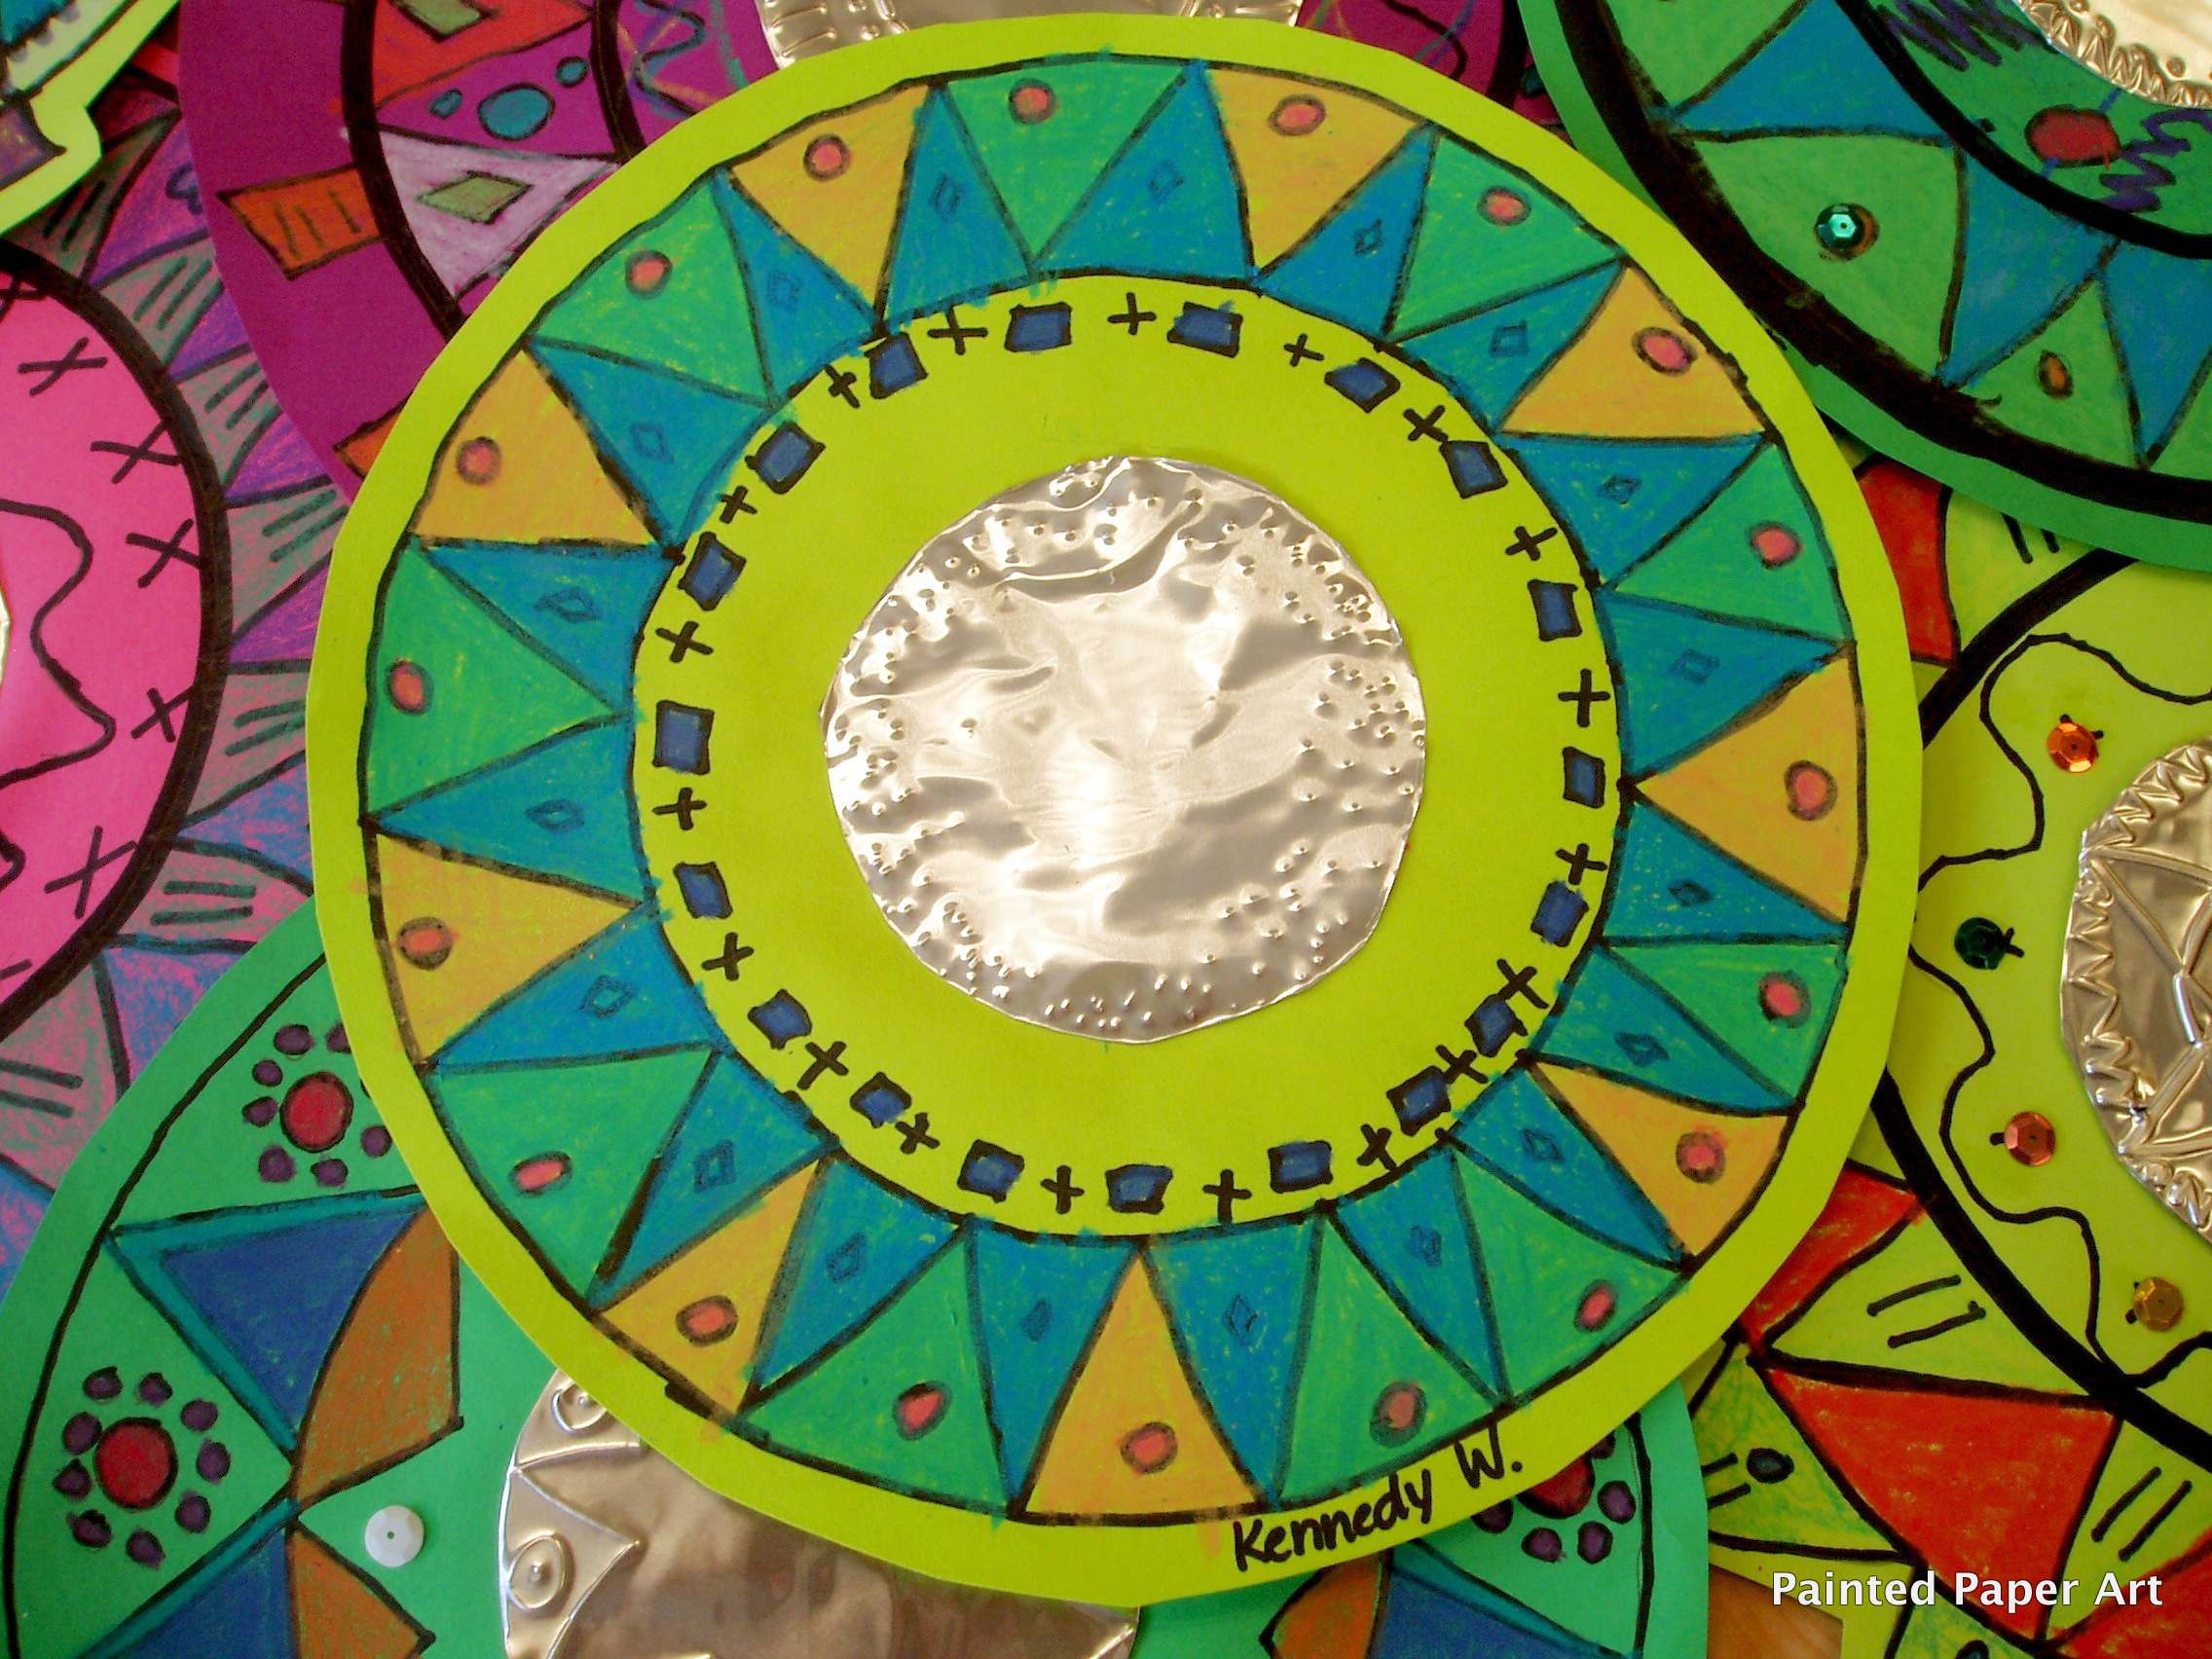
1. Use 12″ x 12″ construction paper and a pencil, create a large circle or use a circle template. With a smaller circle template, we used a small paper plate, trace another circle inside the large circle. Add fun patterns around the circles.
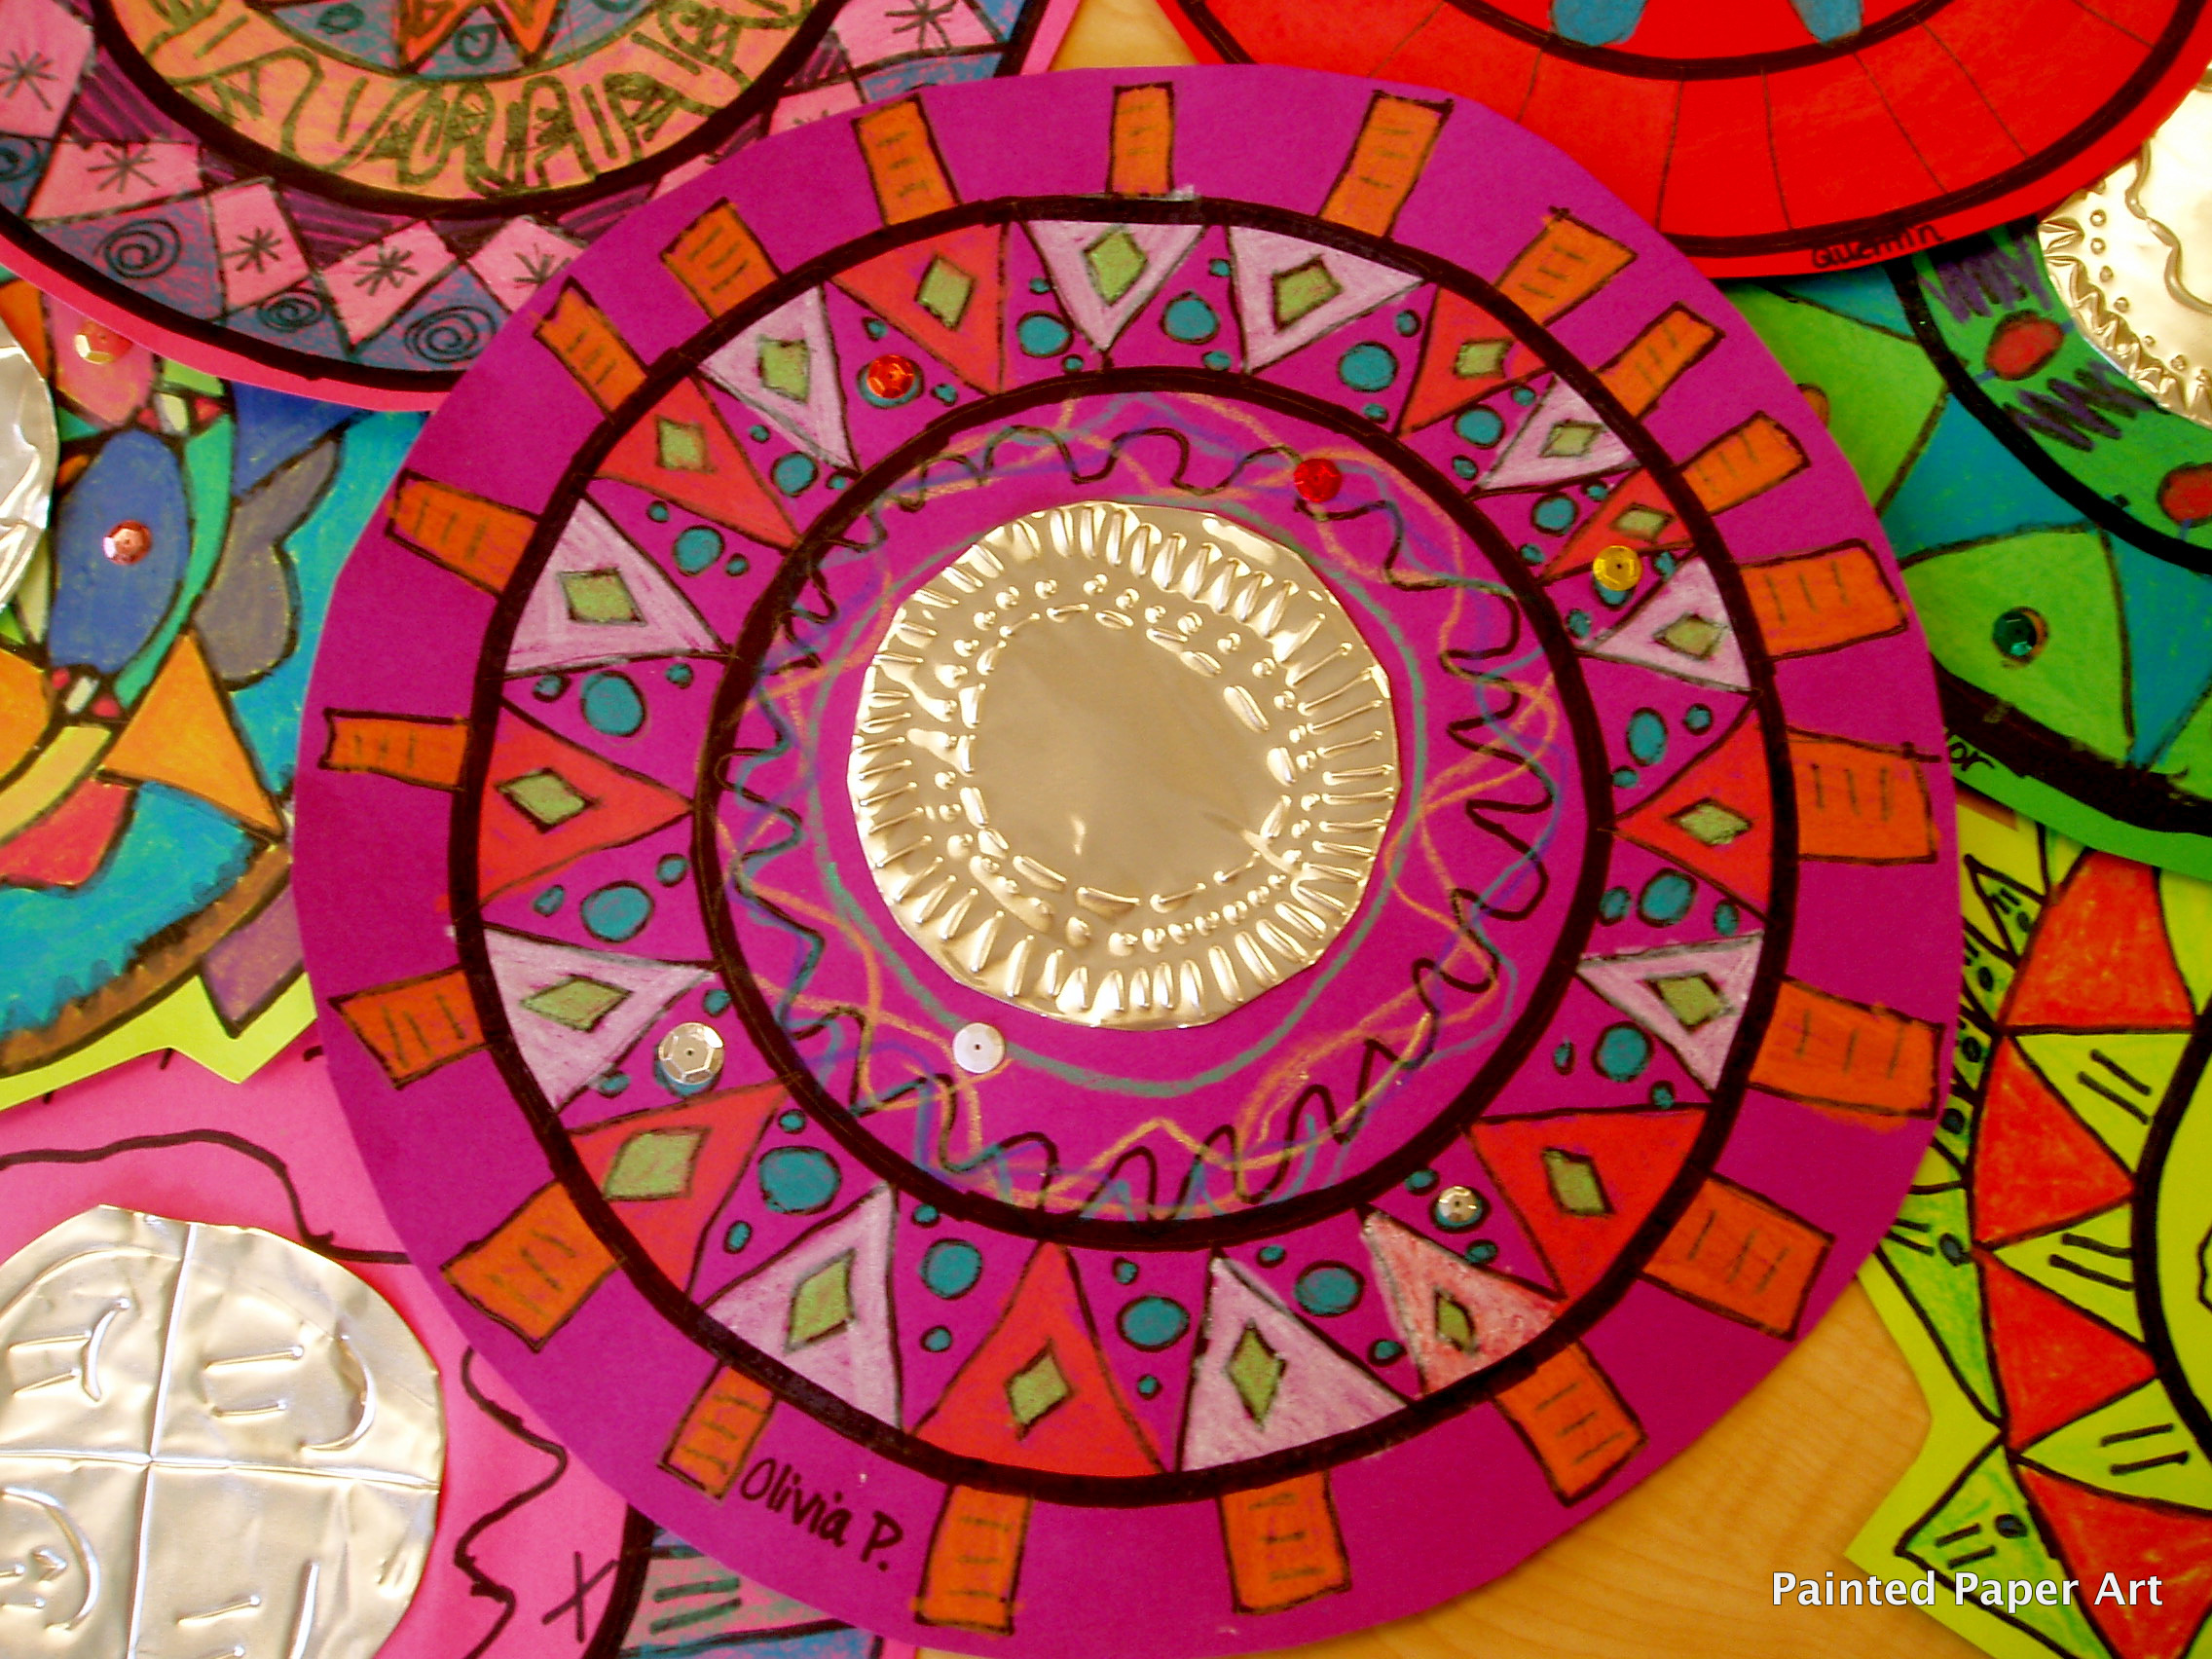
2. Outline with a sharpie and color in the shapes with Crayola’s construction paper crayons. Make sure to fill in the shapes completely.
~MIRROR~
3. To make a mirror, use the silver side of 3″ x 3″ copper tooling and create patterns with a stylus or a pencil. Make sure you have a newspaper under the foil to pop the designs outward on the foil.
4. Glue down the mirror with tacky glue, then add sequins.
Display together or separately.
Make sure you follow along for more Art of Mexico.
Keep on Creating!
Laura
If copper tooling isn’t available. would aluminum foil be a suitable substitute?
Yes, I would purchase the heavy duty foil. 🙂
Those are really beautiful!
Love it. Great project for teaching radial balance! Thank you!
Do you think 2nd grade is capable of doing as great a job as these? Yours came out beautiful. This is my 1st year and I think this would make a graddy lesson on line, shape, and pattern.
I would definitely try it out. Maybe use rulers for straight lines, buttons for circles etc. Happy Creating! 🙂
Great love the pictures I did them they are great and a good project for your students.
Same here they are great!!!!!!!!!!!
Laura, In your video you talk about templates or stencils, are those here somewhere? I know in the directions (and can figure out) to use something to trace around, but just curious if they were here and just hiding. I can’t wait for my artists to try this!
Hi Corrie, I just had the students use butter lids and paper plates for templates. 🙂 It helped with eliminating frustrations of creating a circle.
Question which time period would you say the began making items like these for the market places…. ? Our art program goes along with different time periods… right now we are in ancient….
I would connect it to Aztec and Mayan. 🙂
Hello – so excited to these with my 6th graders. Did you precut the copper tooling or have the kids trace and cut? Use a template?
Thank you!
Hello, Thanks for stopping by! I had the students trace and cut them out.