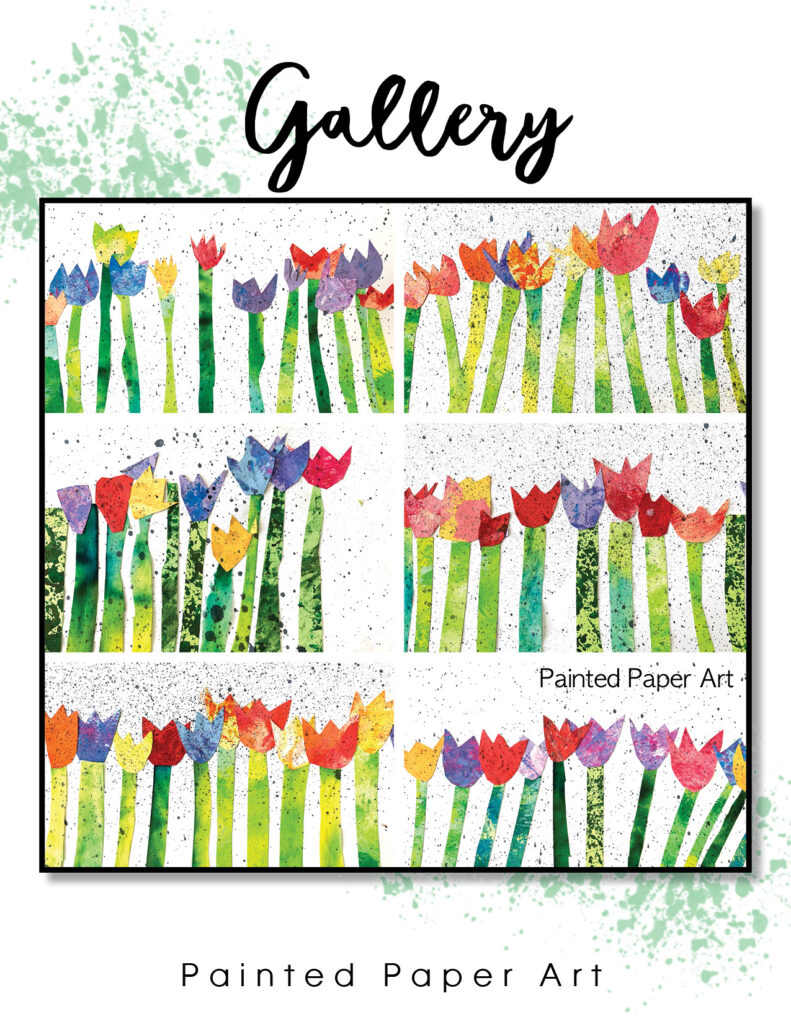
The warmth of a sunny spring day brings out all of Mother Nature’s beauties. Celebrate spring by creating these delightful painted paper tulip gardens.
Supplies Needed

- White drawing paper (90# heavyweight)
- Pencil
- Black liquid watercolor in a spray bottle
- Square pieces of painted paper in various colors for tops of flowers
- Strips of green painted paper for stems
- Glue sponges
- Scissors
Creating the Stems

Use previously painted paper in shades of green, cut into thin strips. Gently dip into moistened glue sponges and apply at the bottom of a horizontally positioned piece of white drawing paper. Need to make painted paper? Check out the directions here
Adding the Tulip Tops

On the back of previously painted paper, cut into small squares, draw a “u” with a “w” on top. Make sure to use the entire piece of square paper so that you get large tulip tops to glue onto the stem. When you have your tulips cut out, tap the tulip top with the painted side up into the glue sponge. This will hold the tops down on top of the green stems. Overlap your flowers for an interesting look.

Adding the Sprinkles
With black liquid water color, spray lightly across the tulip garden to give added texture and dimension.
Simple techniques such as liquid watercolor in a spray bottle adds a creative flair.


Keep on Creating!


I have not had success with using a spray bottle for this effect. It usually drips big drops along the way. Any insight ??
Spray into a box or sink first then onto projects. 🙂
I just came across this project via Pinterest and it’s gorgeous. I am going to use this for my kindergarteners’ Mother’s Day cards. Thanks for the inspiration
Please explain the glue sponge.
A container with a sponge inside then drizzle glue on the sponge. Dip pieces of paper on the glue filled sponge.