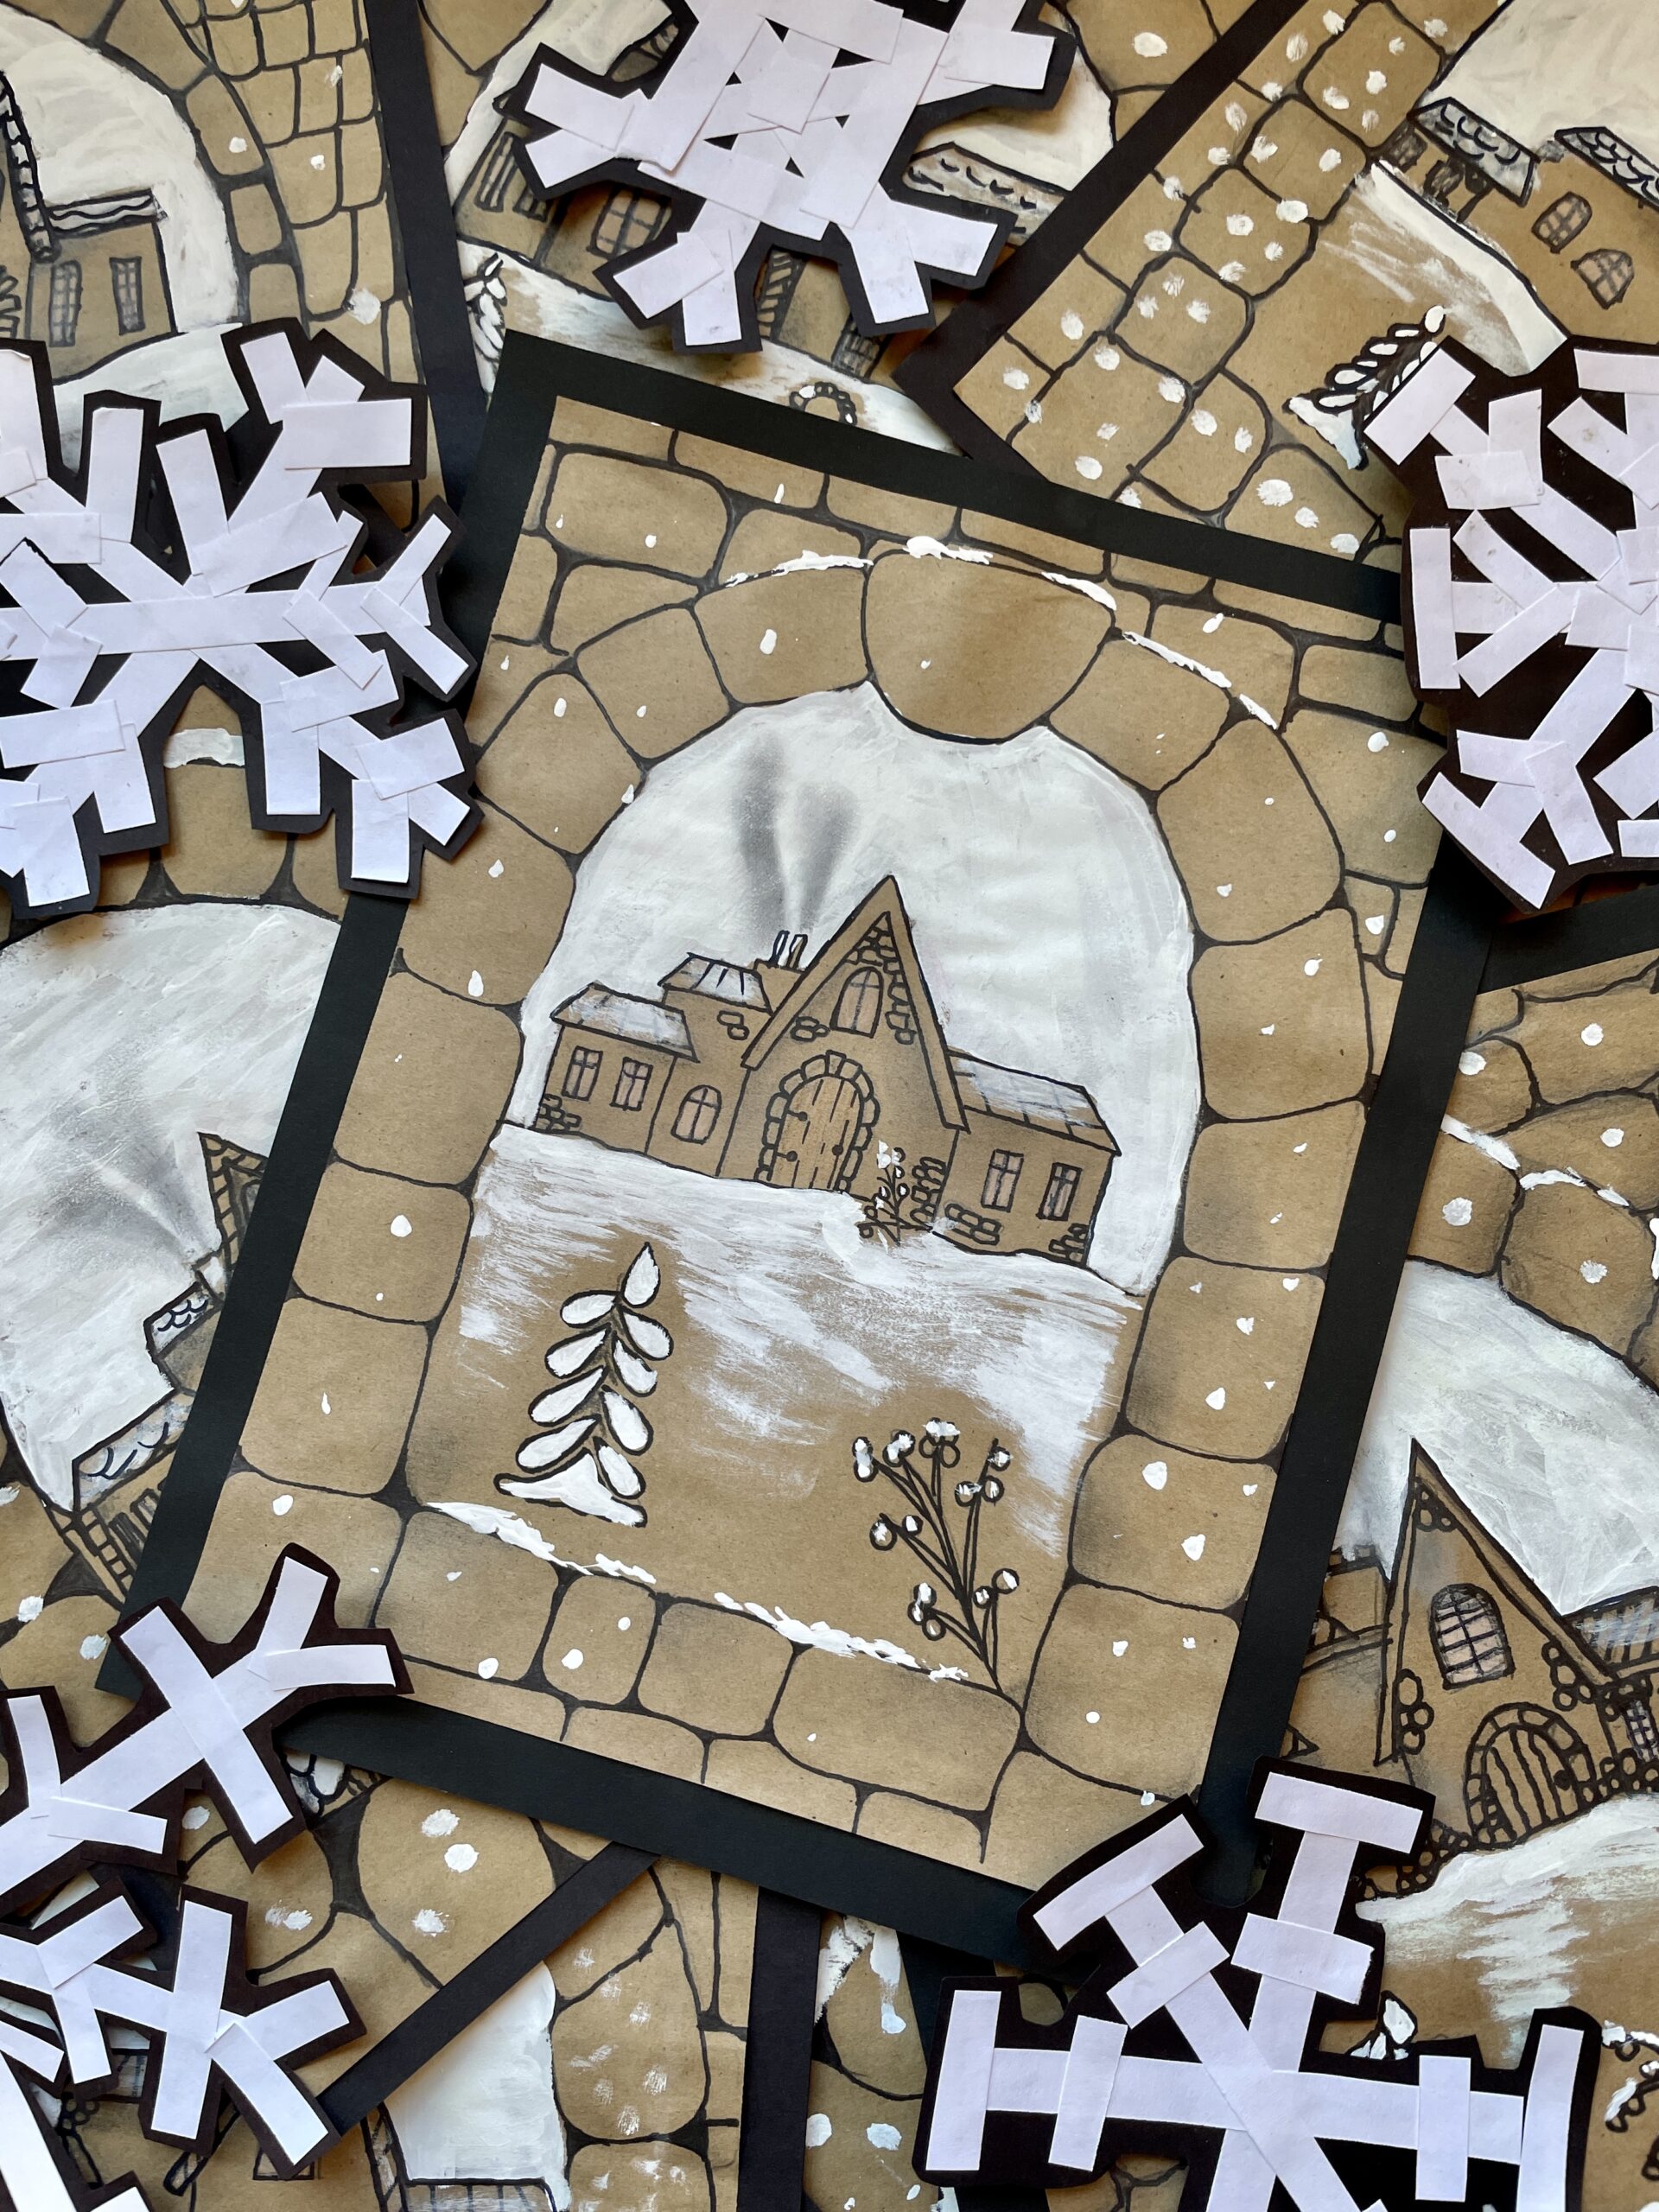
Looking to decorate your classroom or home with an adorable winter project? I have 2 projects that are very easy, low cost and make a big impact!
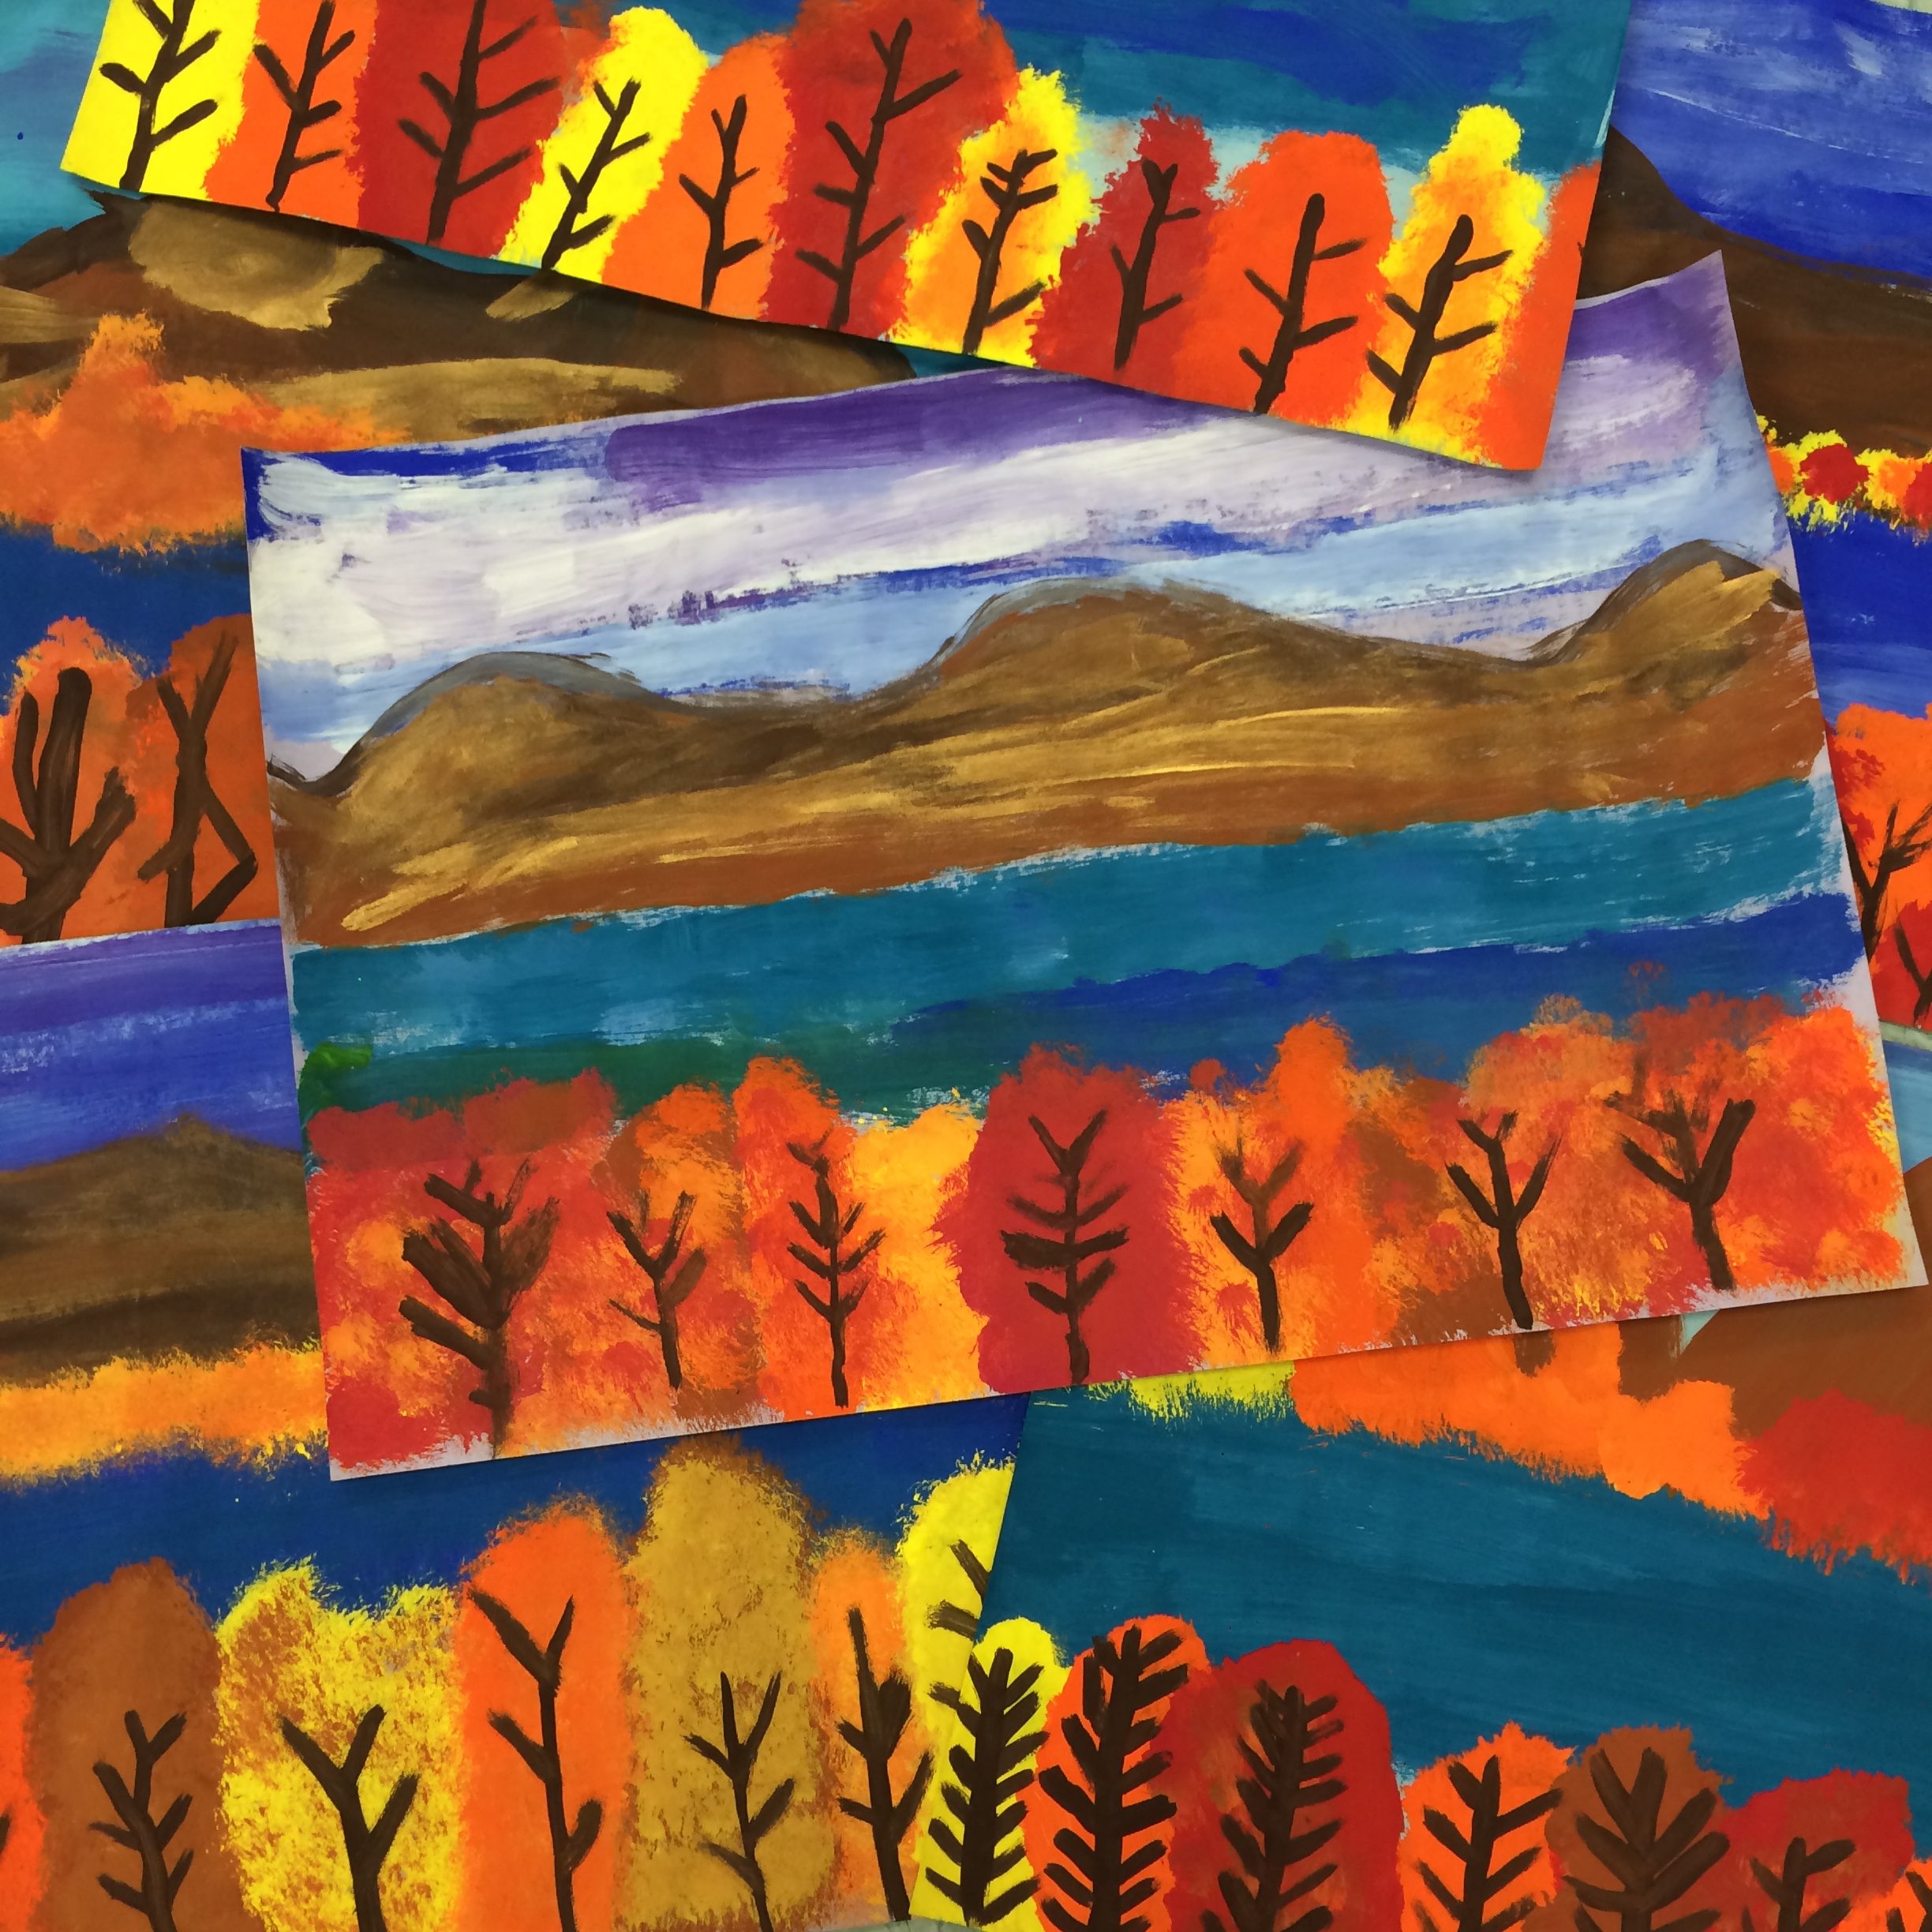
If you have been following me you know I love the outdoors, landscapes and our National Parks. I love bringing the outdoor inspiration inside into my classroom.
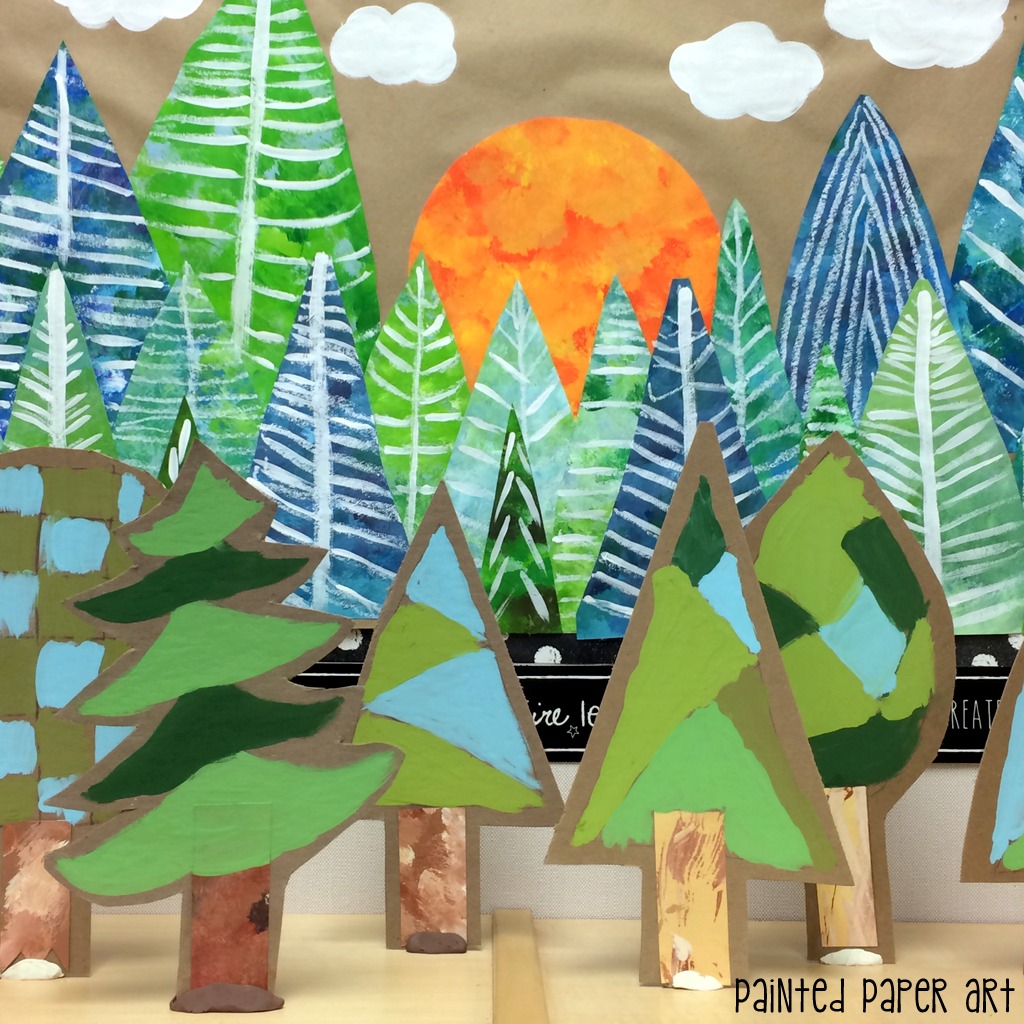
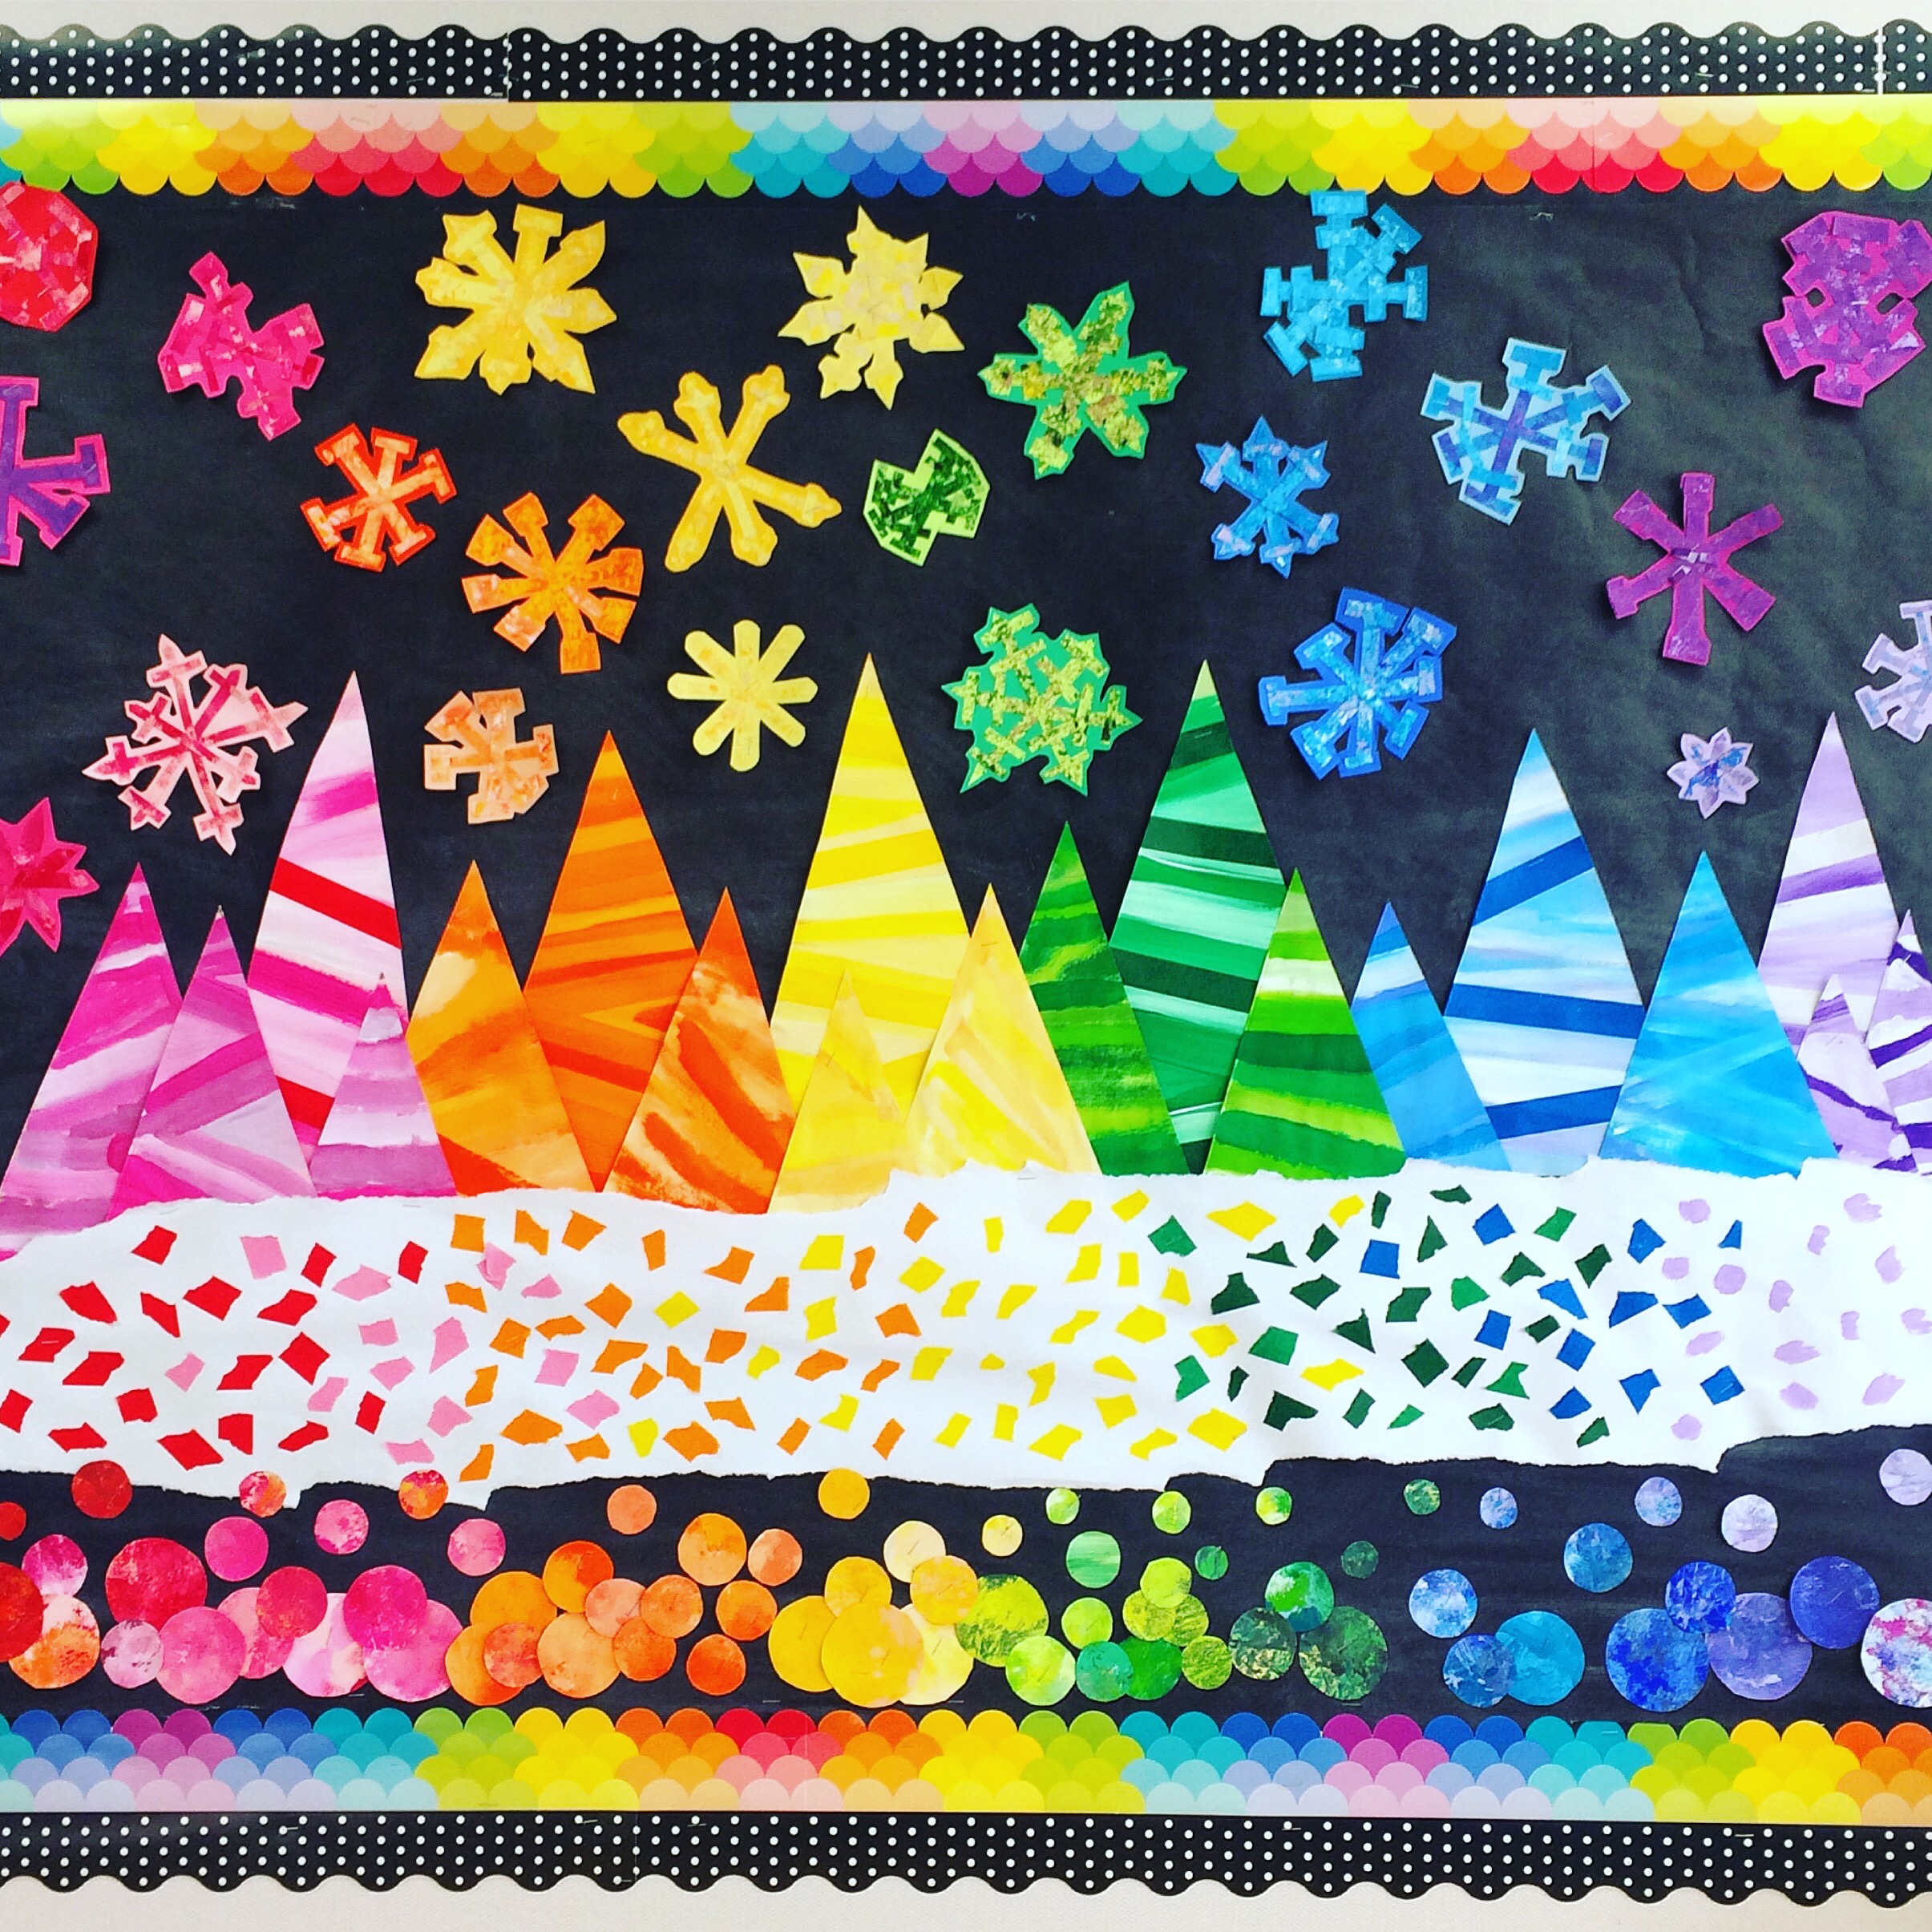
Painted Paper Trees Mural
Here is what you will need:
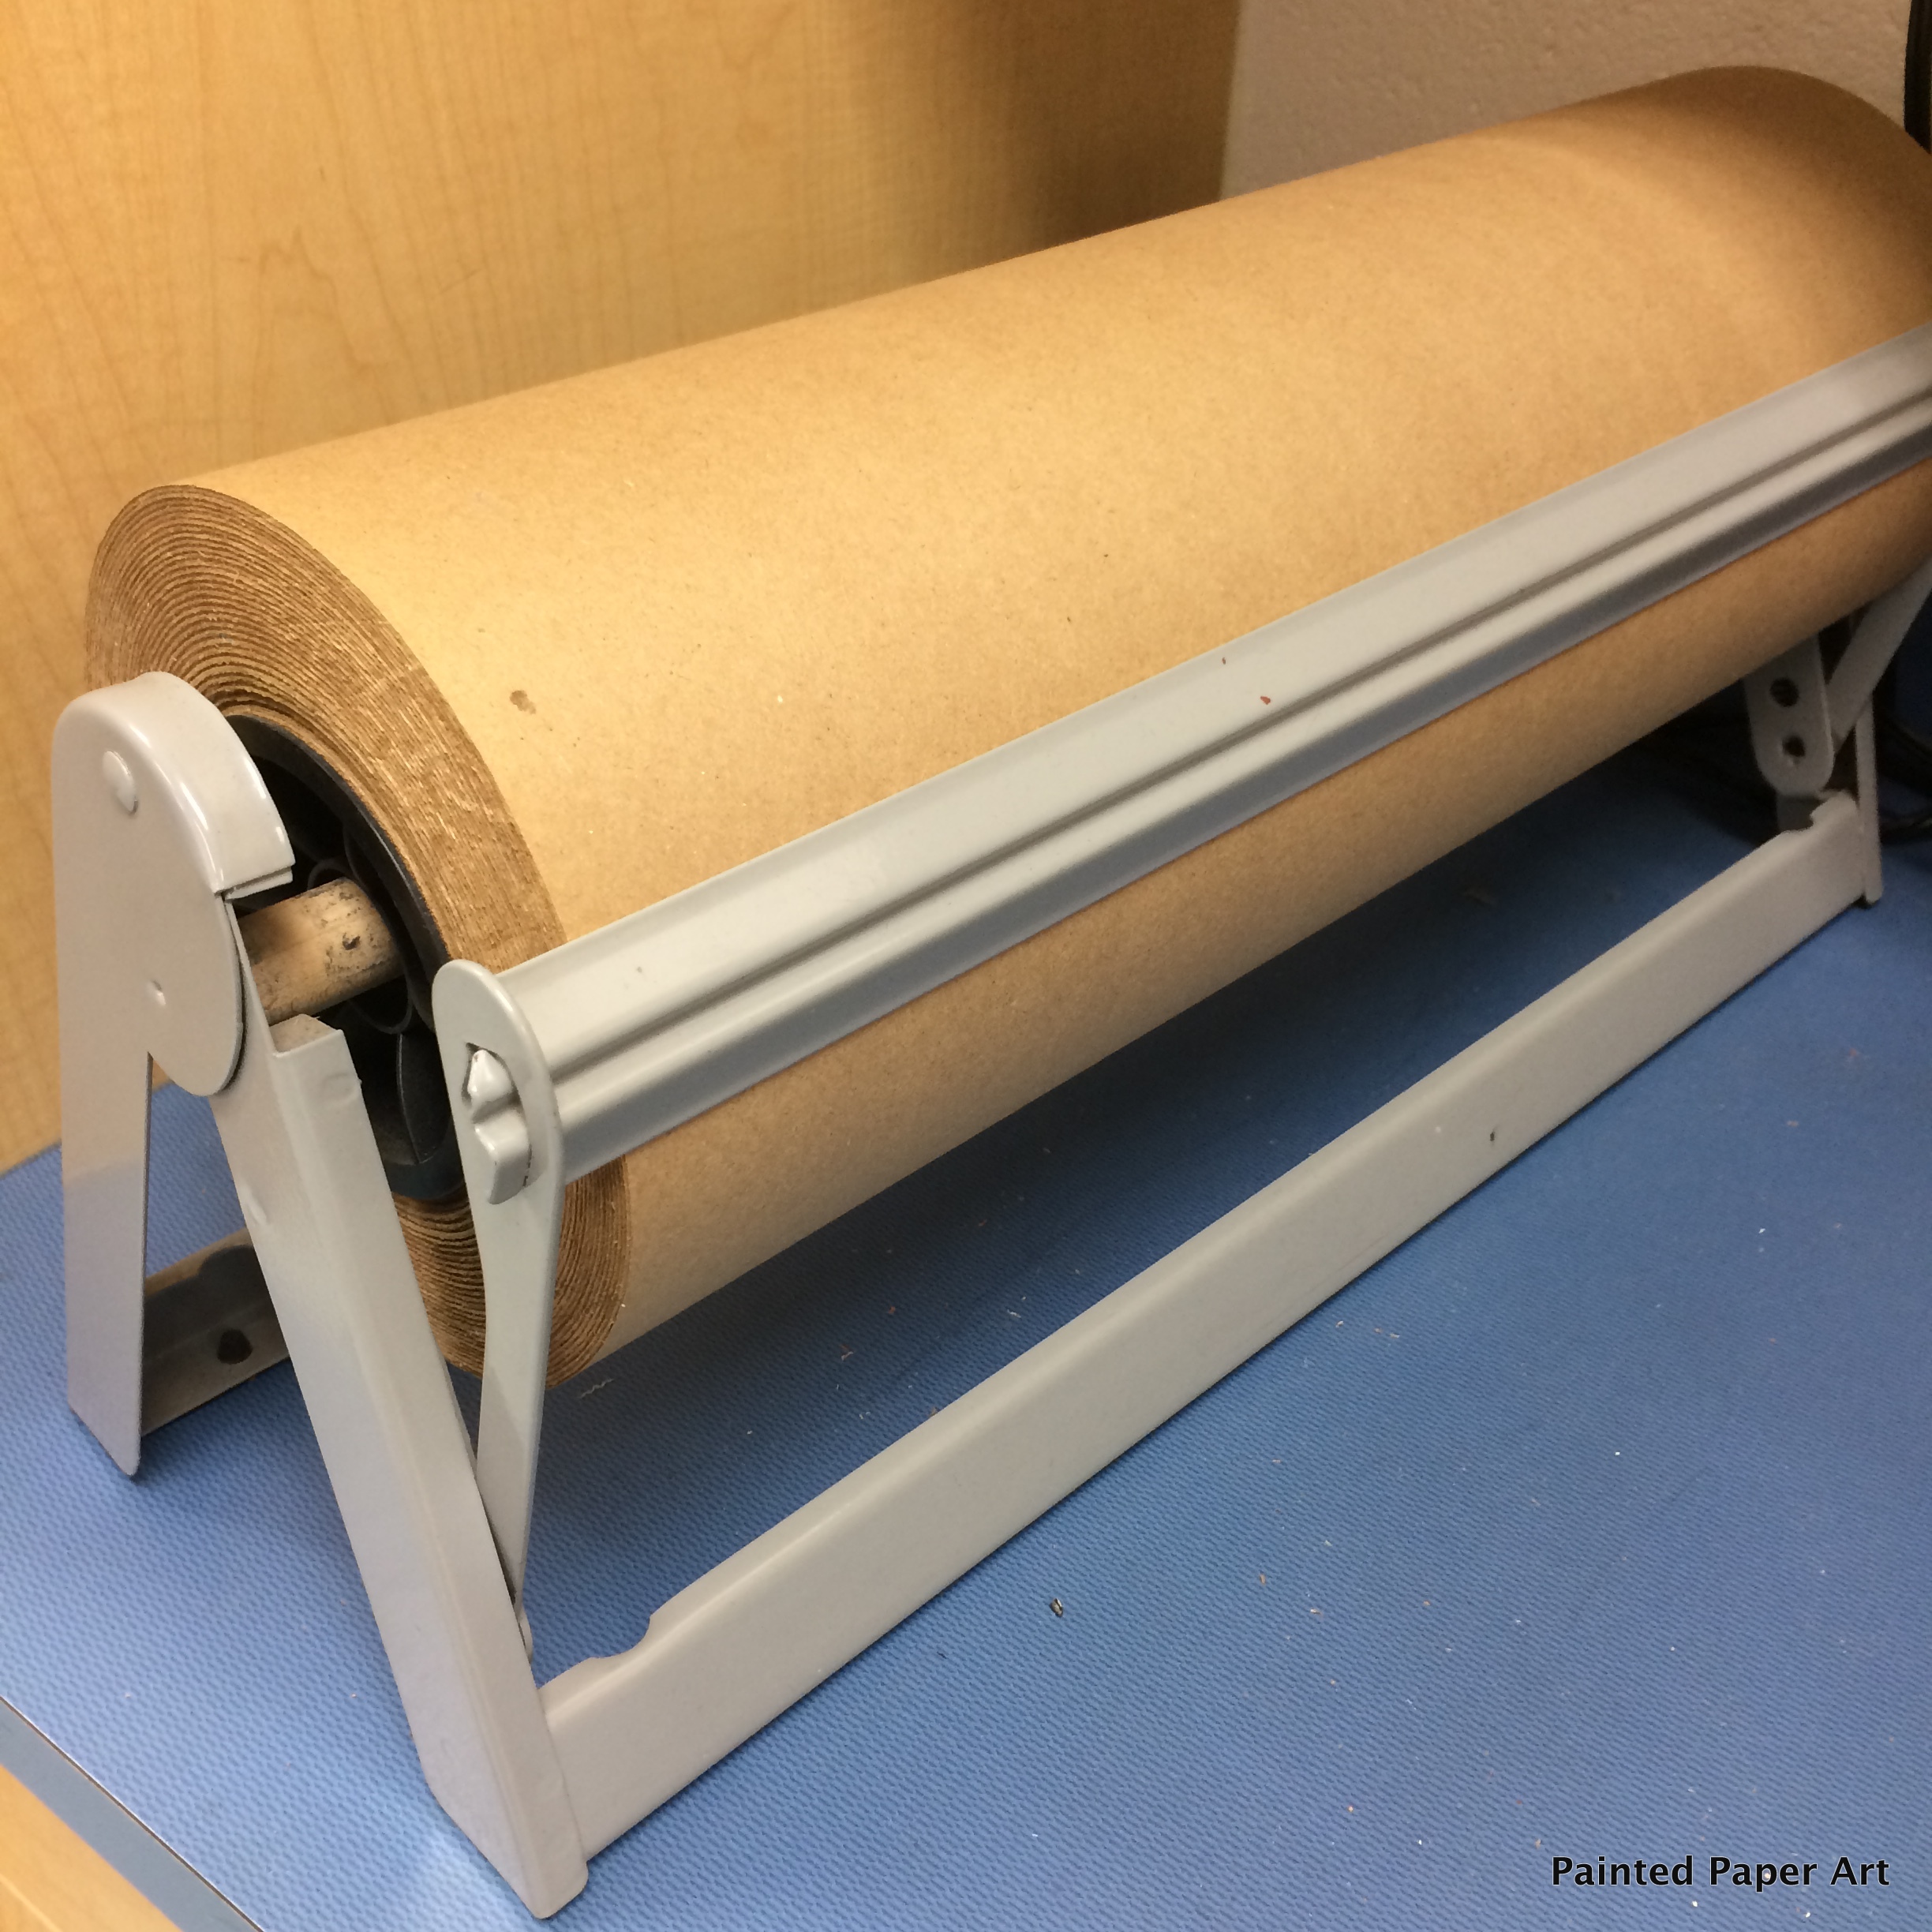
• Craft paper 18″ tall
• Previously Painted Paper in shades of Blue and Green
•Scissors, pencils, glue
• White Oil Pastels and White Tempera Paint with a small round paintbrush
Creating Painted Paper Trees
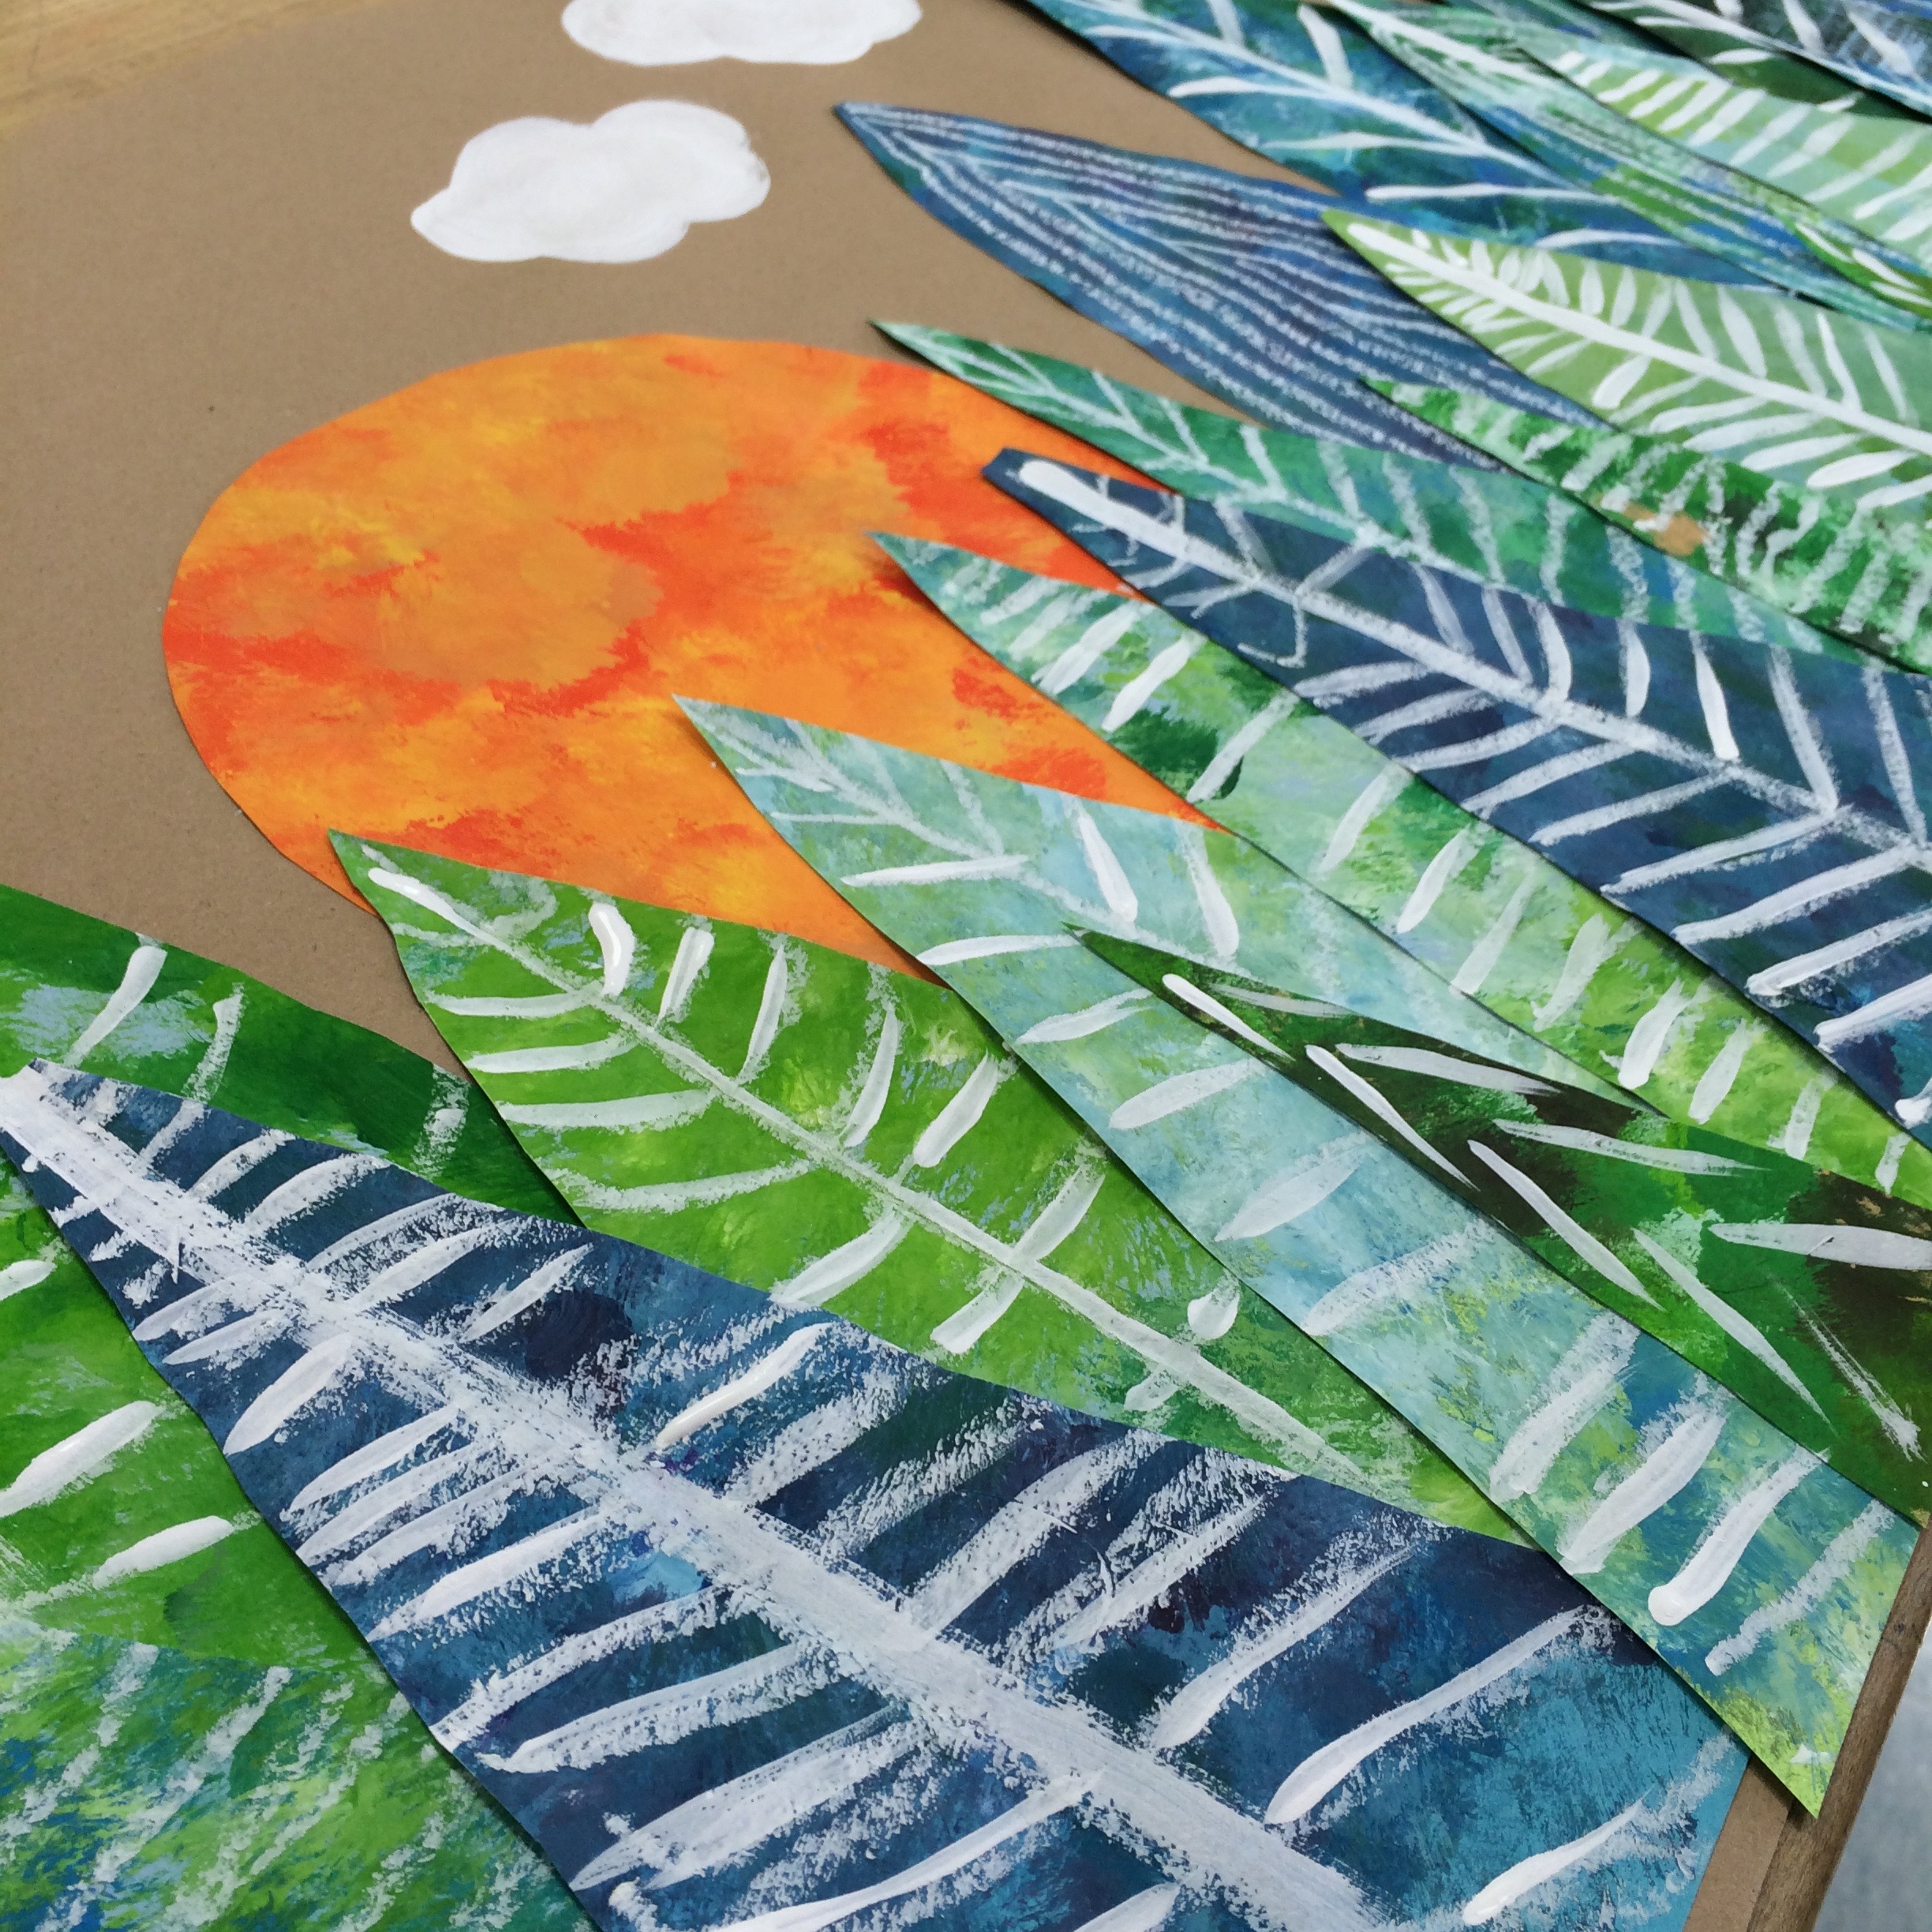
Fold a 9″ x 6″ inch piece of previously painted paper in half. Using a pencil, draw half a triangle from the top corner edge of the fold to the opposite bottom corner of the paper. While the paper is still folded, cut on the pencil line and then open the folded paper. Once the paper is open, you will have a symmetrical tree.
Using white oil pastels and/or white tempera paint to add symmetrical lines. These lines will give the trees a more graphic, stylized look.
Students created painted paper earlier in the year and the papers were stored until we needed them for projects. Want to know how to create painted paper? Check our this blog post.
The dried, decorated painted trees were then laid out on inexpensive brown craft paper, overlapped and glued down creating a realistic landscape.
Some simple painted clouds, and a circle sun tucked under some trees at the horizon complete the mural.
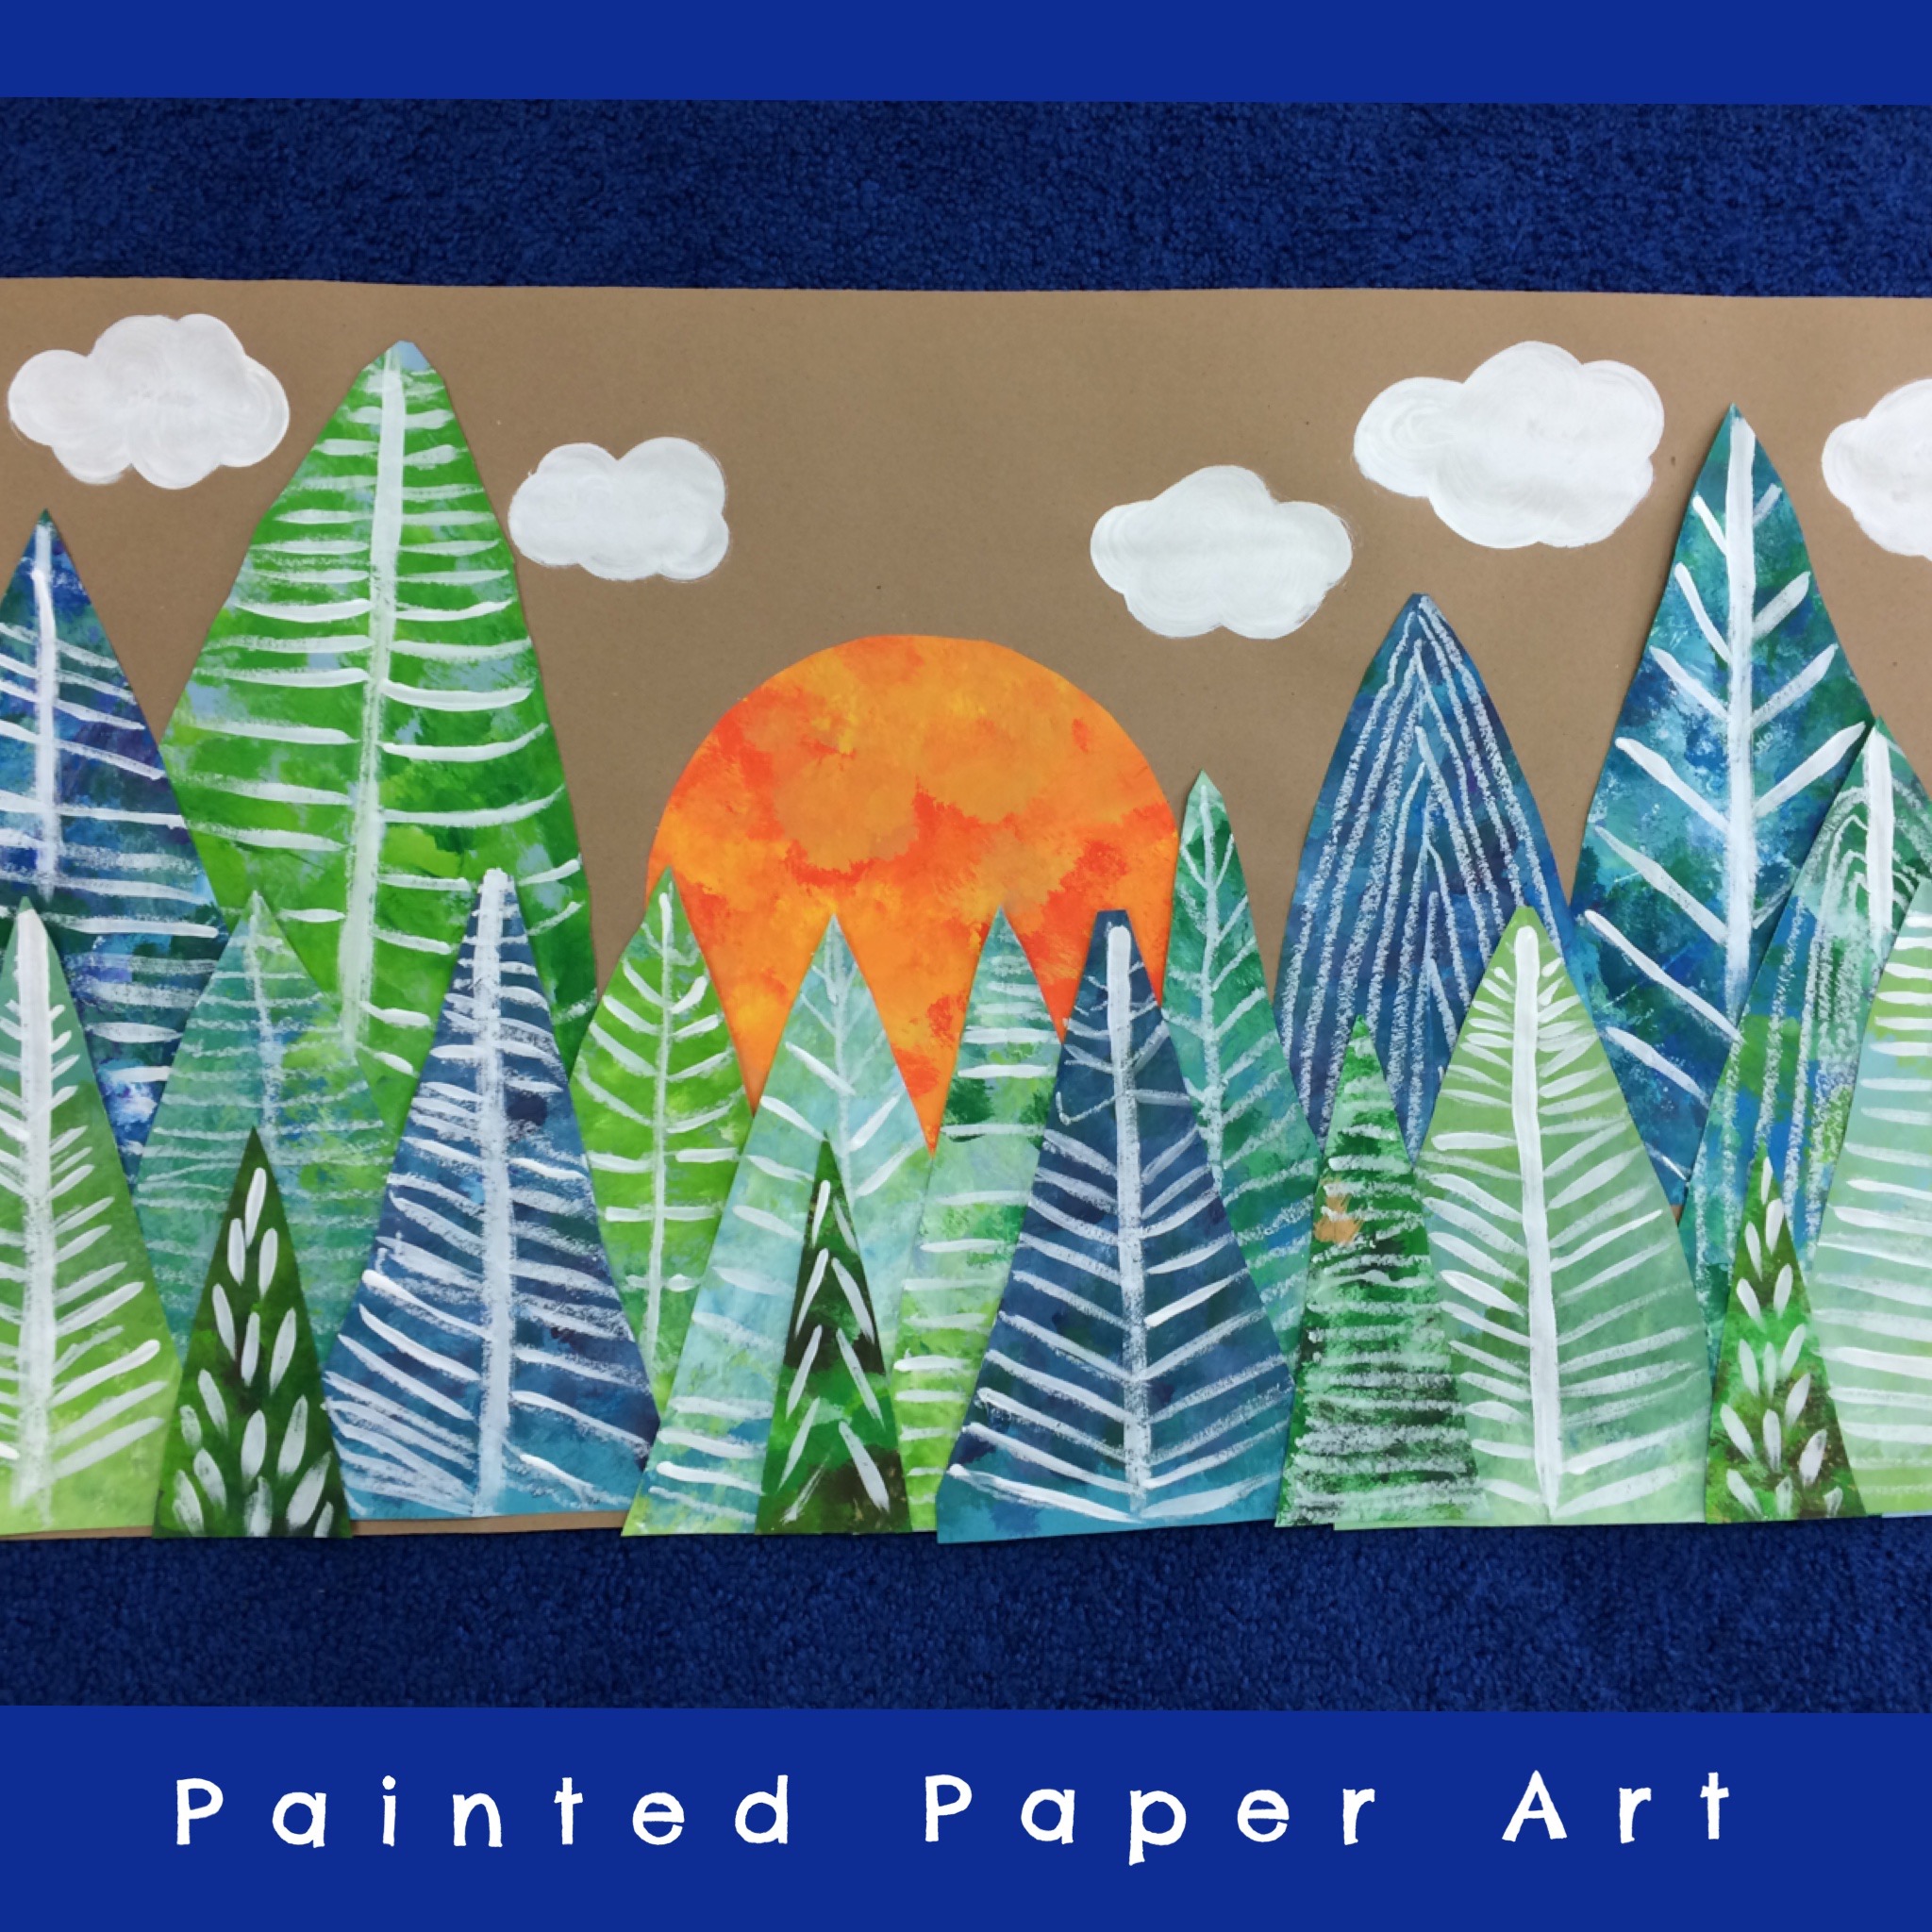
In my art studio, students often create items that are grouped with other students projects to create a large collaborative mural. This is a common creative process in our art studio and the students love seeing the displayed pieces. They often point and comment on how neat it is to see their individual items displayed as an entire group.
Cardboard Pattern Trees
Here is what you will need:
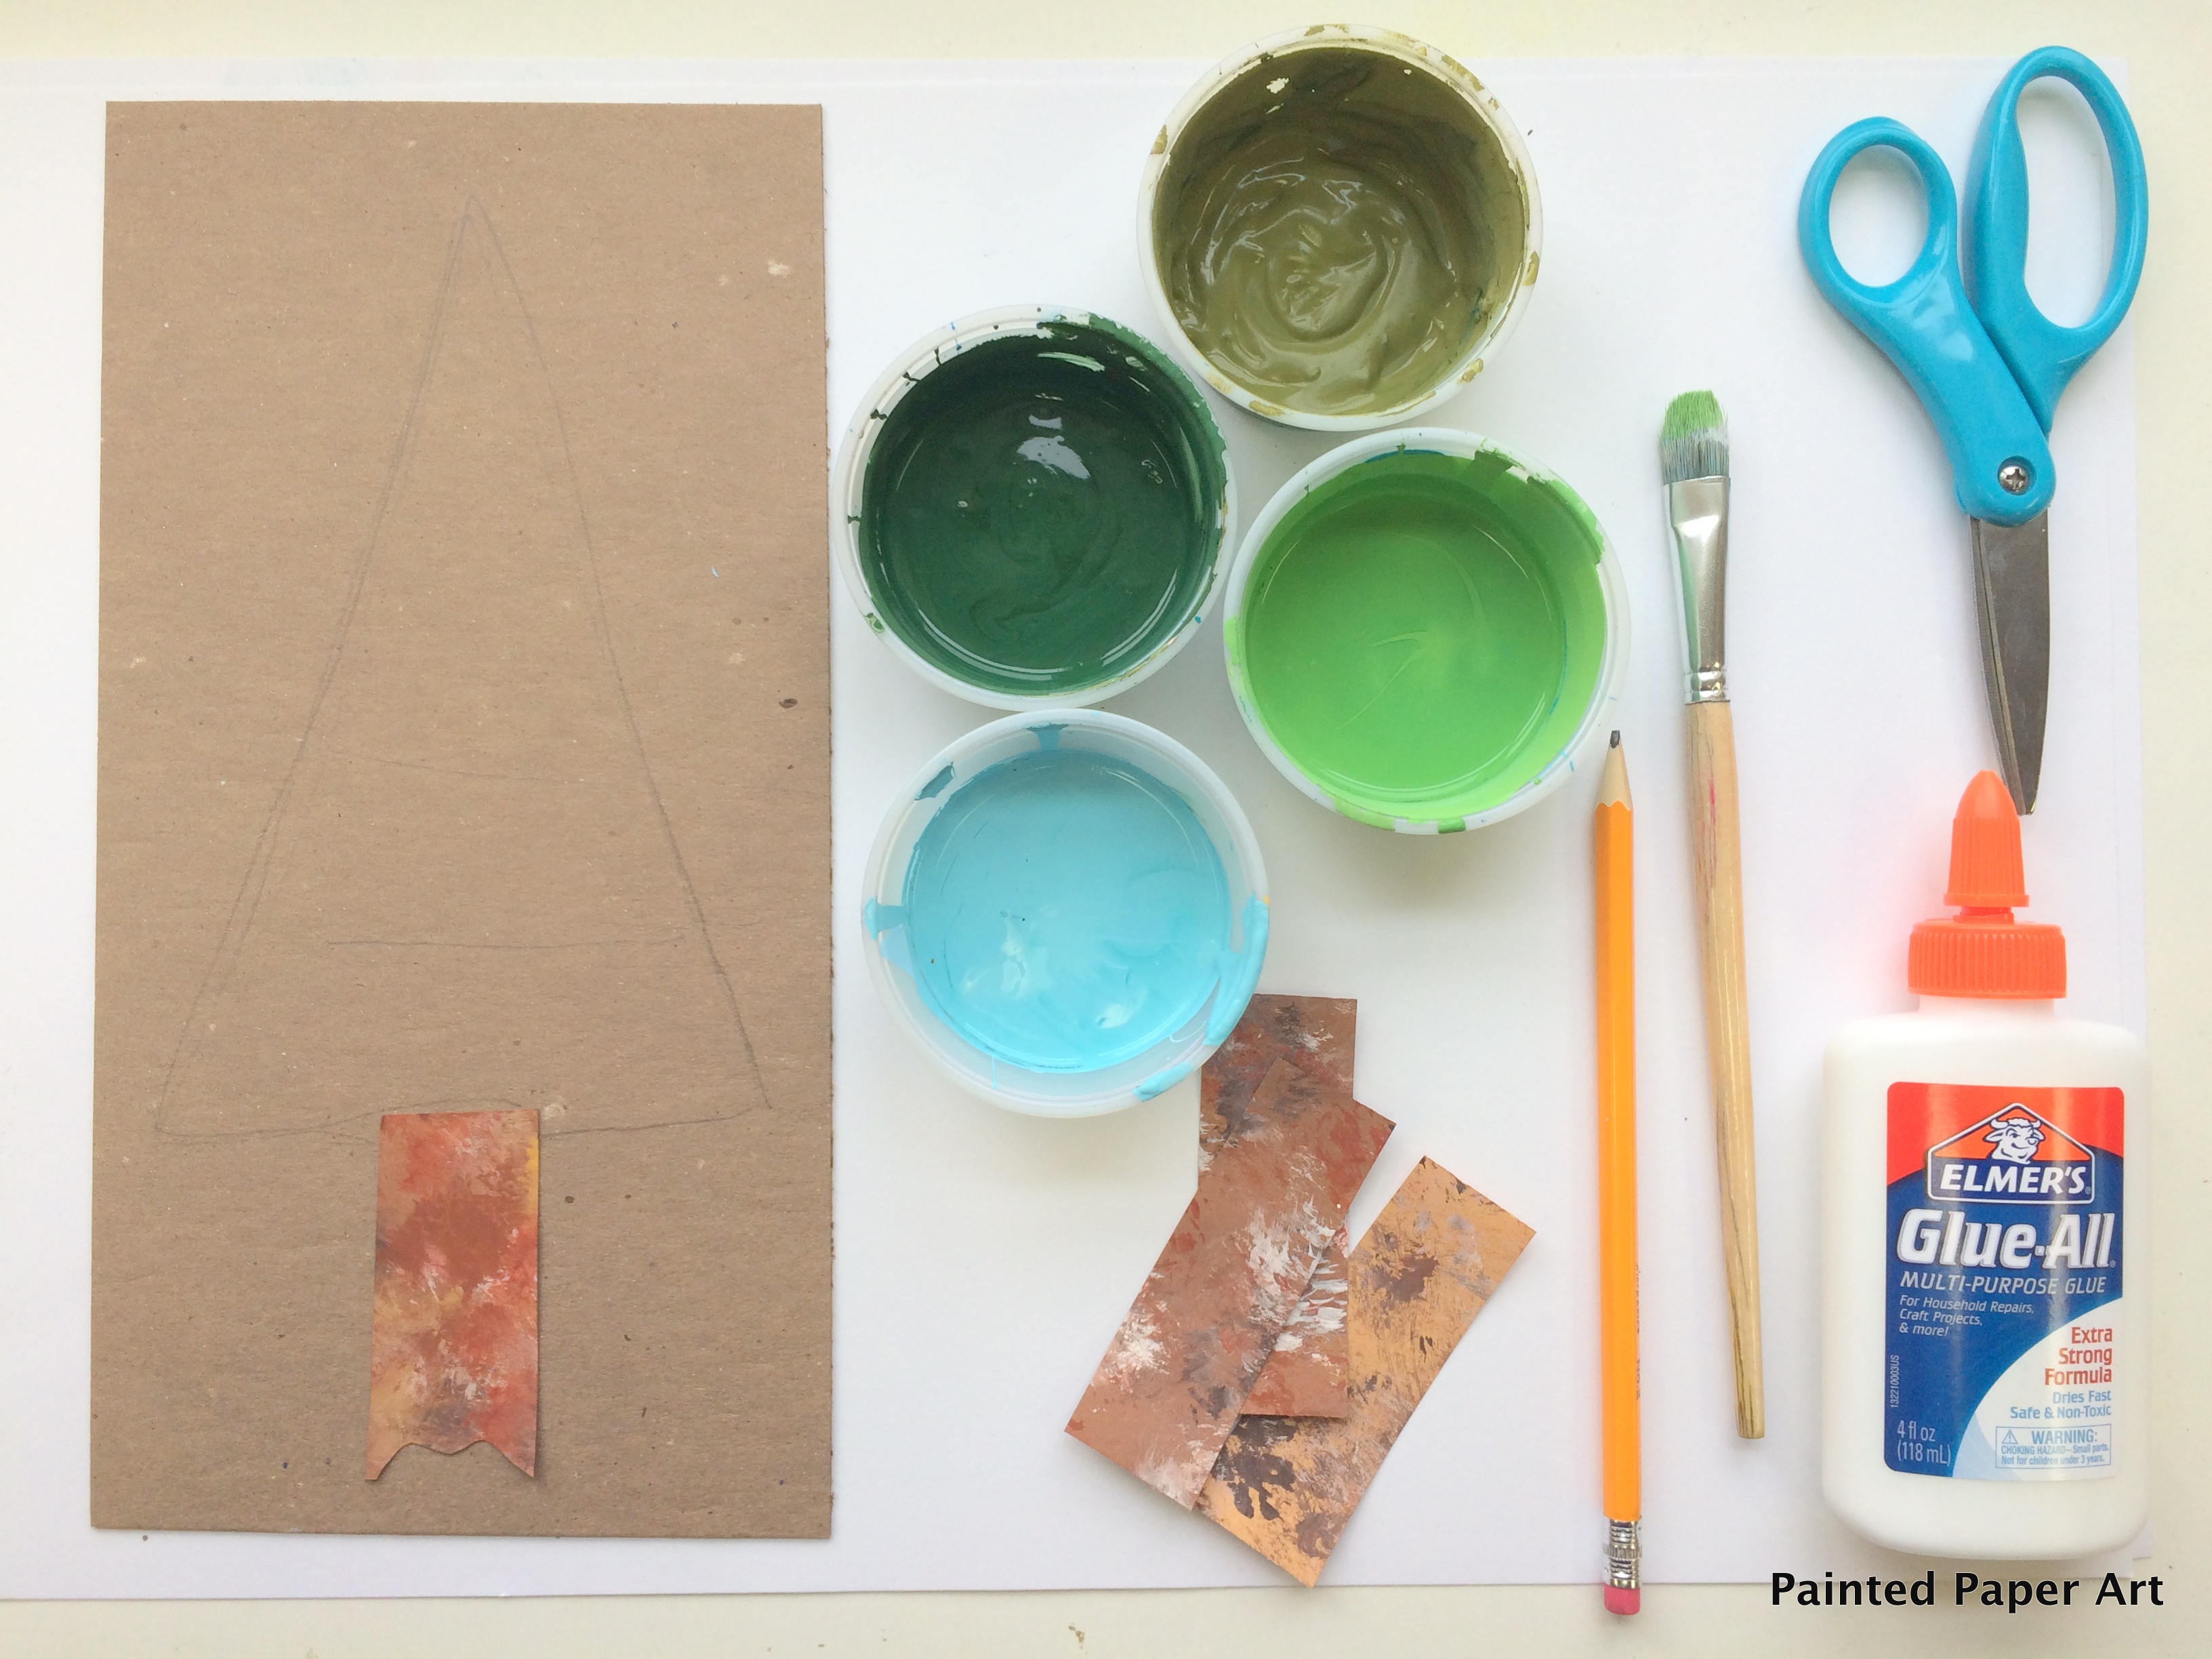
• Thin cardboard sheets in various size
• Tempera paint in shades of blues and greens
• Small strips of painted paper for the tree trunk
• Pencil, Scissors and Glue
• Flat paintbrush
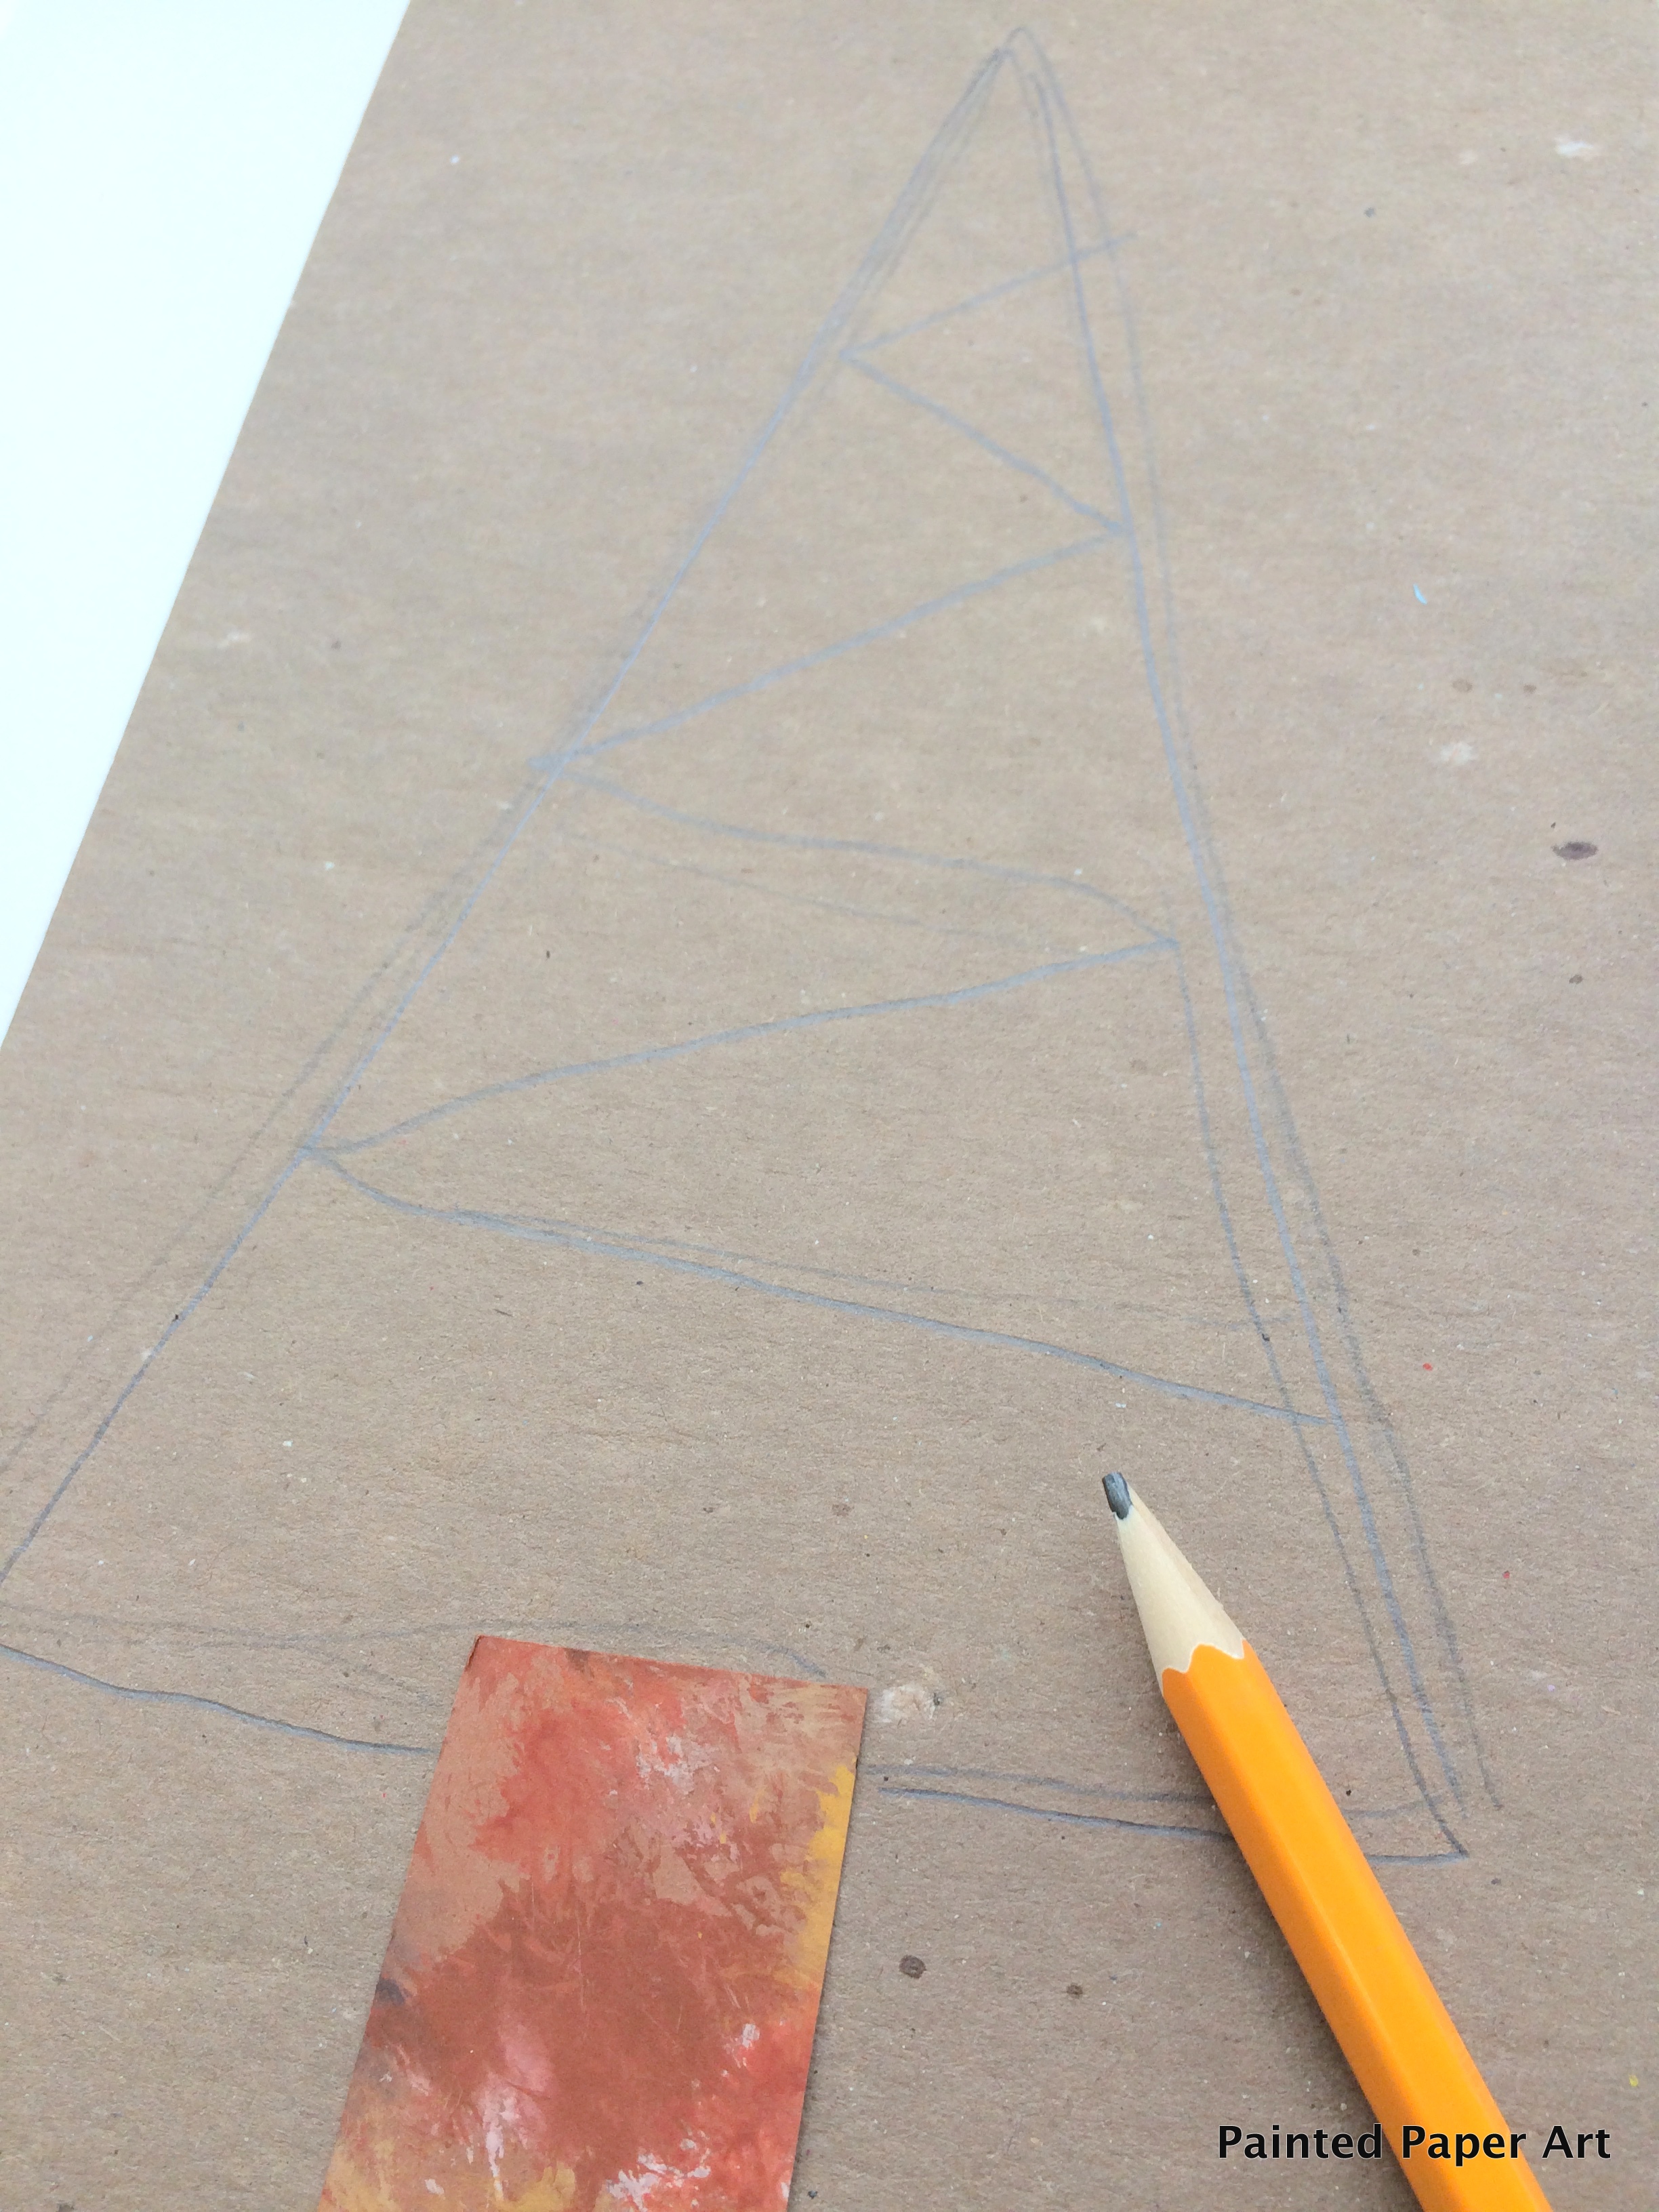
Step One: Using a pencil, draw out a simple shape for your desired tree. Add a fun pattern to your tree, and finish off with a strip of brown painted paper for the trunk.
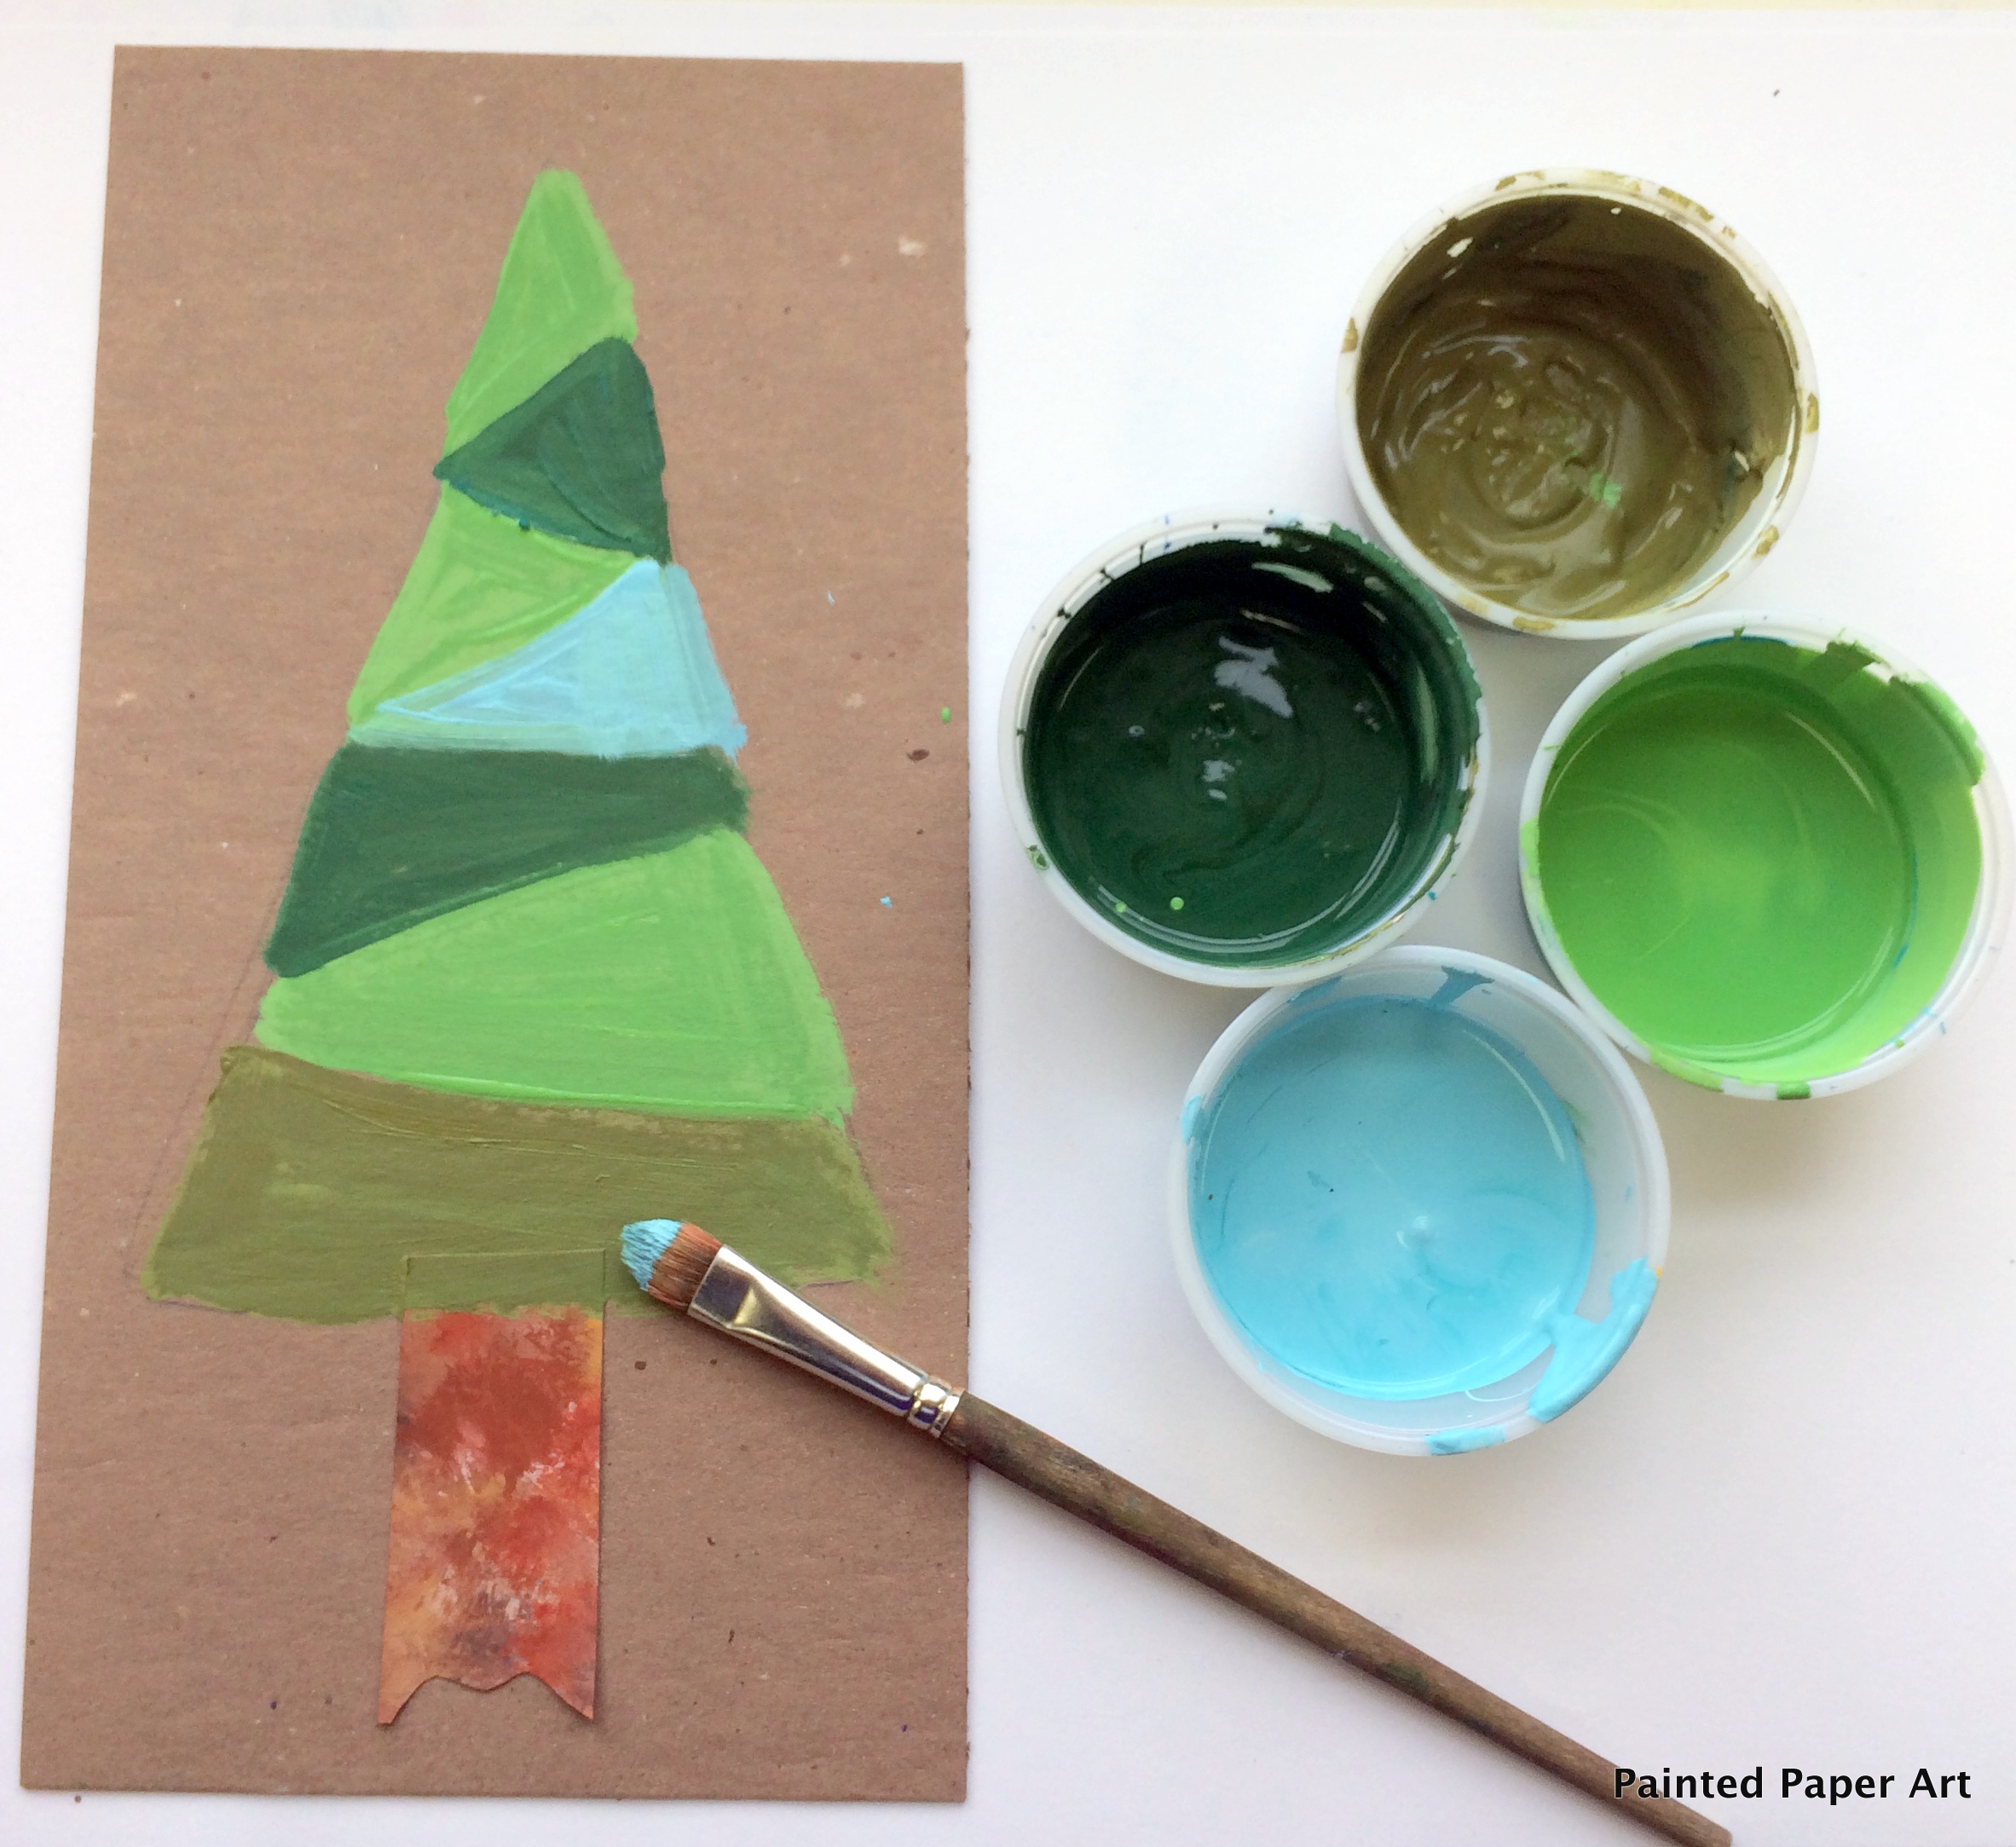
Step 2: With tempera paint in shades of green and blue fill in the shapes and patterns on your tree.
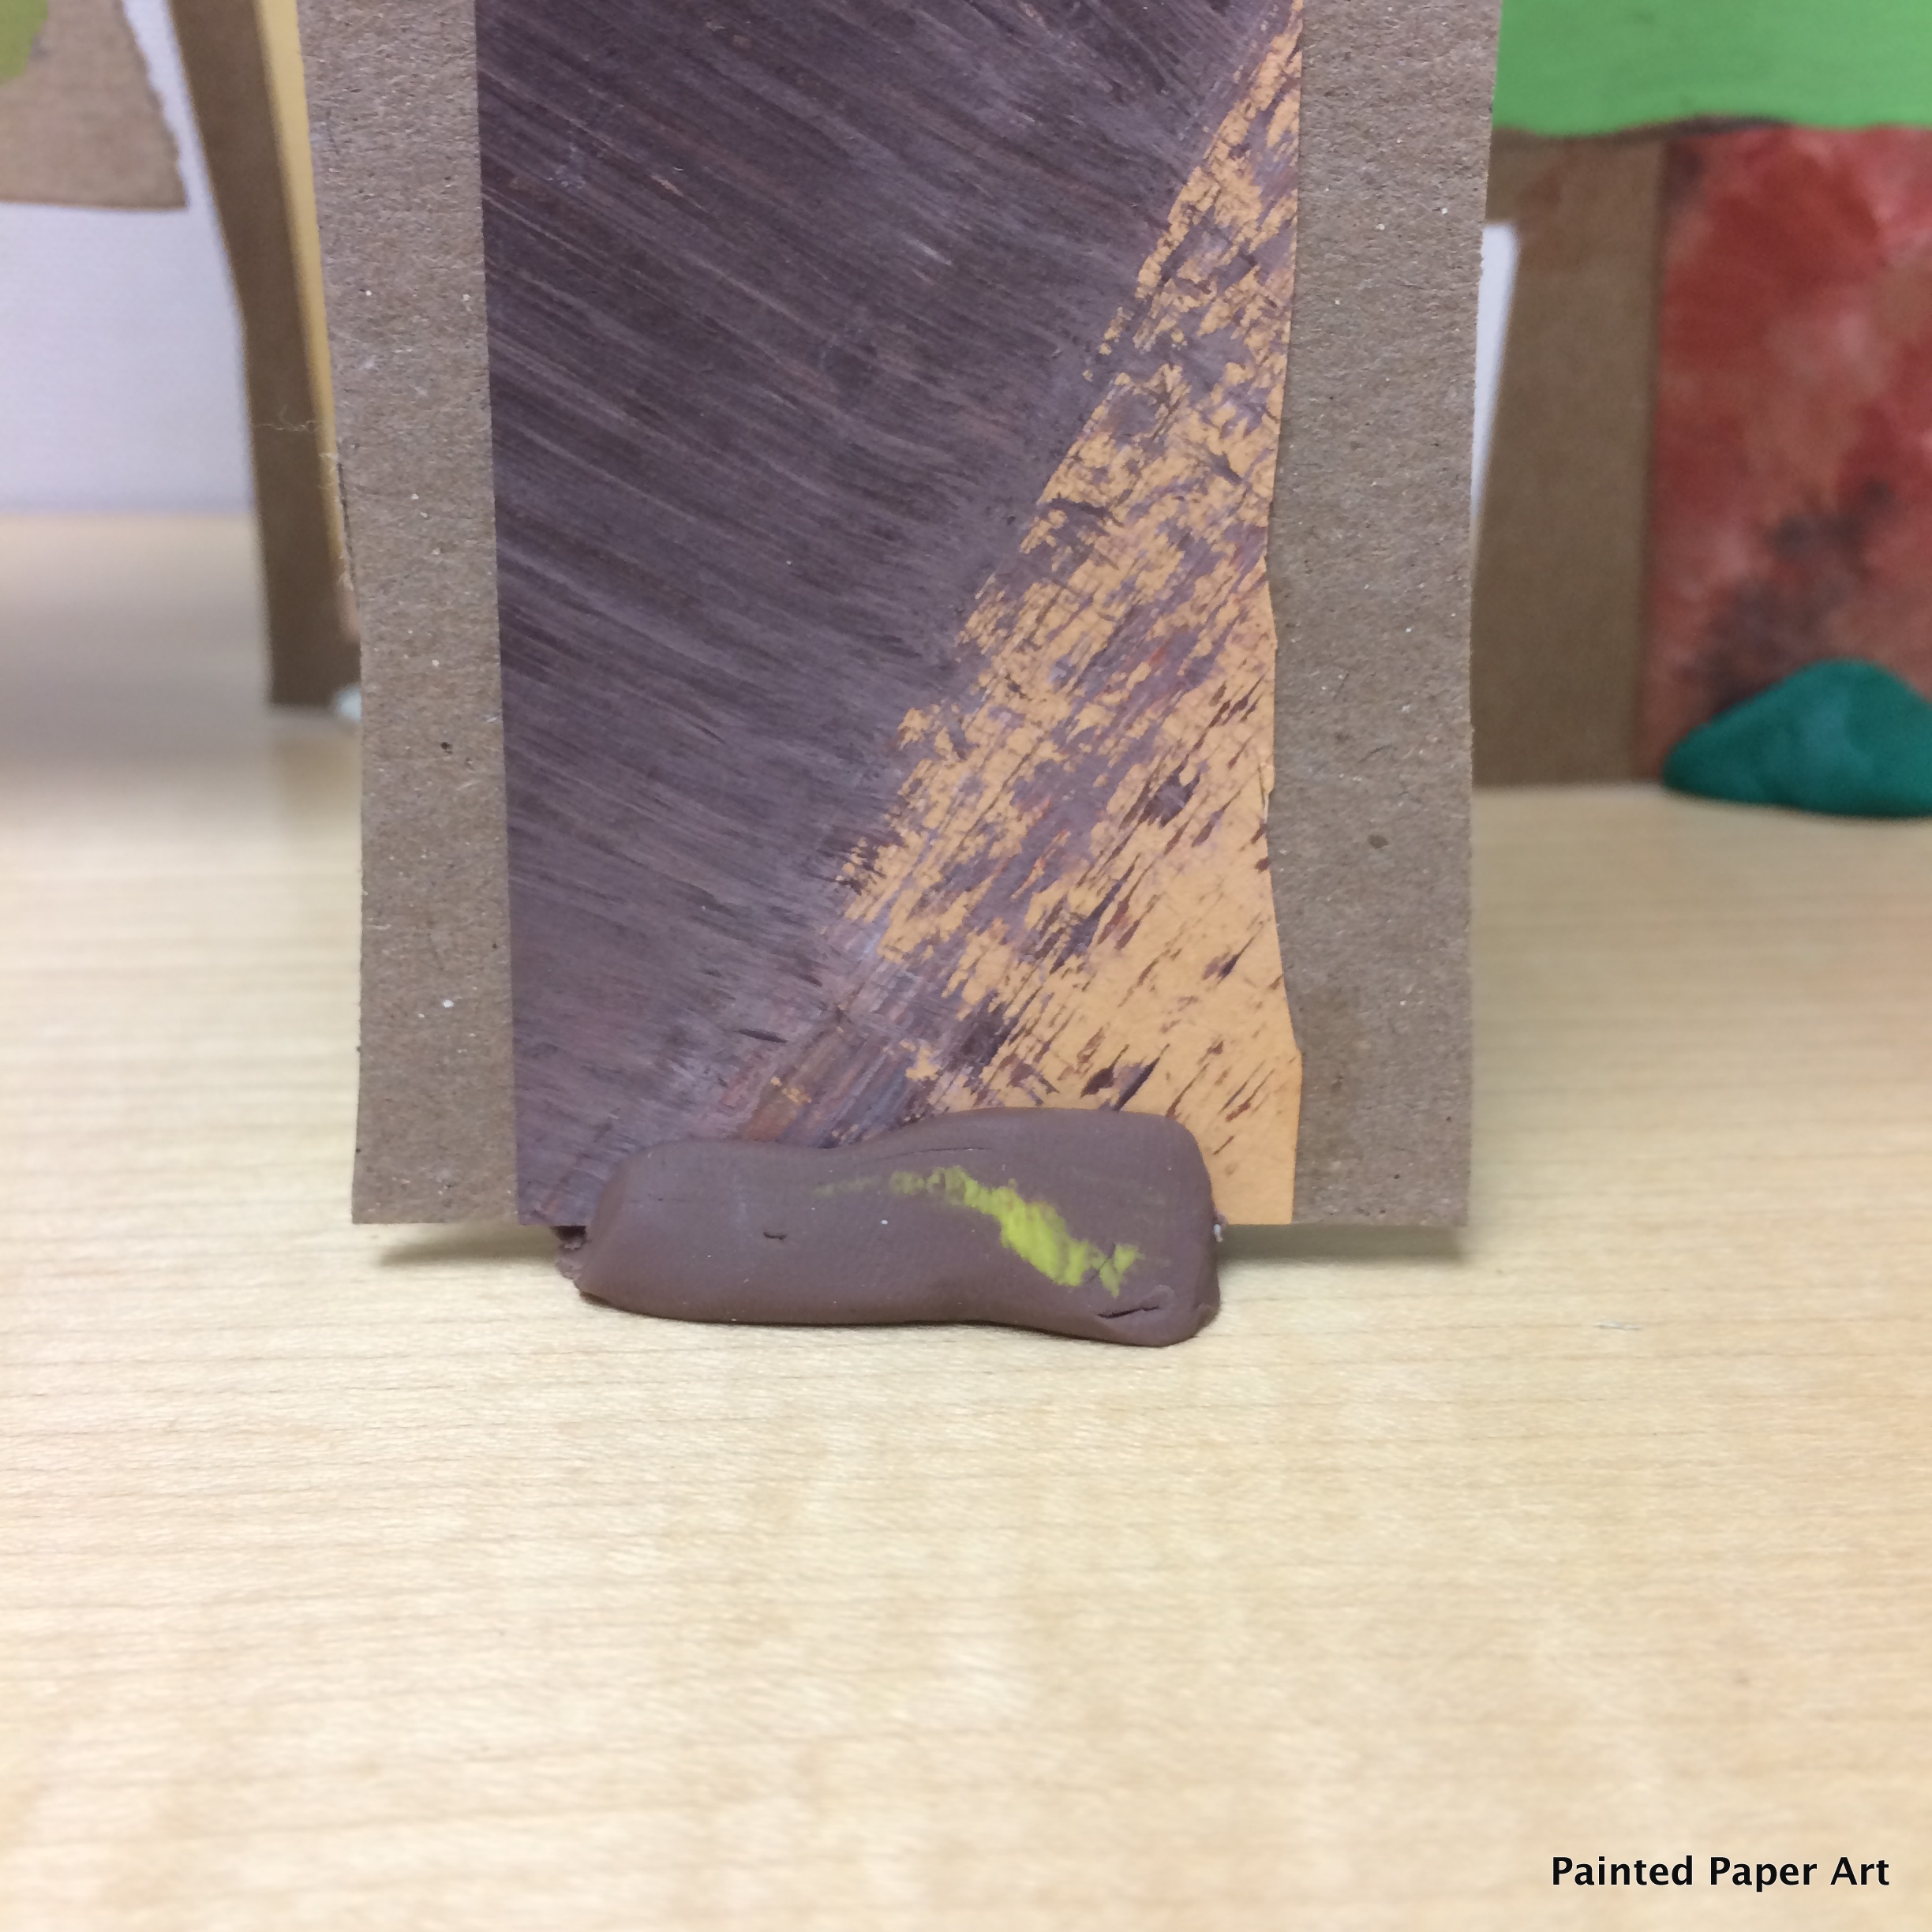
Step 3: When your trees are dry, cut around the shape leaving a little border of the cardboard. Grab some modeling clay and stand your tree in the clay. I use modeling clay because it will not mark up my counters and doesn’t dry out. Be careful where you place the modeling clay so it does not leave a mark on wood furniture.
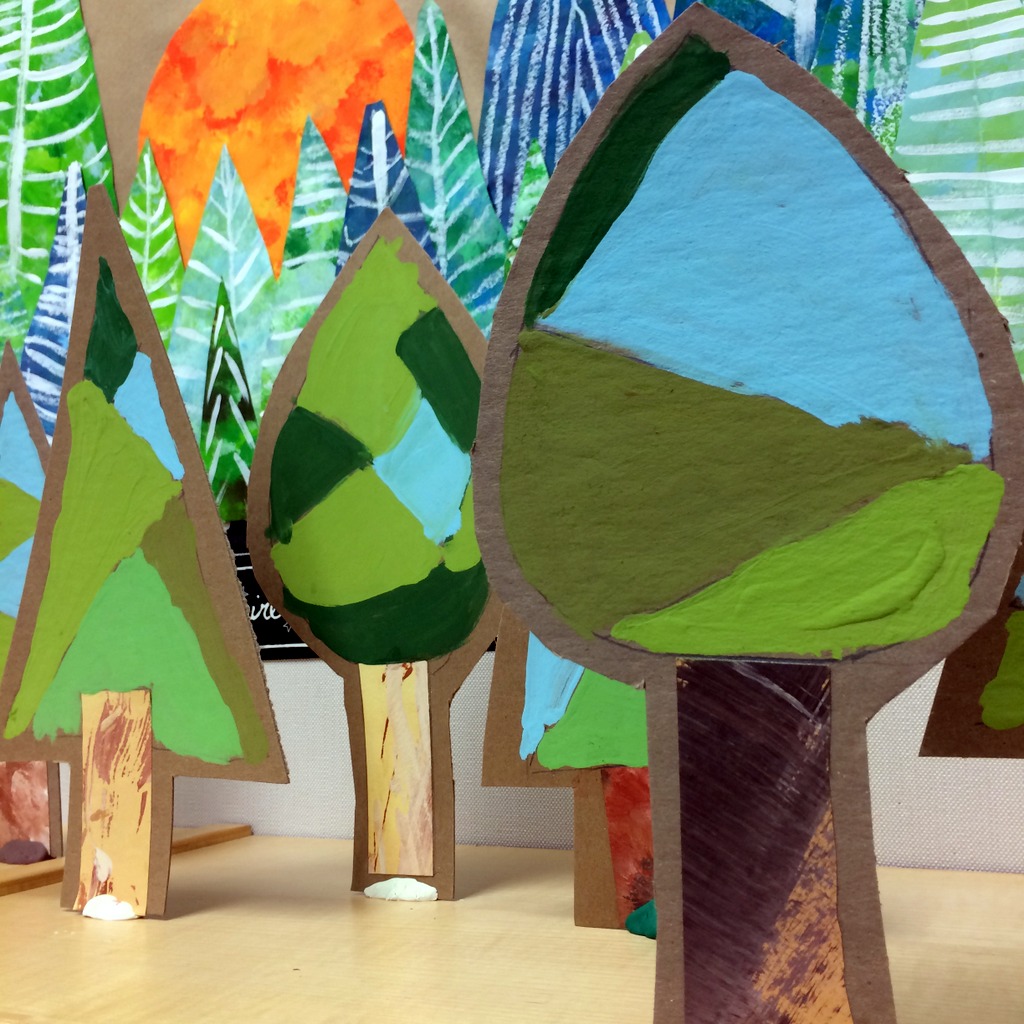
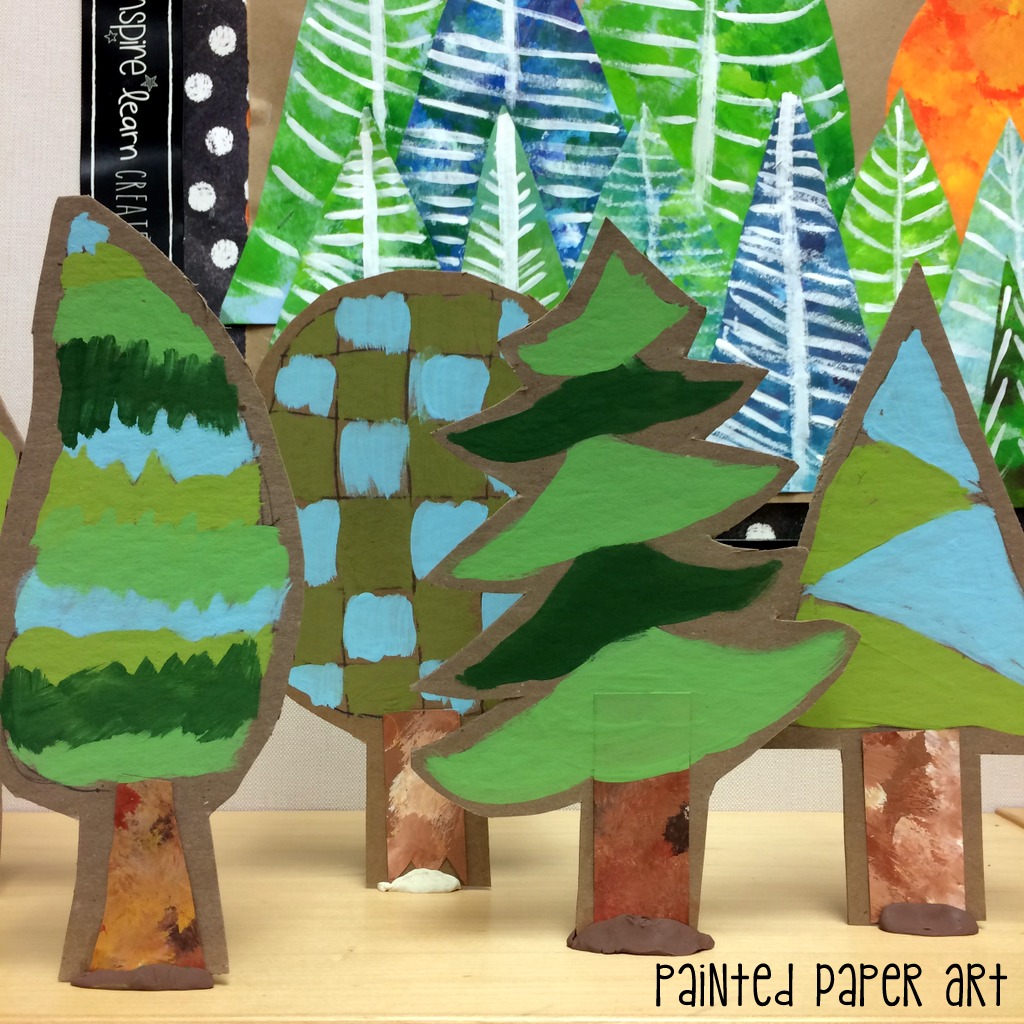
Enjoy admiring your delightful forest.

Is there a printer friendly version of this?
Hi Myda, not at this time. Thanks 🙂
Hi very nice picture.! we are organizing a kids event and would love to use that pic as a background, is that okay with you?
I am from Switzerland btw 🙂
Hi Debi,
Thanks for asking. Yes you may use it for your event. Please email me a photo of it in your event, so excited to see! 🙂
Hi thanks you very much.! Yes please have a look
/Users/deboraroesti/Desktop/KidsAktiv/Flyer/KidsAktiv Flyer 2017 druck.pdf
Hi thanks you very much.! Yes please have a look http://www.tokjo.ch/kidsaktiv/. We are very happy and grateful for your artwork.
Laura,
Hi! This is Stacey from Expressive Monkey. Your lessons are just beautiful! I’ve enjoyed looking at your blog and pinning things to my Pinterest board. I want to make my own patterned trees, just for fun! 🙂 BTW I sent you a Facebook message this evening.
Hi there! Every thing is beautiful! I would like to do these projects with a couple of my art classes. Can you tell me where you find the thin cardboard sheets for your trees?
Thank you!
Hi Kristine,
I found them in the Blick Art Catalog. 14 ply 22 x 28 inch piece of chipboard. 🙂
Thank you!
I tried this with my 3rd graders and it turned out SO WELL!! The students got to work on collaboration while still having individual creativity. They loved the activity and now we have some beautiful art displayed in the class. I loved the painted paper (and so did my students) we will for sure be using that idea – and the whole forest – in future activities and future classrooms.
Ainsley, Thank you! So happy to hear you had so much fun!!! xox Laura
these are just gorgeous! I love your art projects! Sooo inspiring ?
Thank you so much!!!
Hi Laura – I am a pre-service teacher who has chosen to teach this Art project as part of an assessment. What age group does it suit the most? I would be thinking grade 3-5?
3-5th would be a good age.
I just wanted to say THANK YOU for this beautiful idea. I have been using it with my Grade 4 and 5s over the years and always turned out beautifully. This year I did with the grade 6s and they equally loved it – plus we decorated our whole classroom for winter with these gorgeous trees. I also used your idea to make homemade Christmas cards! So, thank you for all your hard work and creativity – I really, really appreciate it!
Thank you for the lovely feedback! 🙂
Beautiful!!! I feel inspired! Thank you for sharing!