Painted Pumpkins
 Hey folks, it’s that time of year! Apple cider, hayrides, harvest time, beautiful changing leaves, and of course pumpkins! We created these colorful painted pumpkins in 2- 40 minute classes.
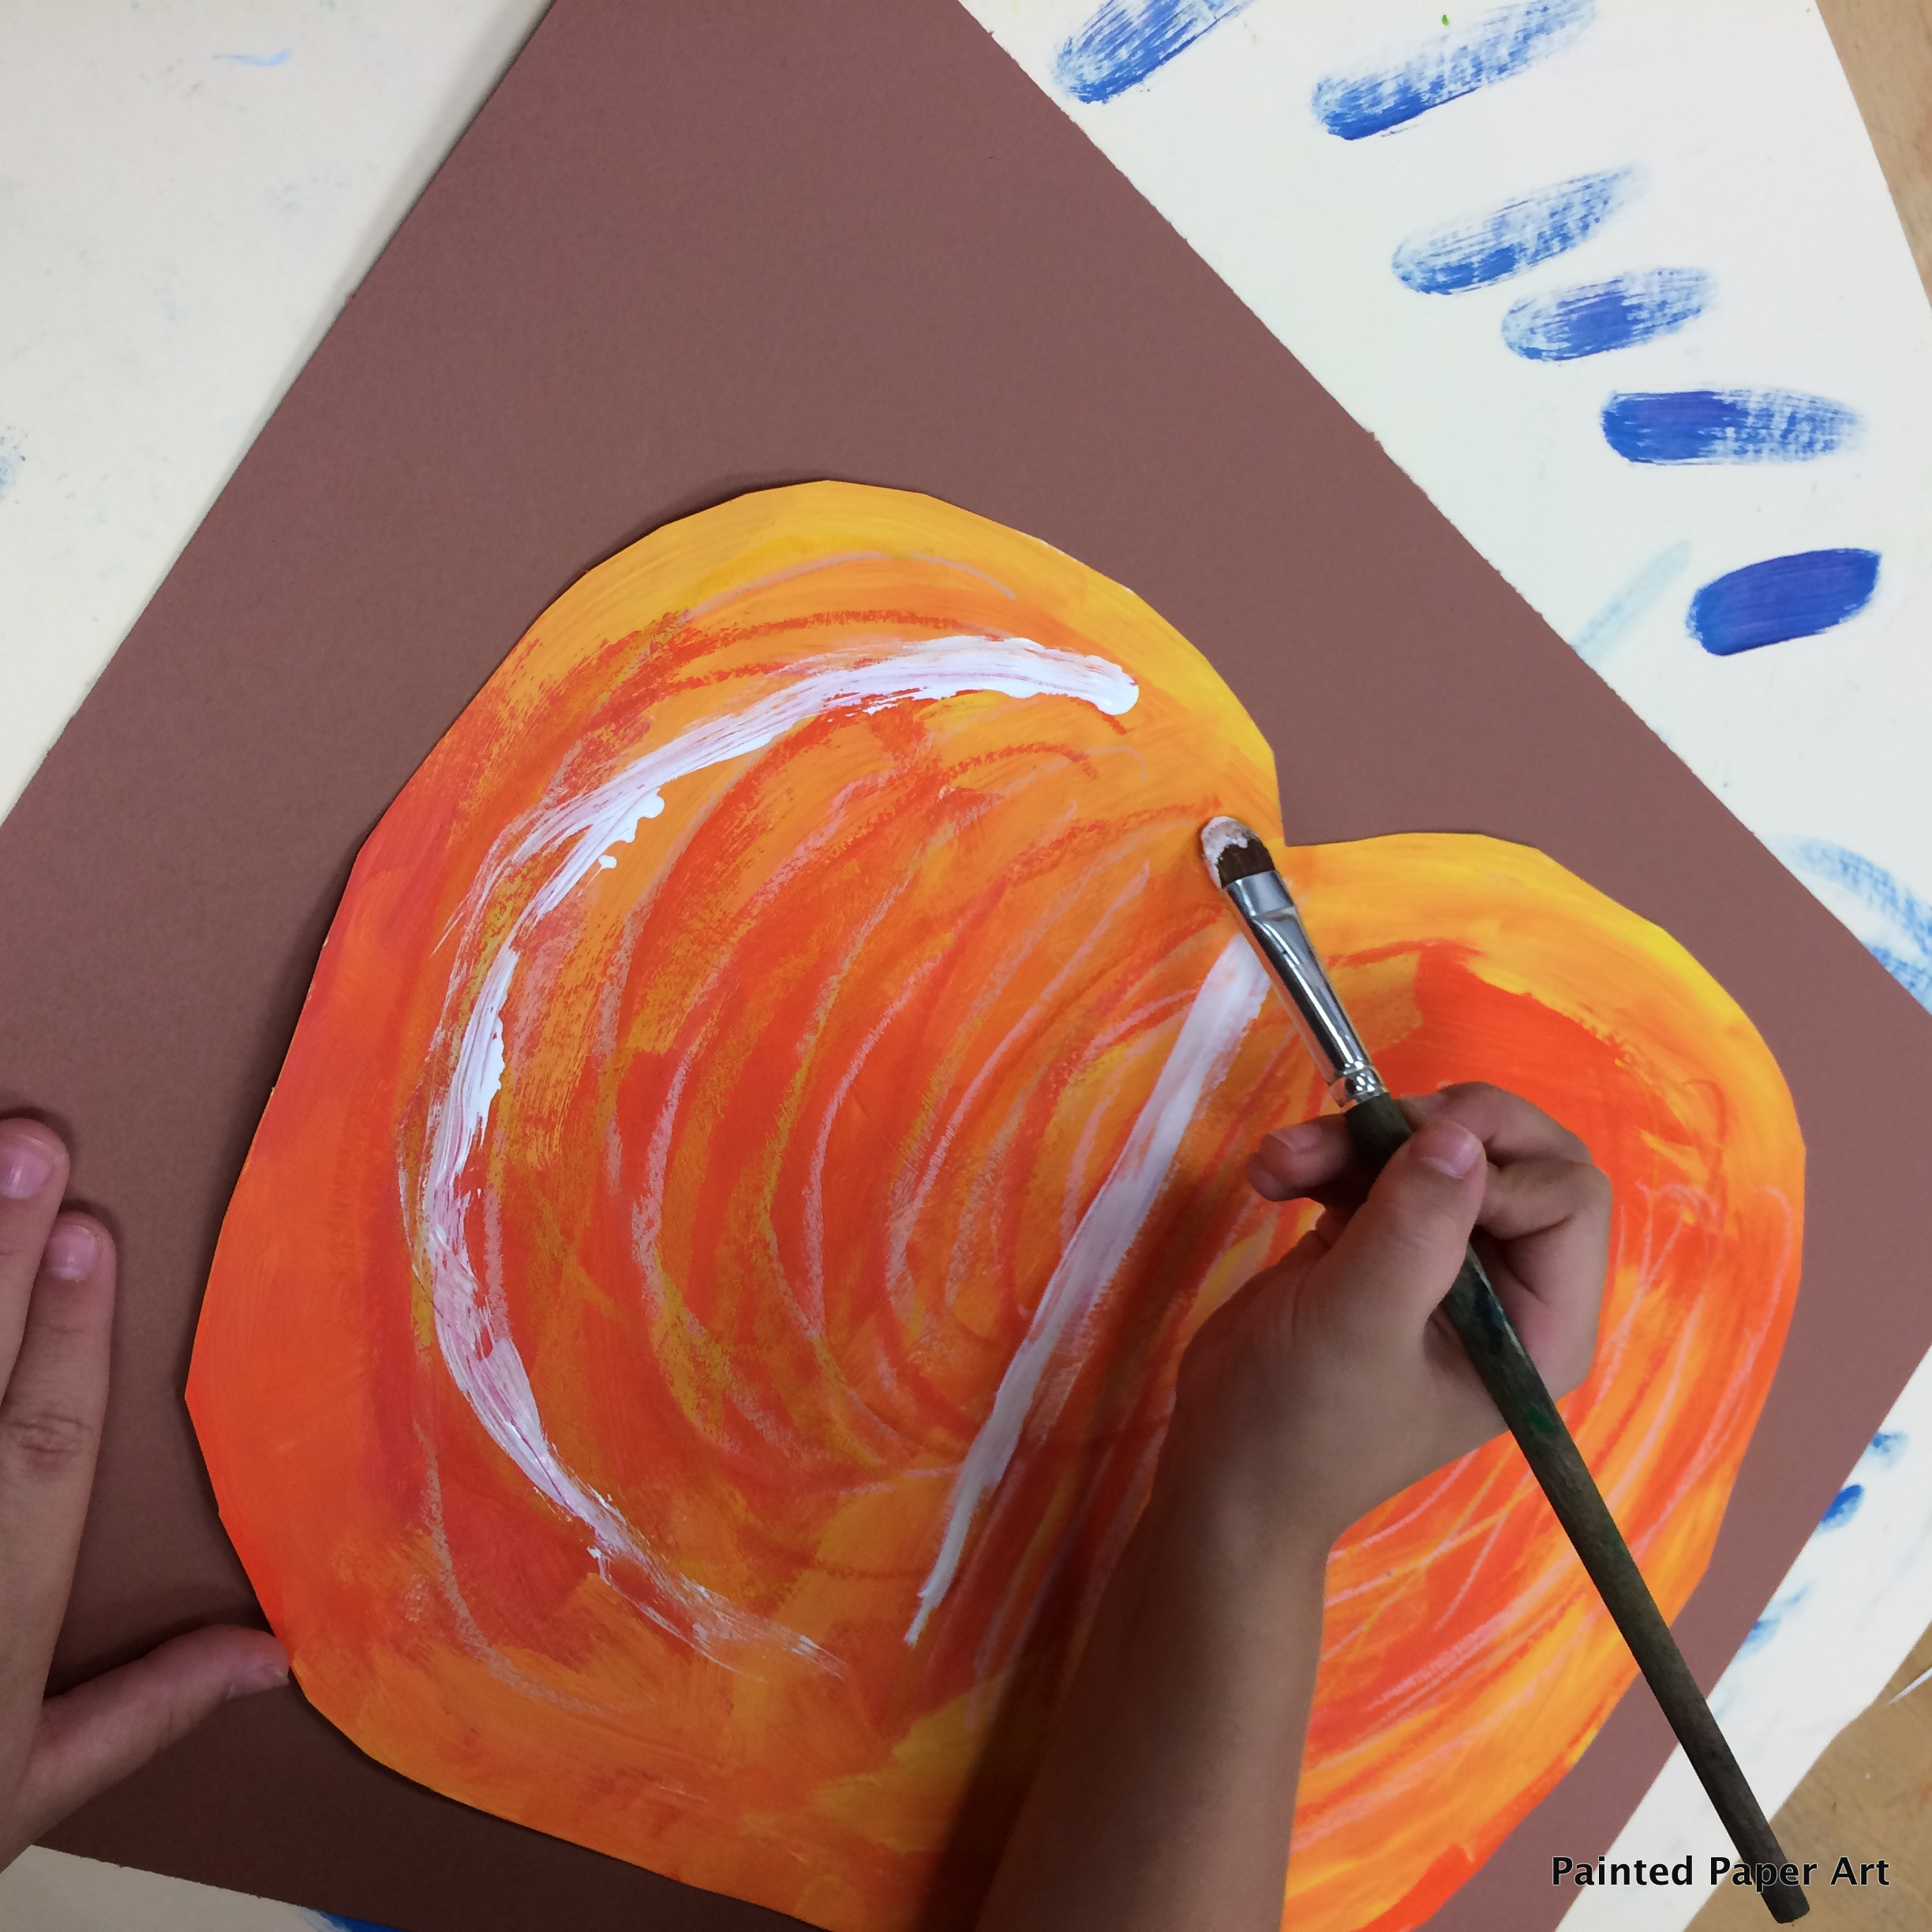
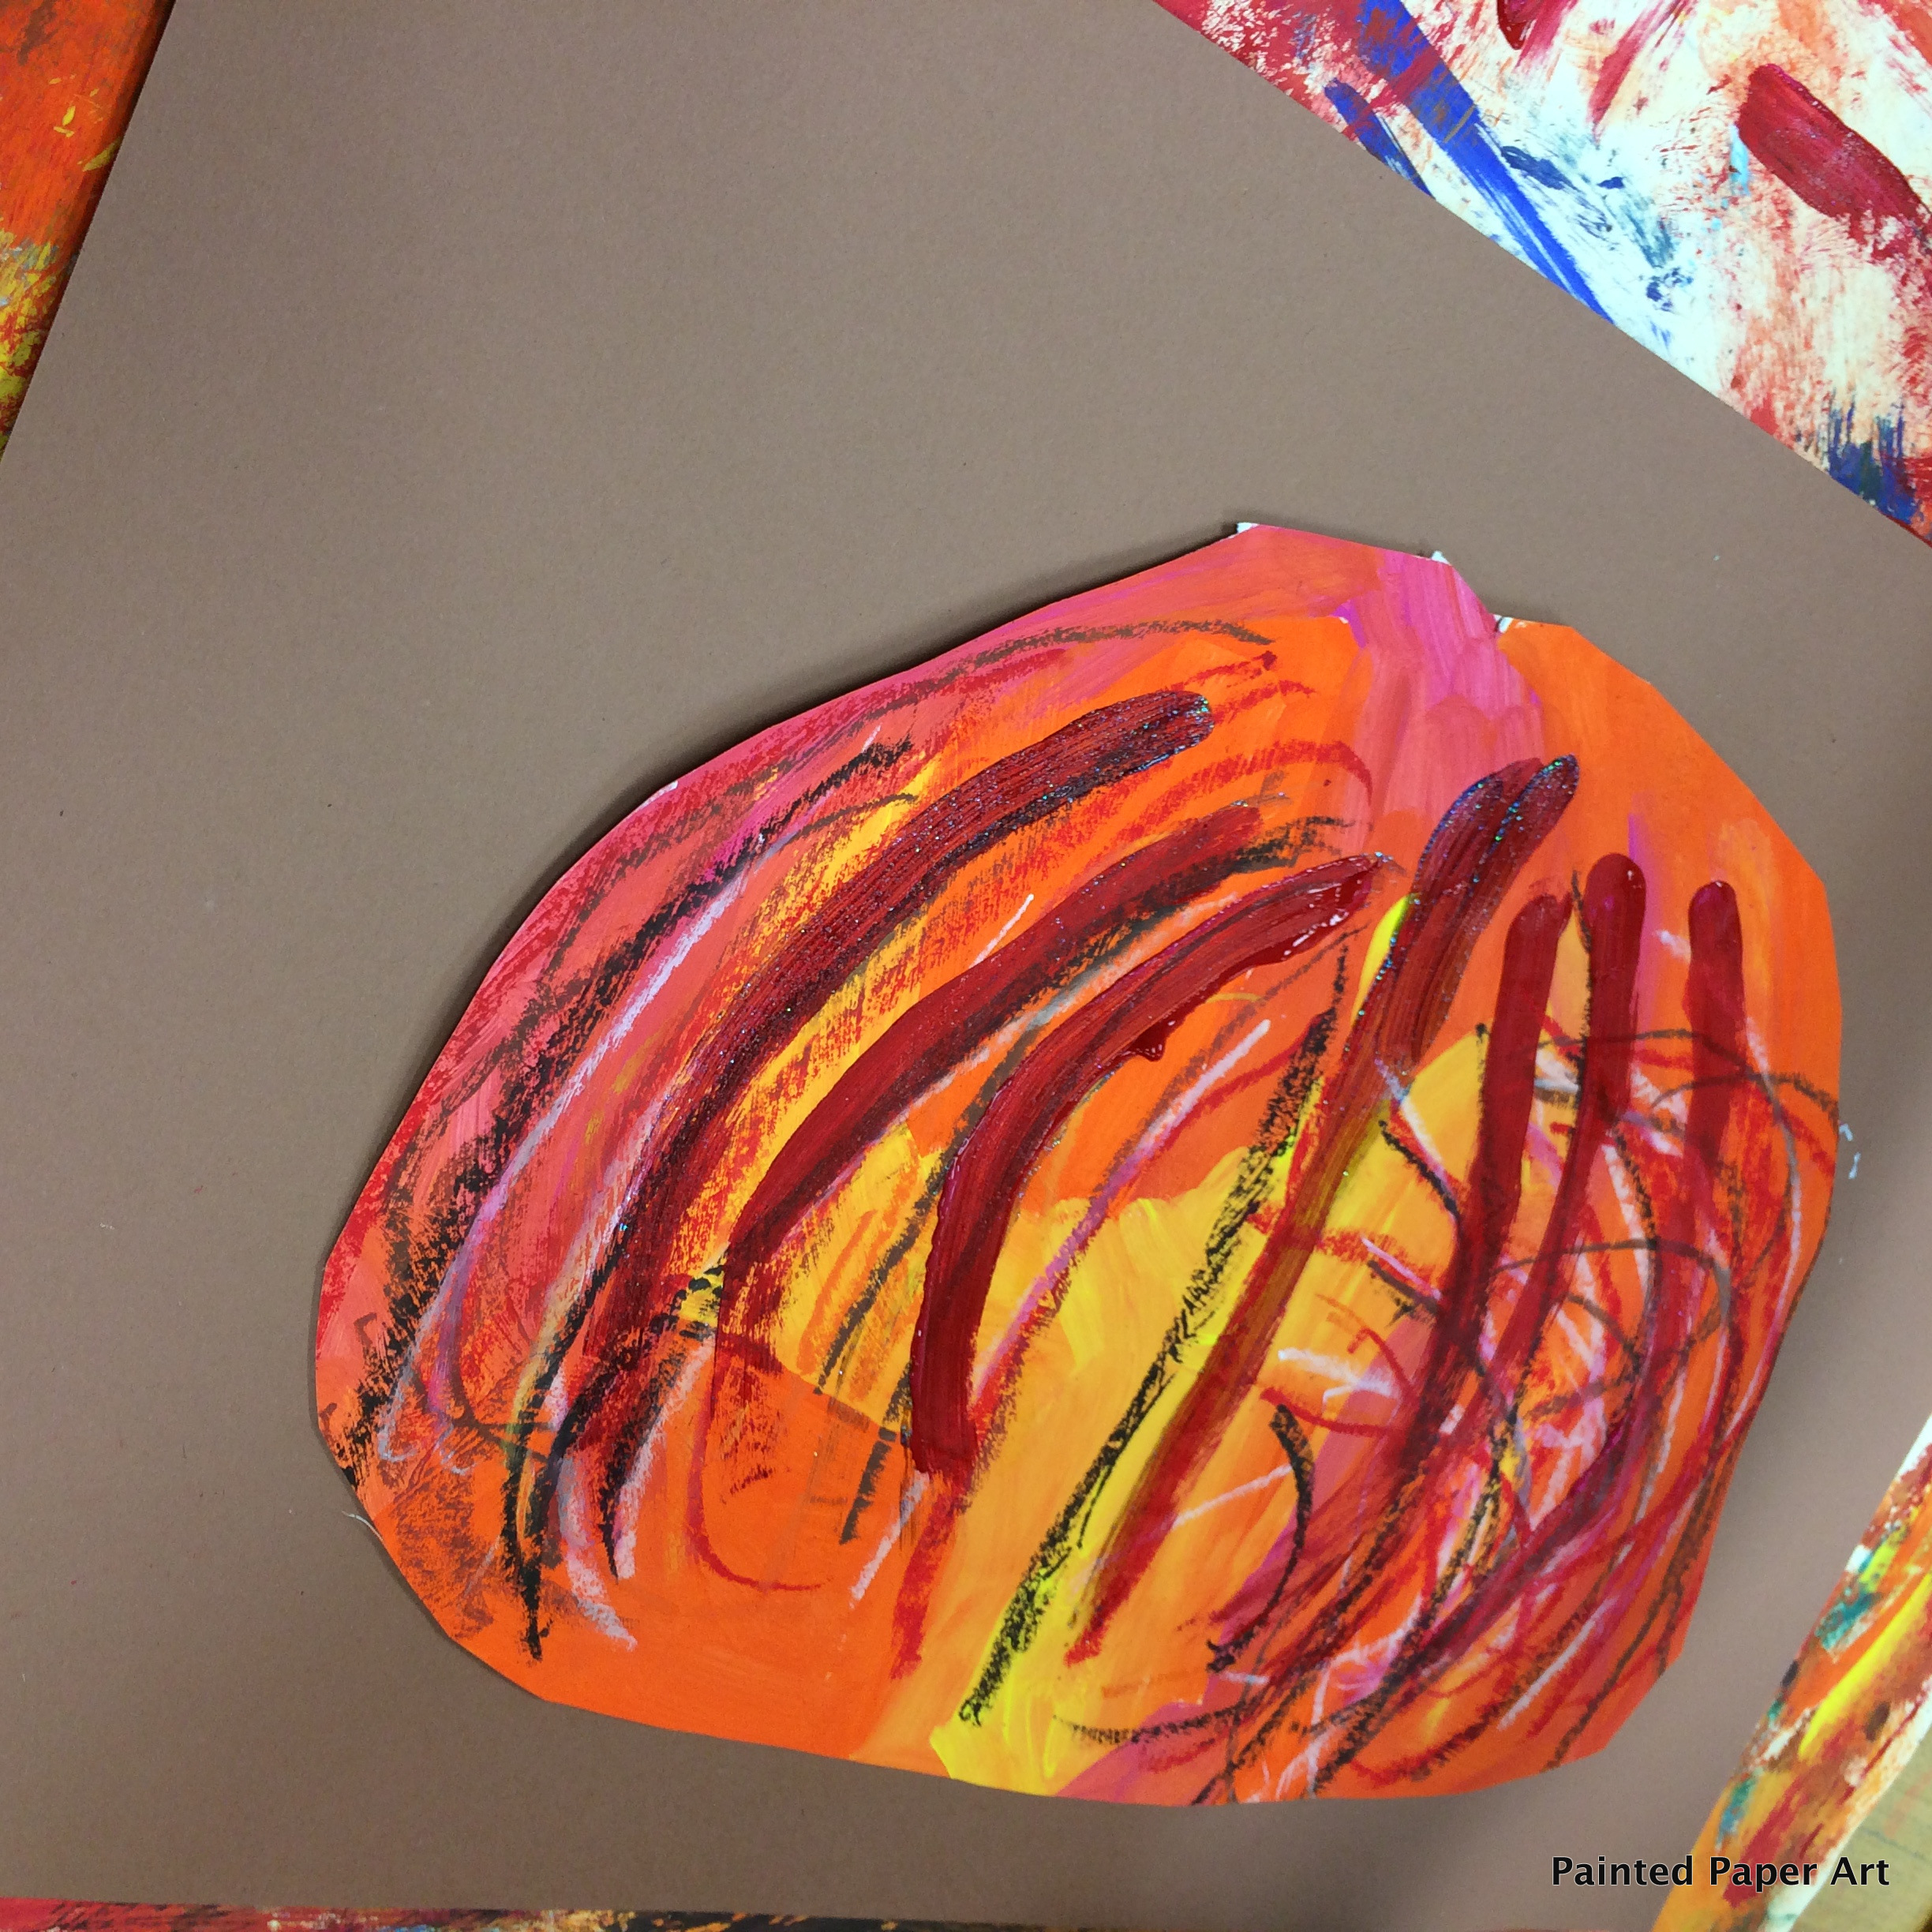
Week One-Draw out the pumpkin shape with a pencil on 12 x 18 white sulphite paper. Next, apply warm color tempera paints. Make sure to show brushstrokes on the pumpkin ~this gives added interest. Let Dry.
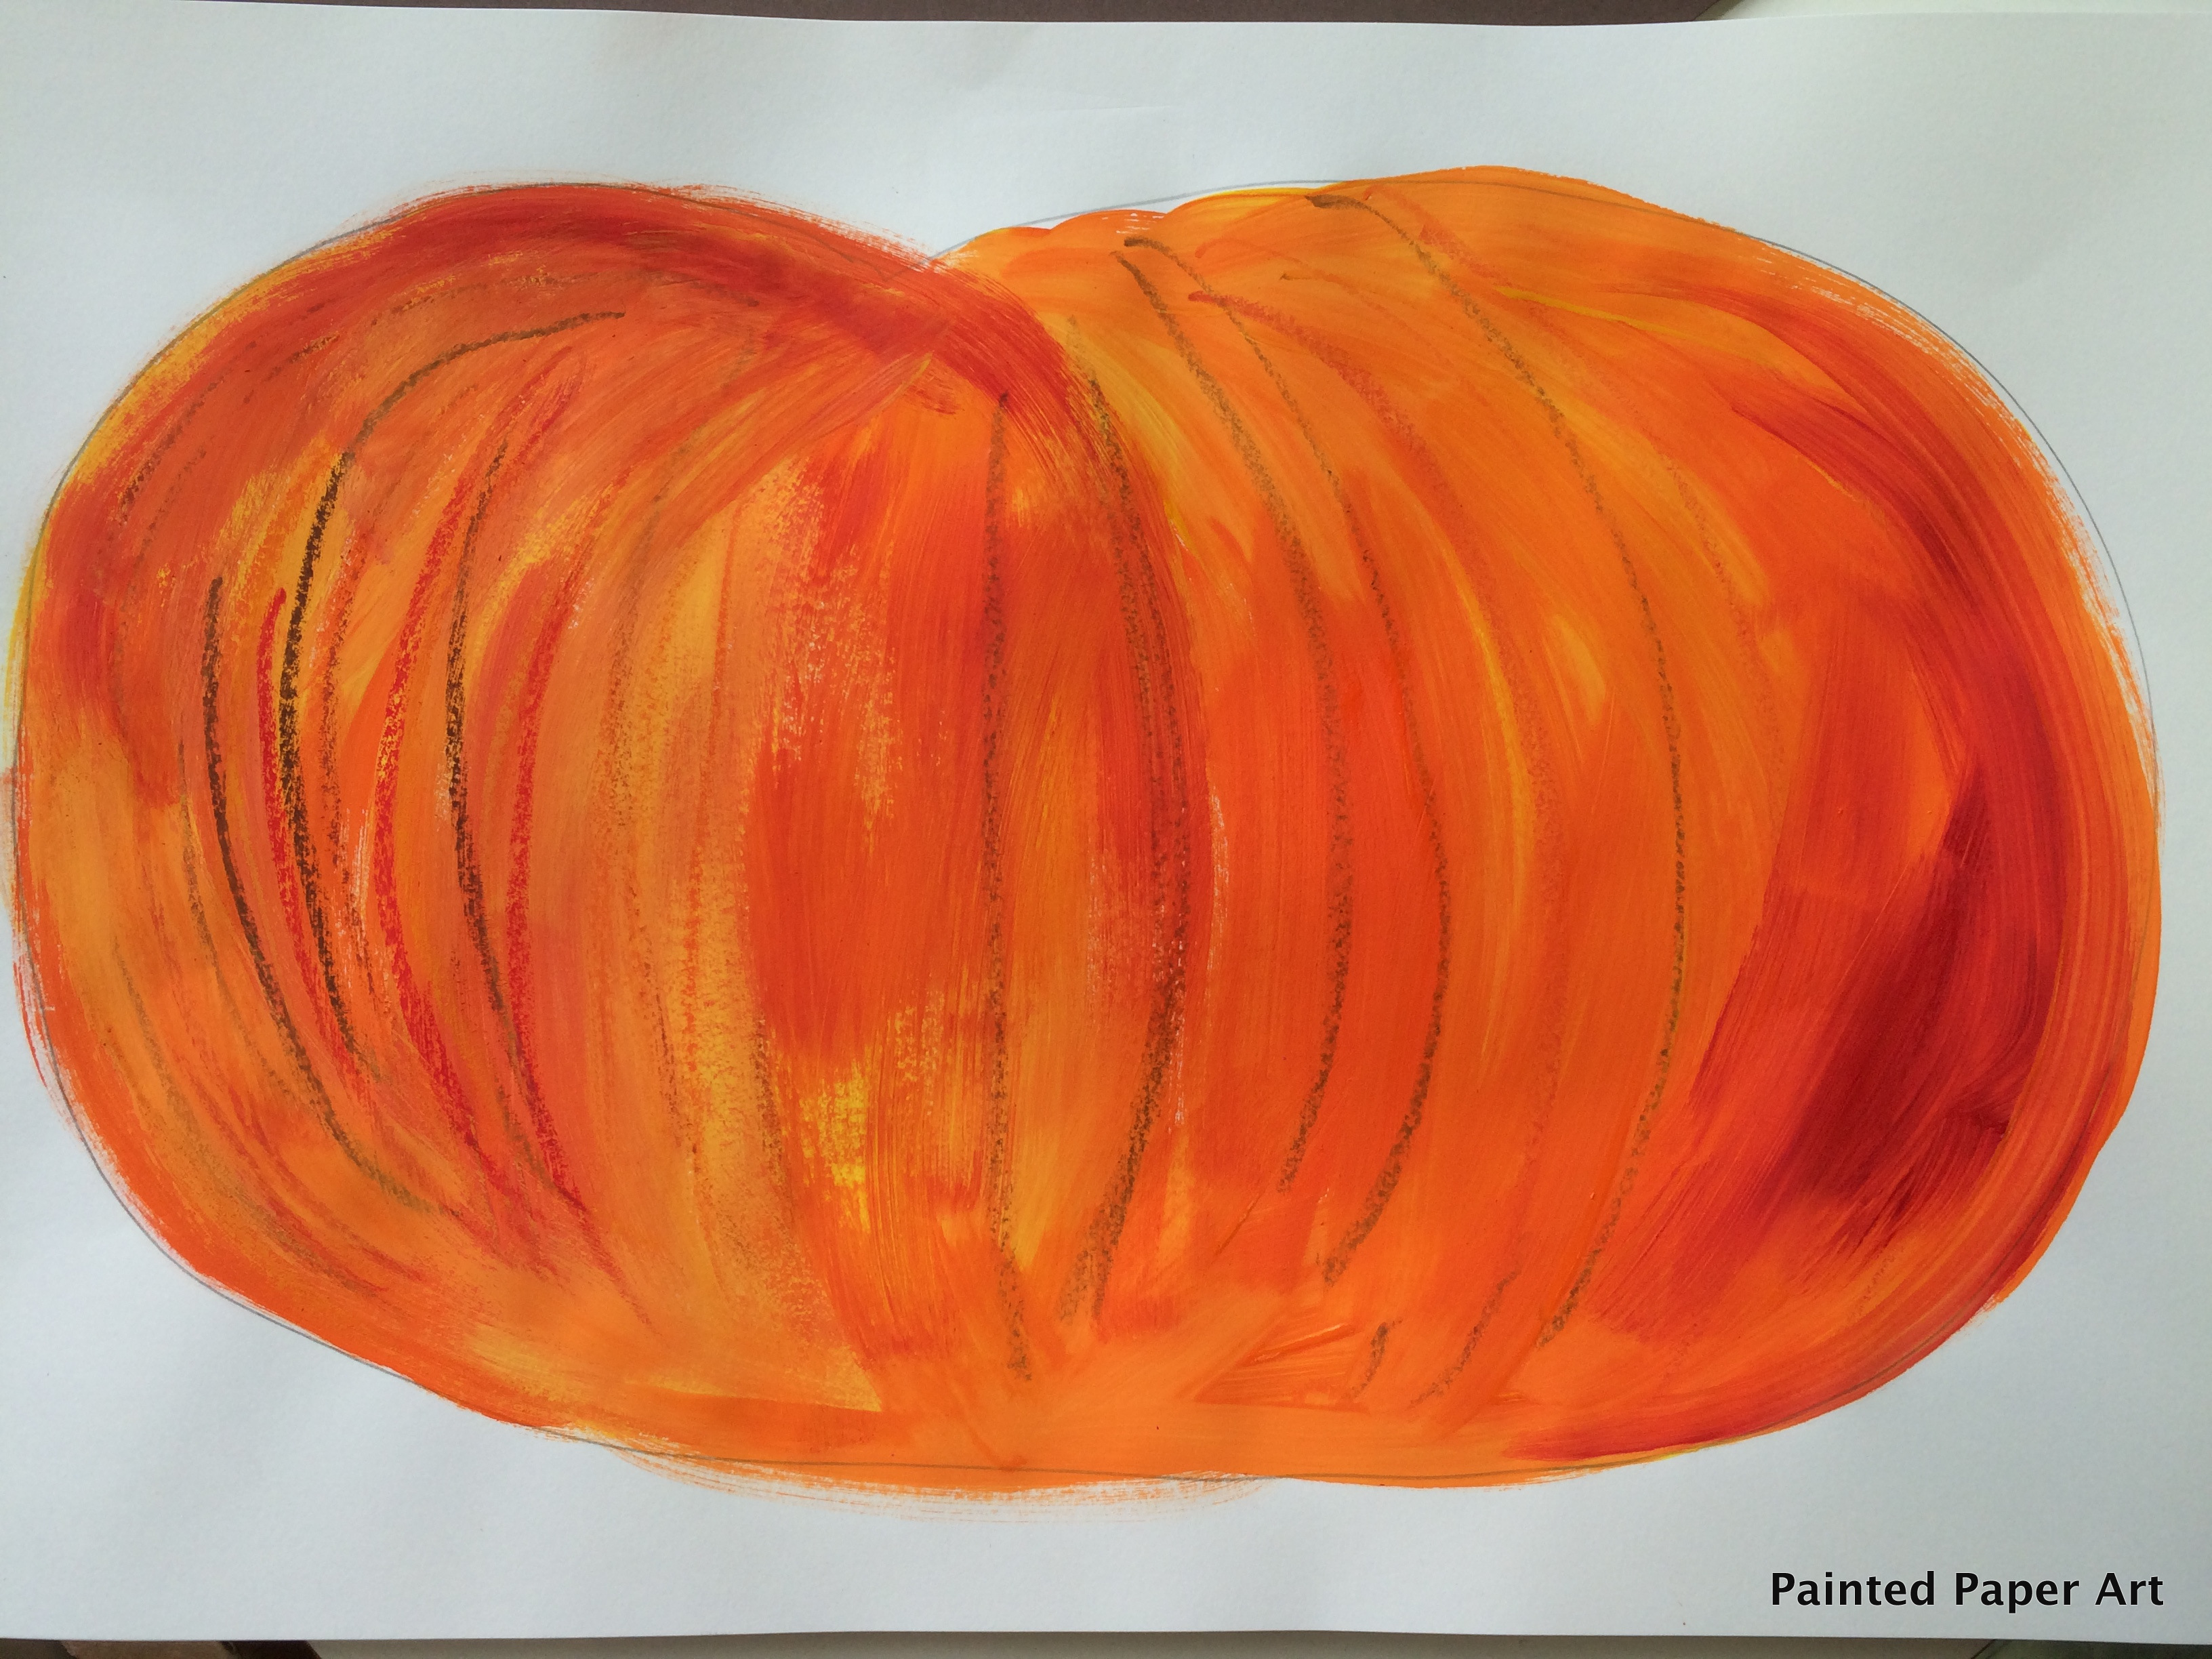
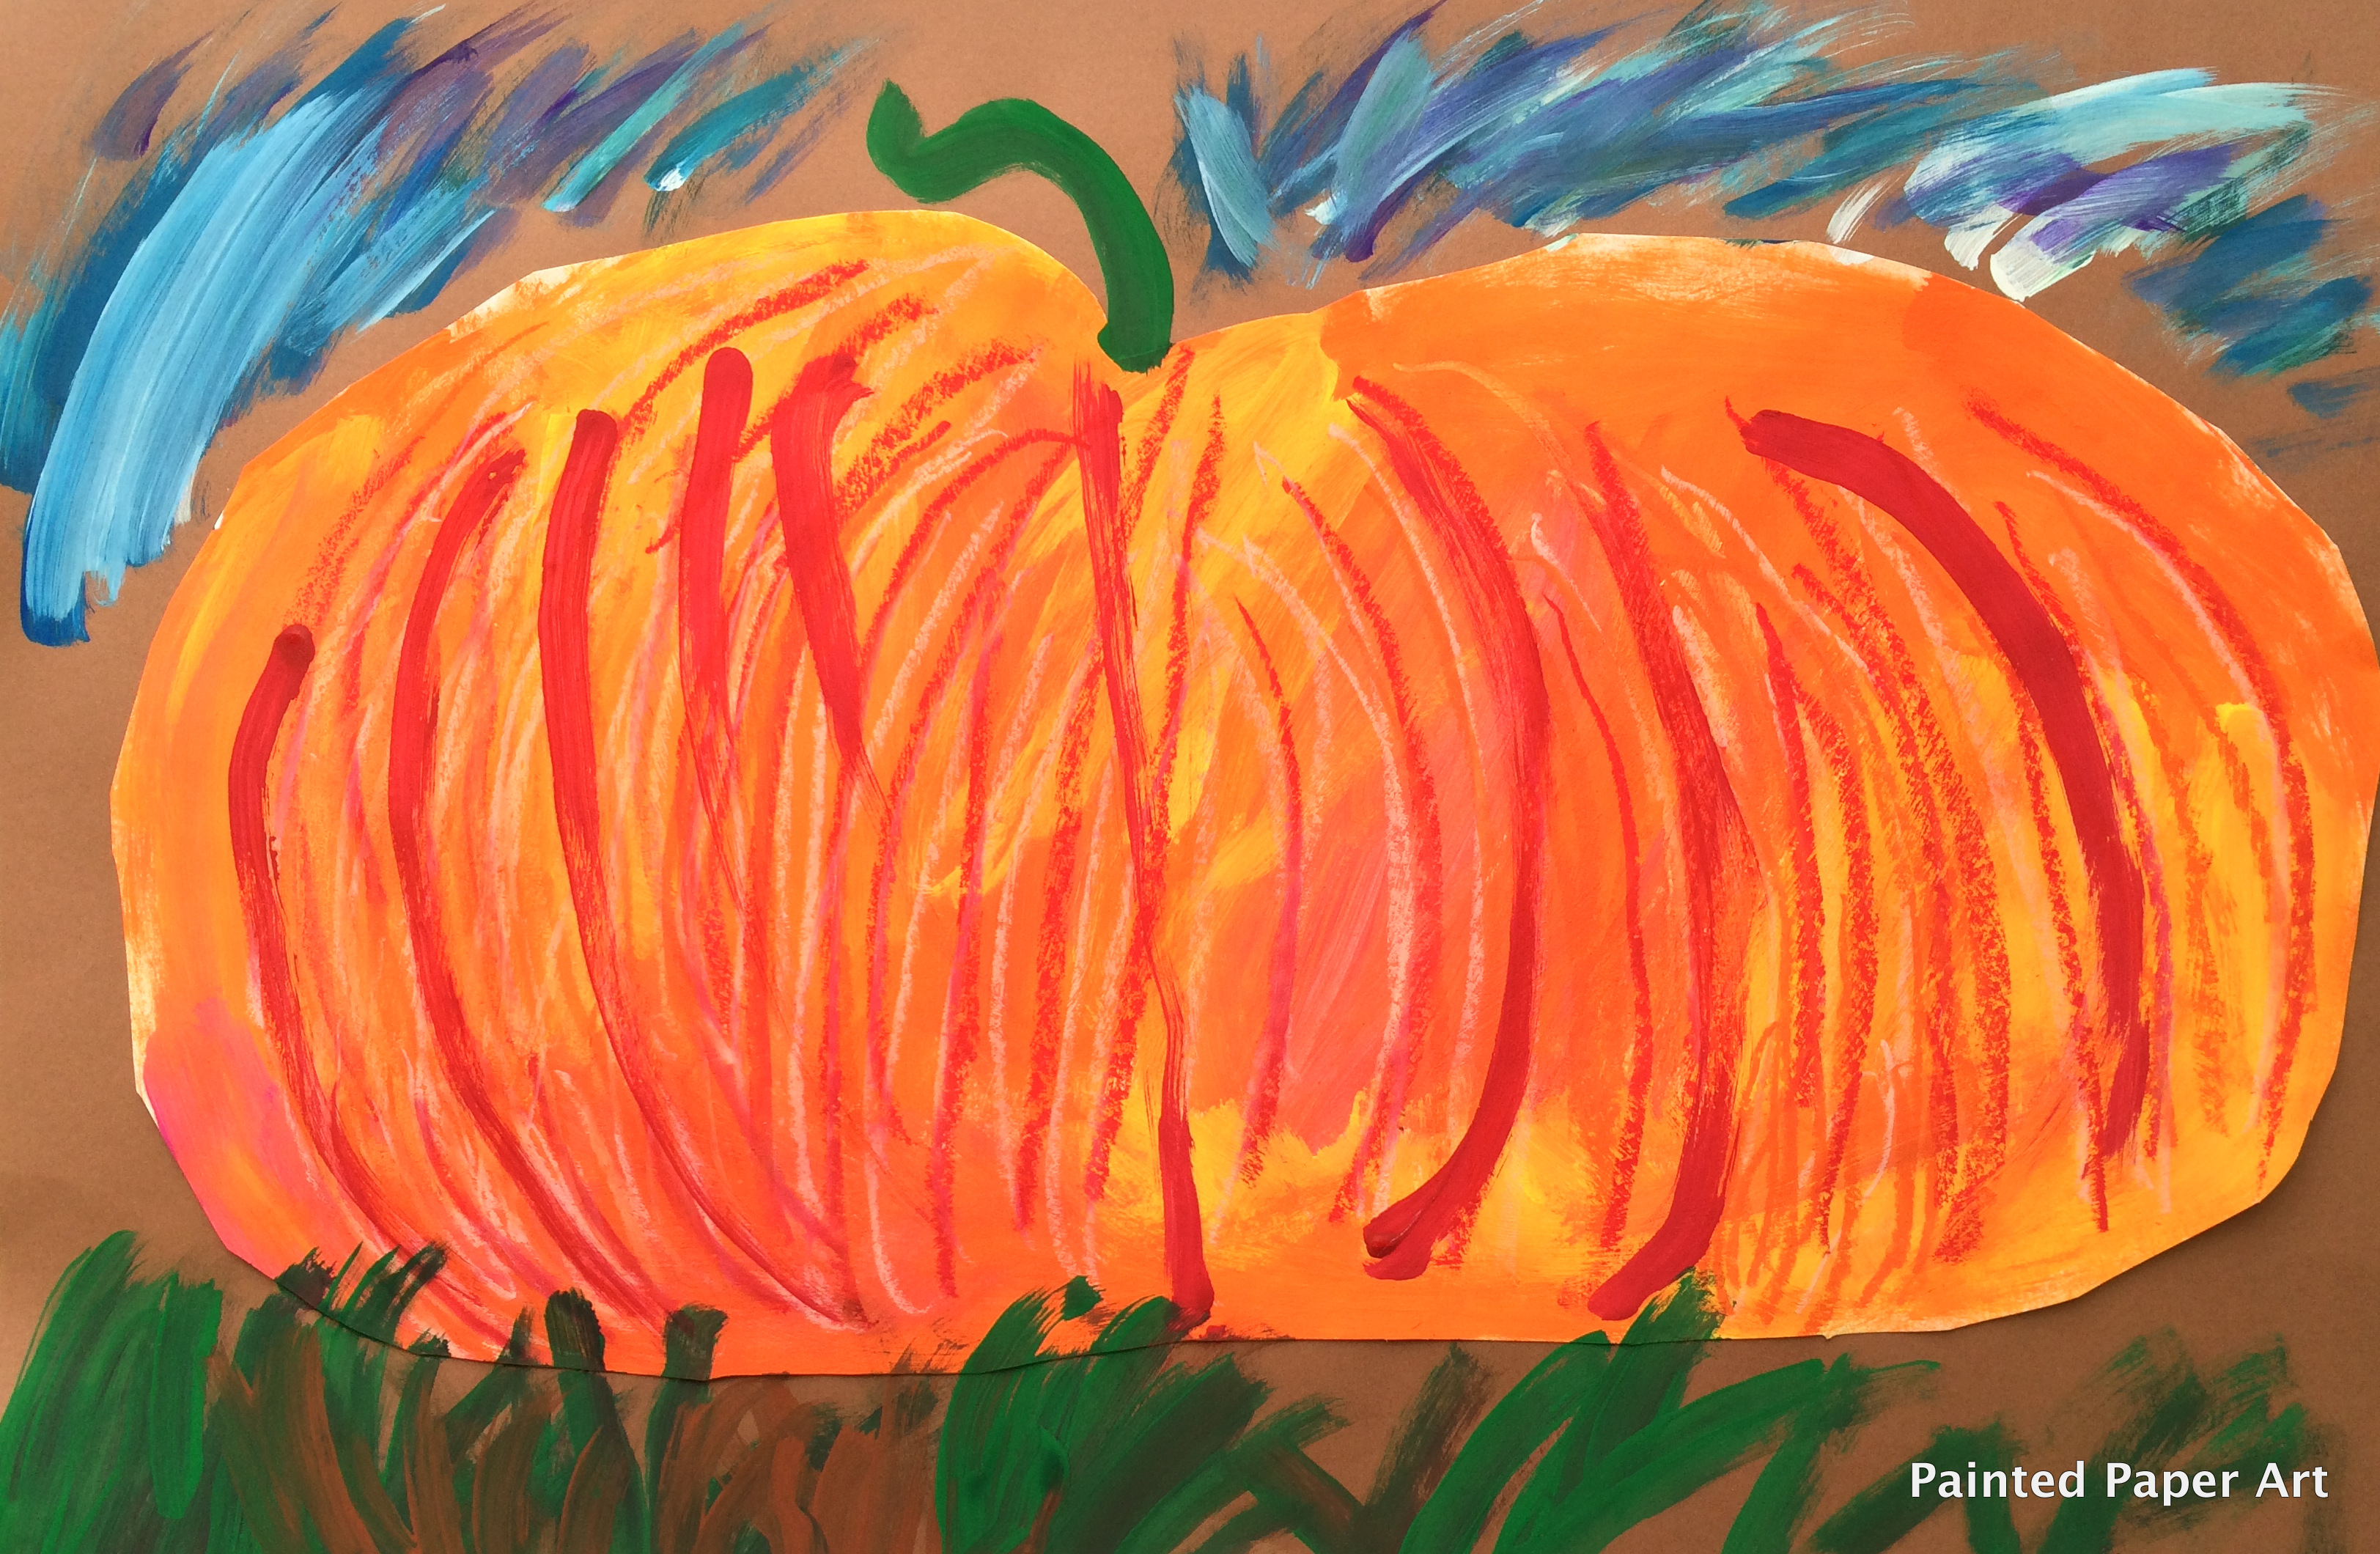
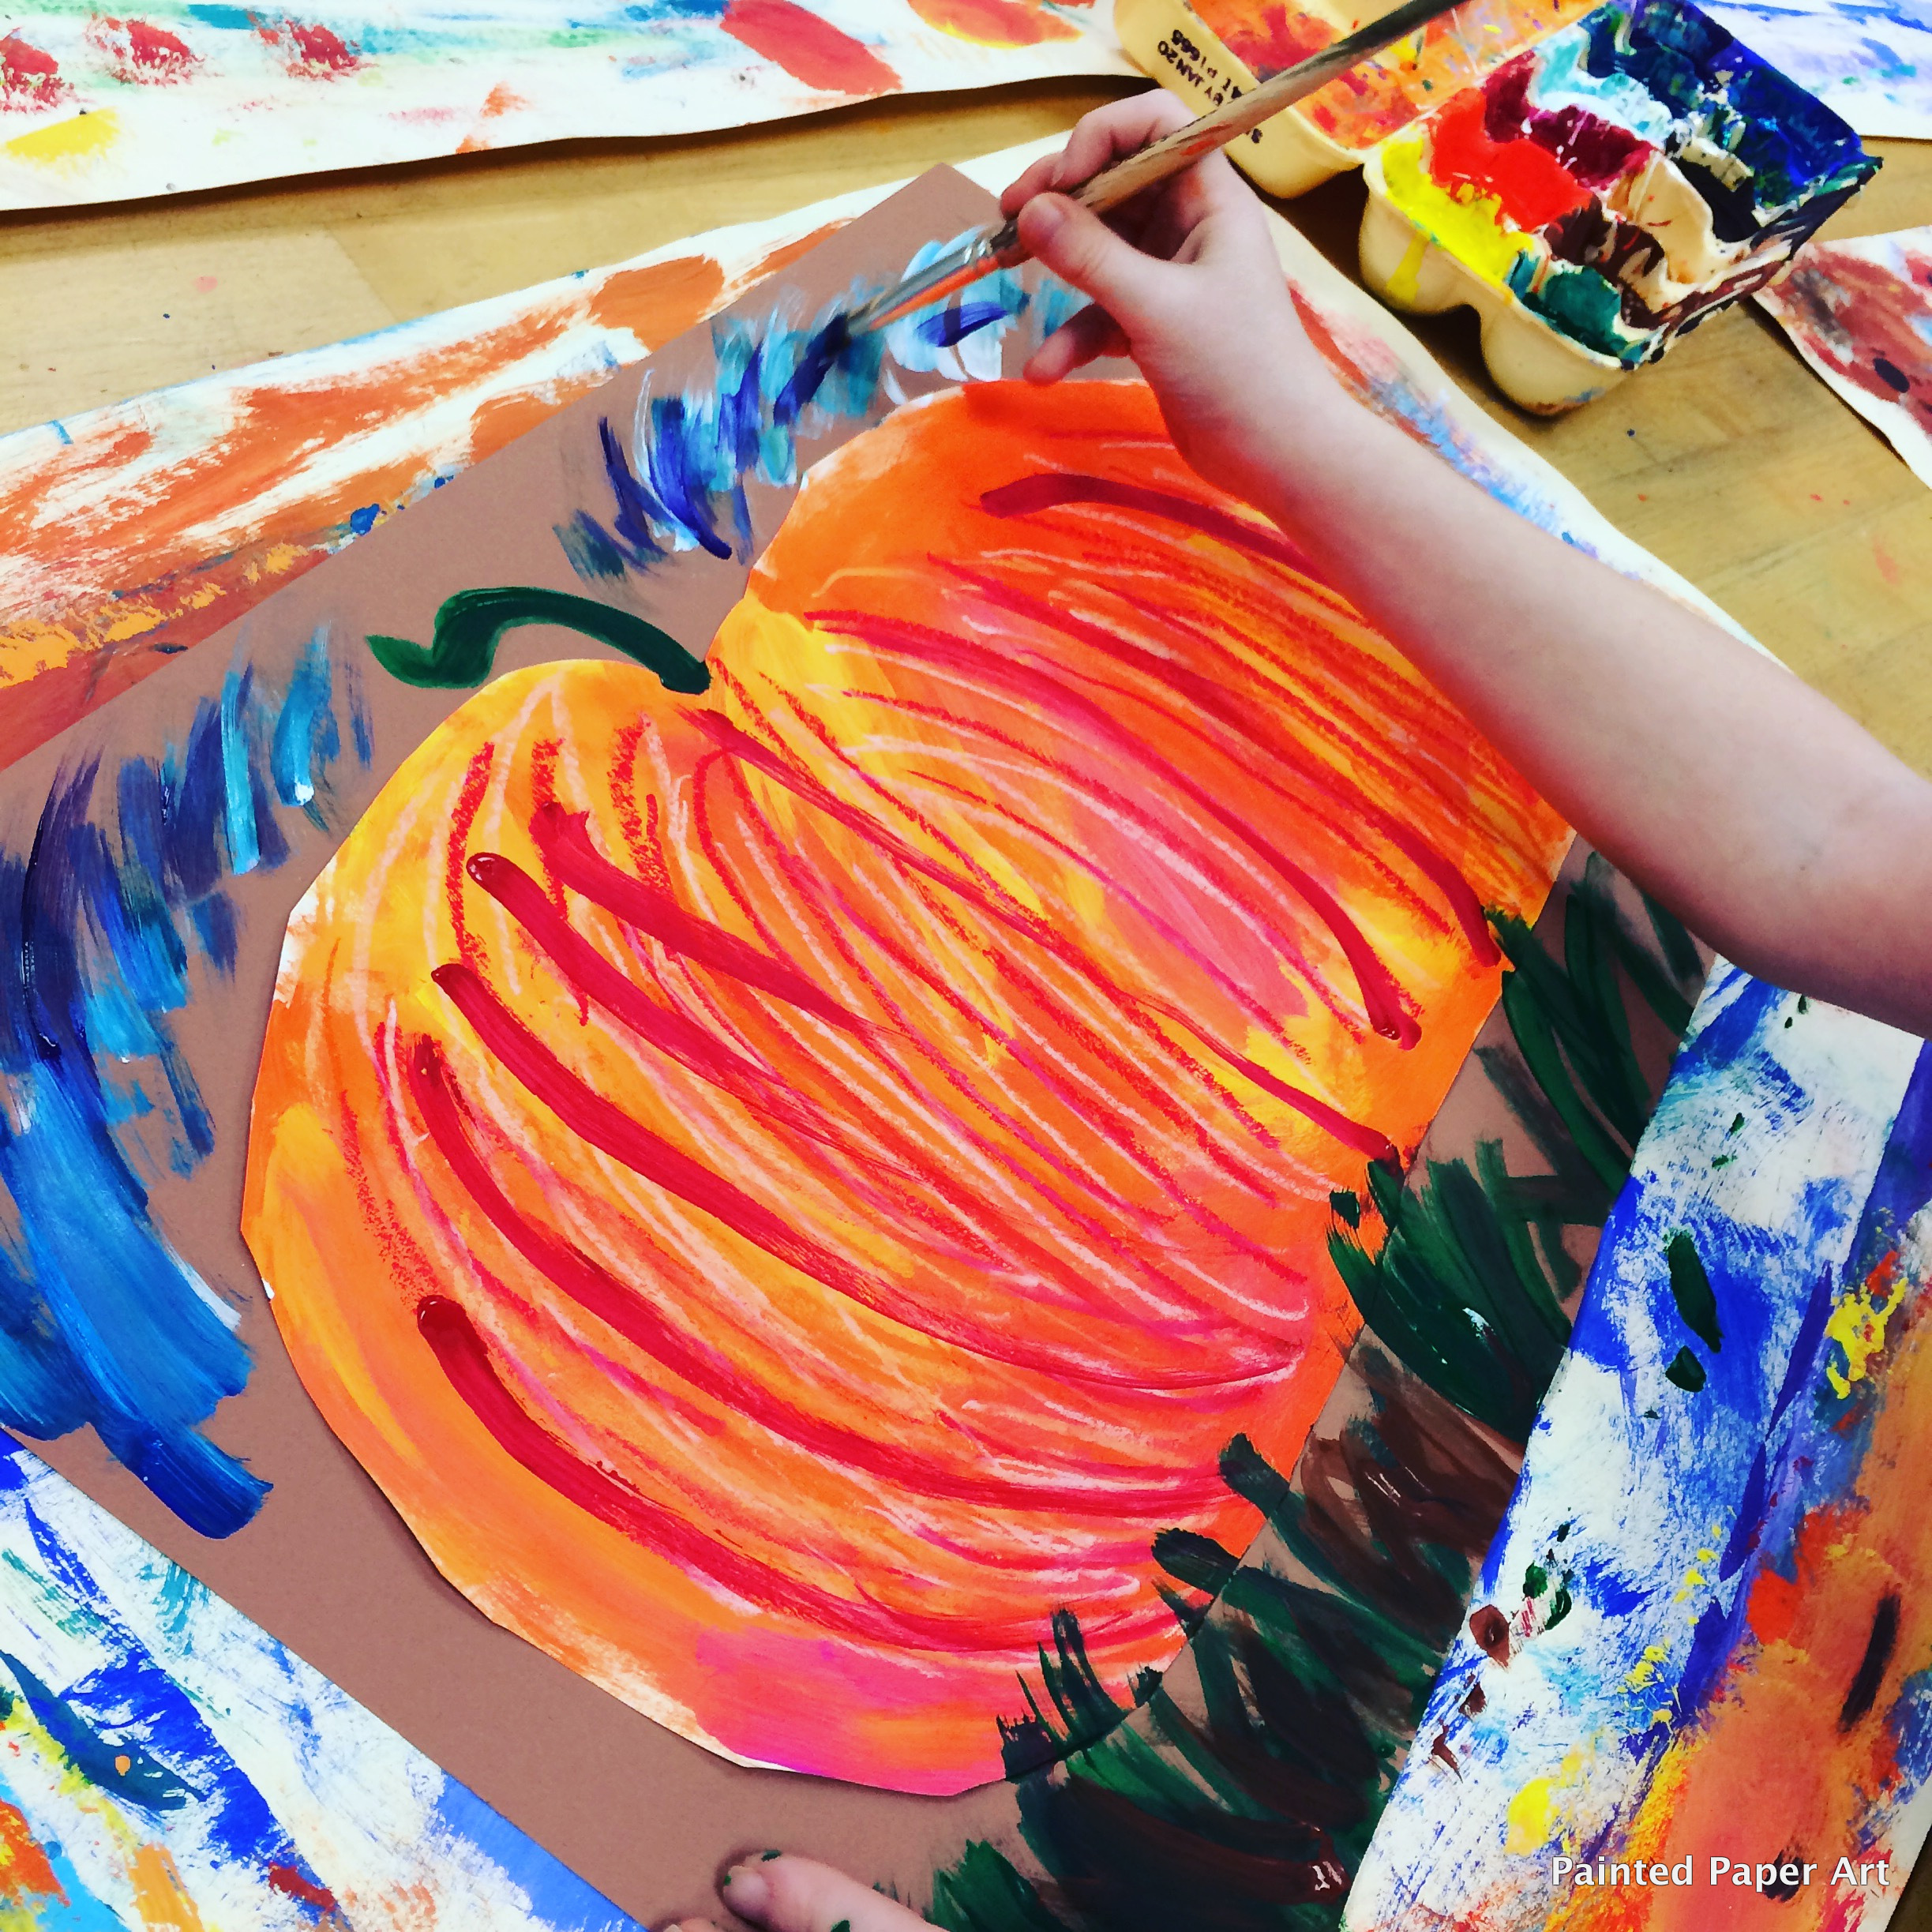
Week Two– Add curved lines using oil pastels for more texture. Cut out pumpkin and glue onto 12 by 18 dark colored construction paper. We used different shades of brown for our background.
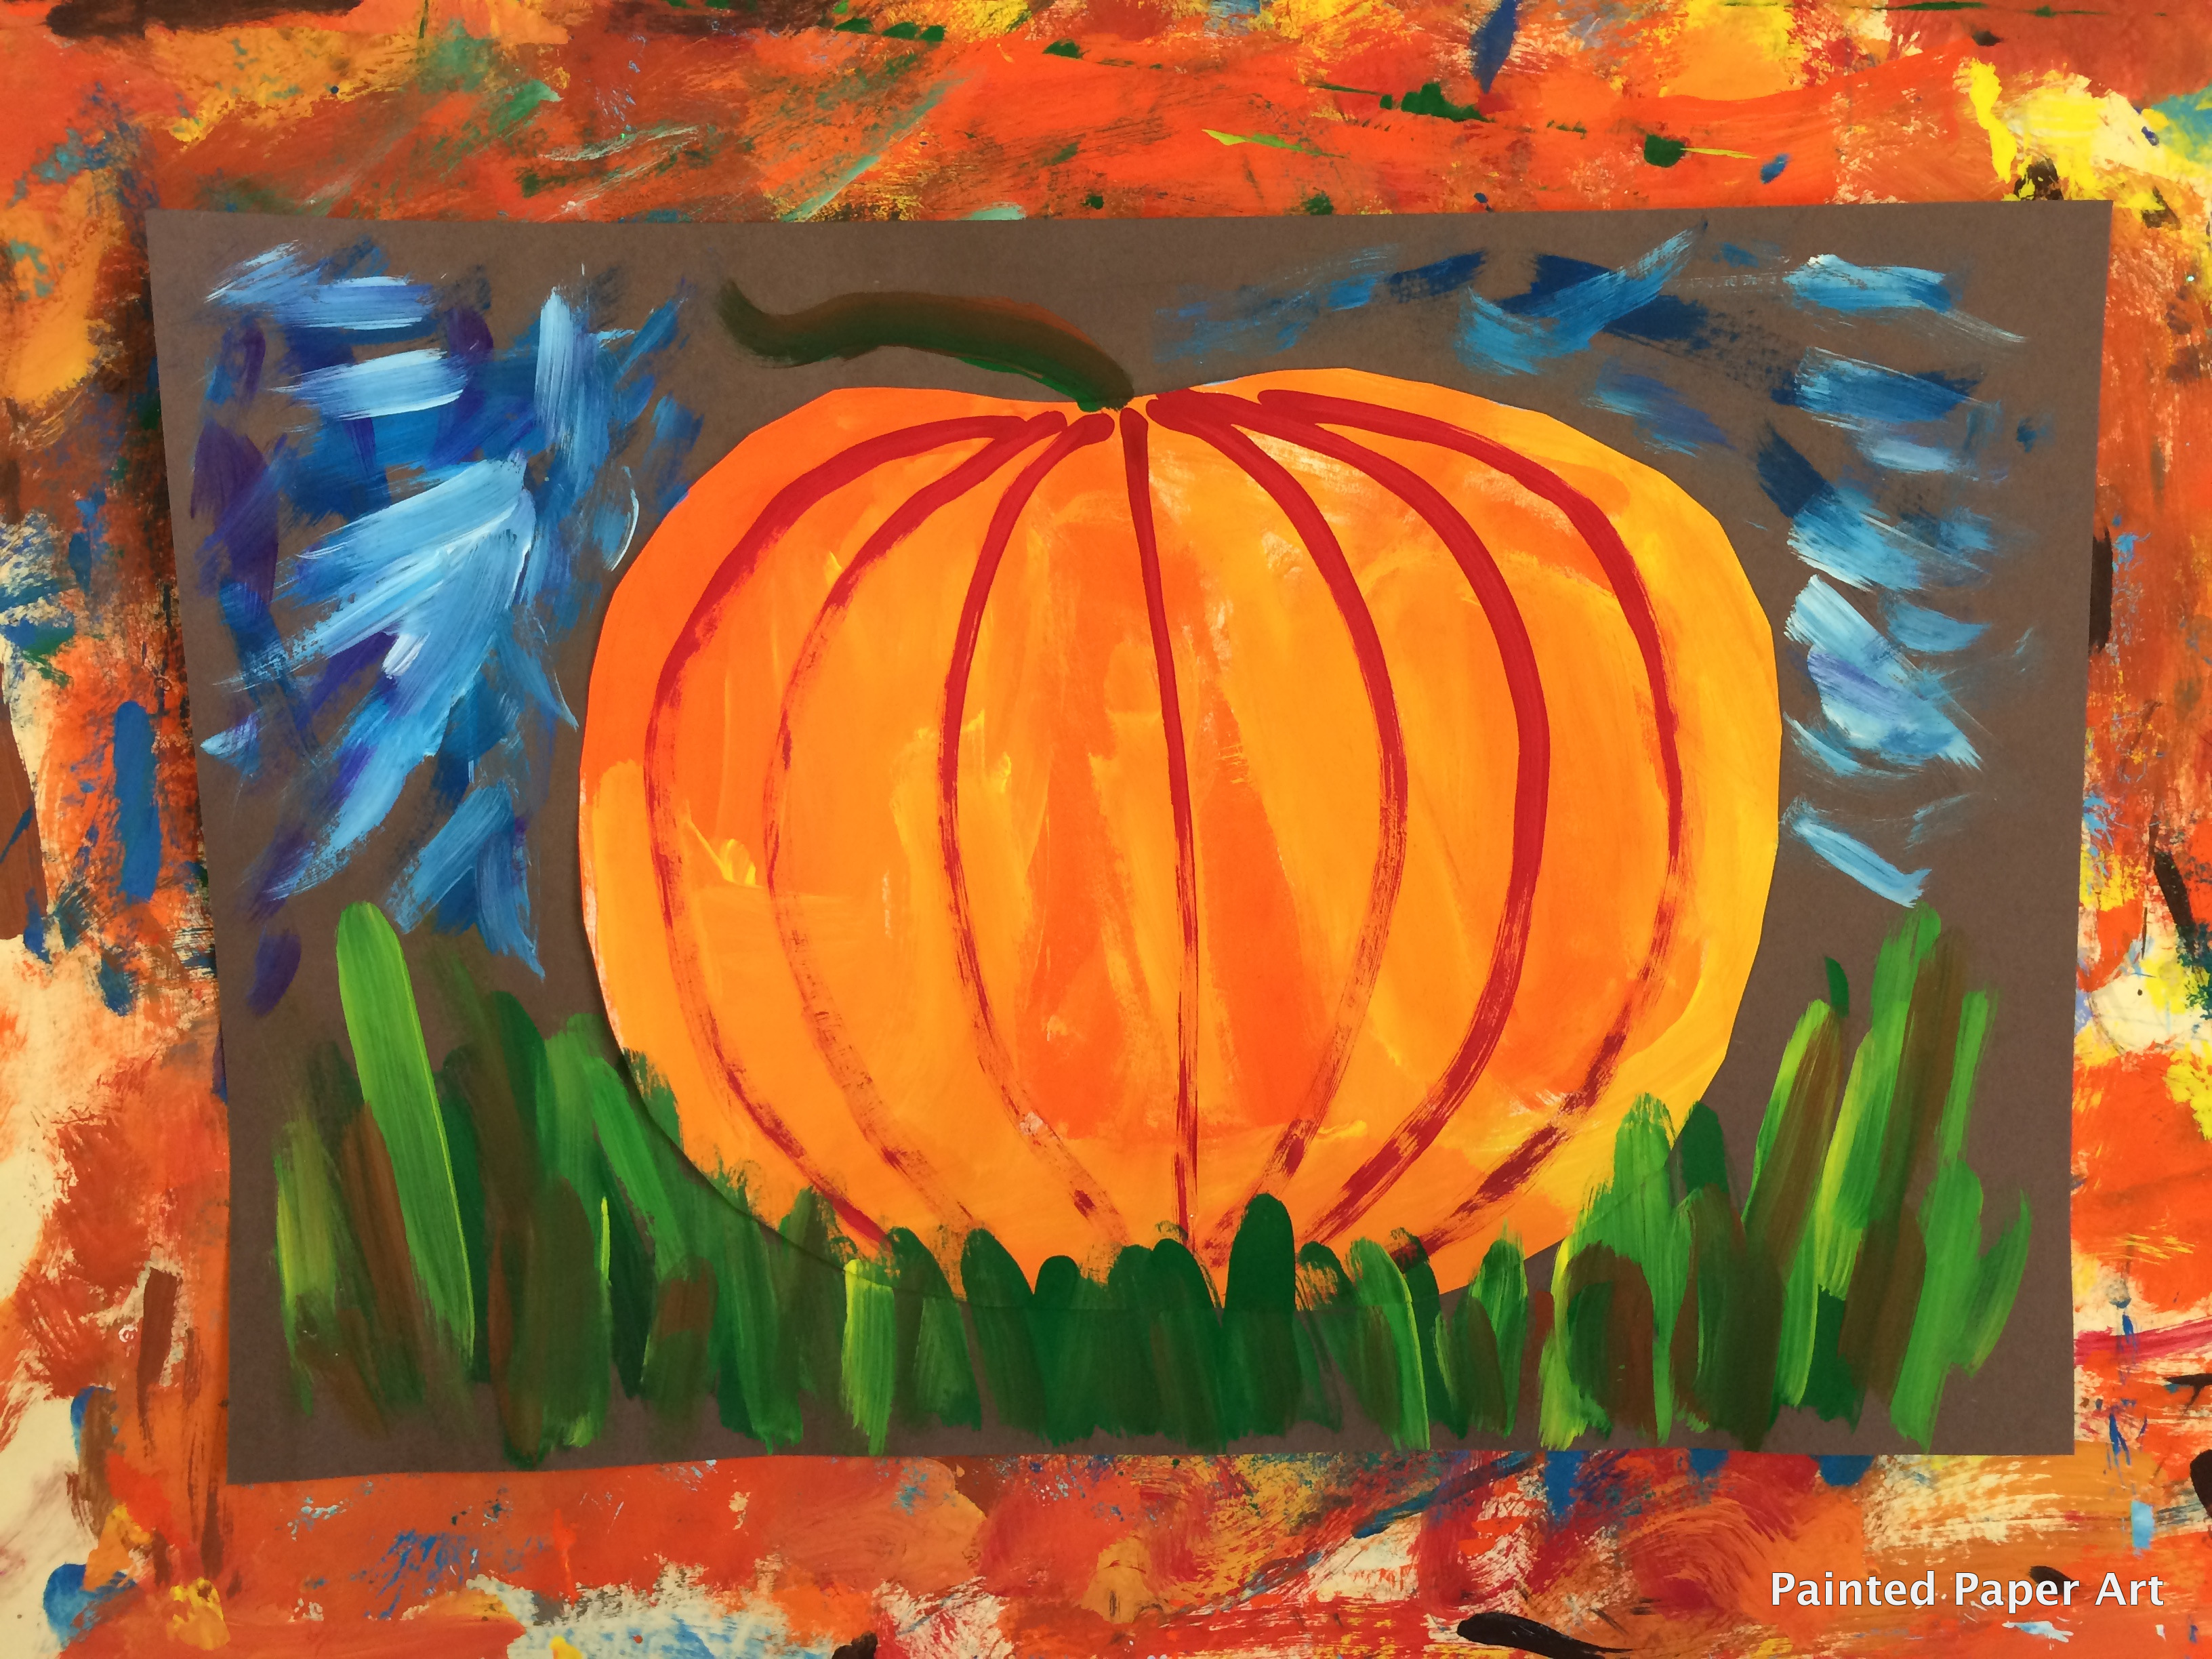
Next, add curved lines with a medium sized brush and tempera paint to represent the ridges in the pumpkin. Suggest only one color of tempera paint for this step.
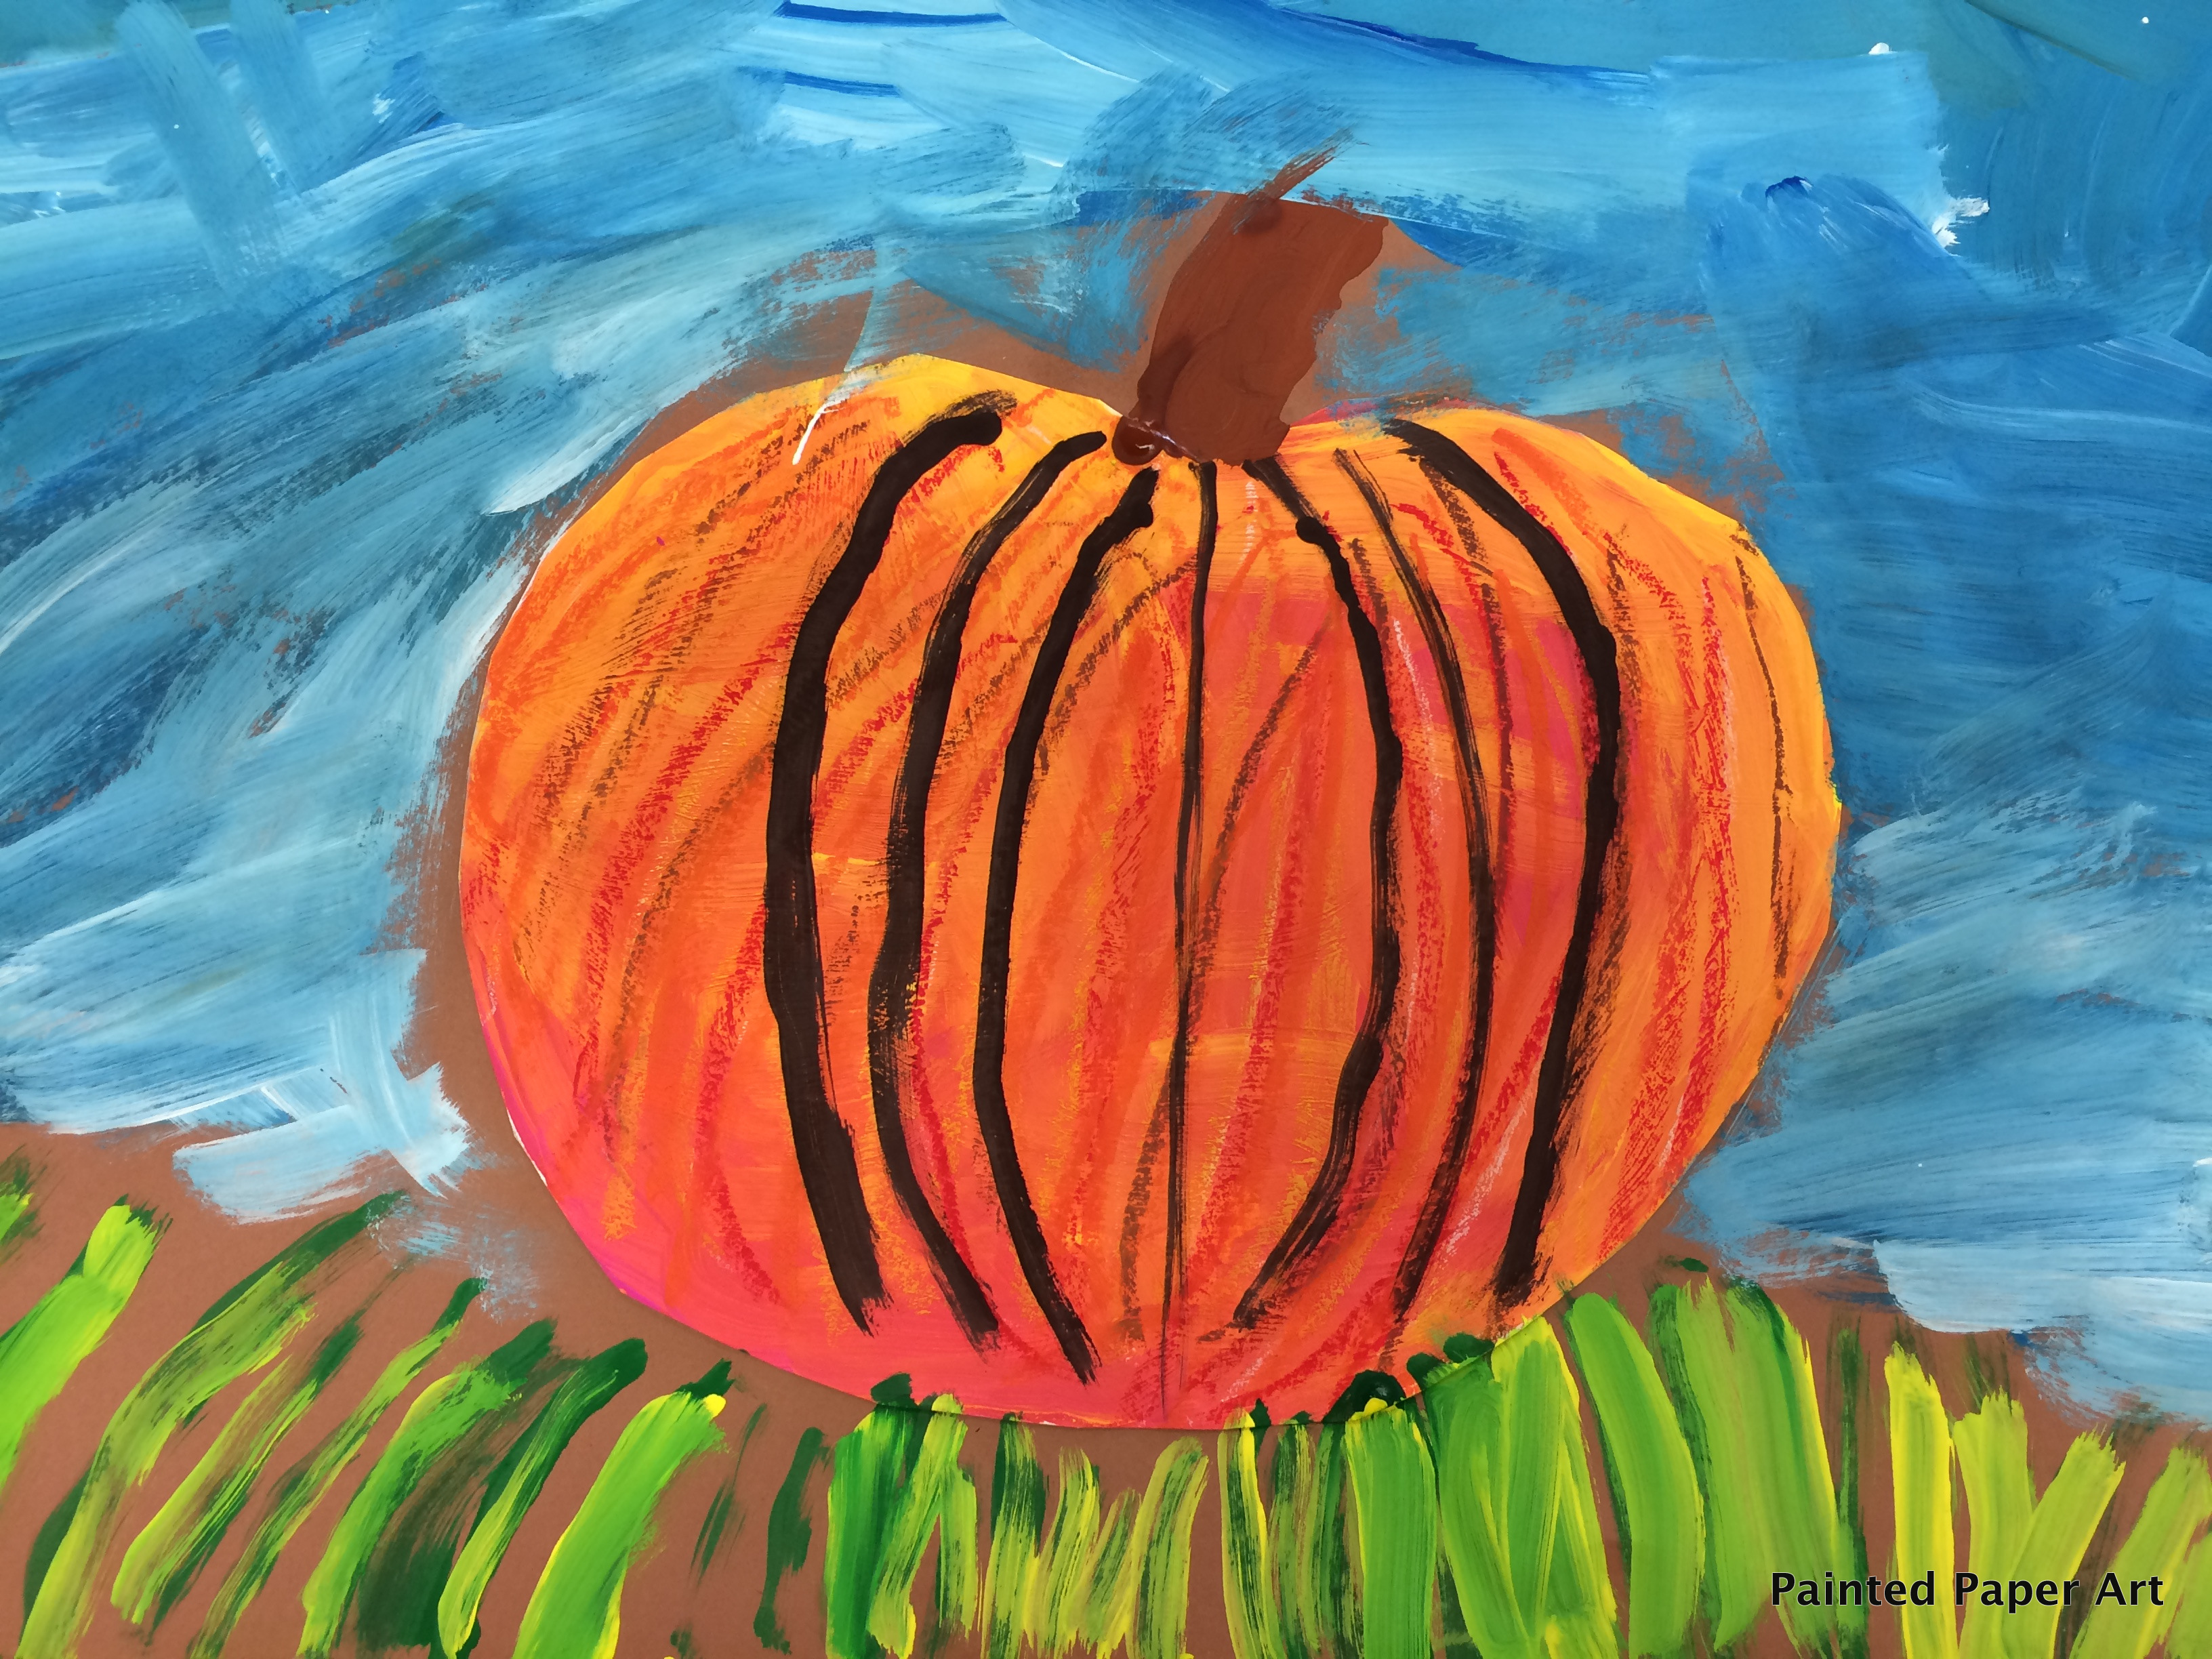
Add a stem and blades of grass with various shades of green tempera paint, add a little yellow and brown tempera for contrast.
Lastly, add overlapping brushstrokes in the sky using various cool colors of tempera paint. Blue, turquoise, and purple work nicely. Don’t forget to add white tempera paint to create beautiful tints.
Materials:
12 x 18 sulphite paper
12 x 18 Dark construction paper
Oil Pastels
Tempera Paint Warm/Cool Colors, Paint brush, Placemat
Scissors, Glue, Pencil
Happy Fall and Keep on Creating!
Laura
Don’t forget to check out my other fall projects!