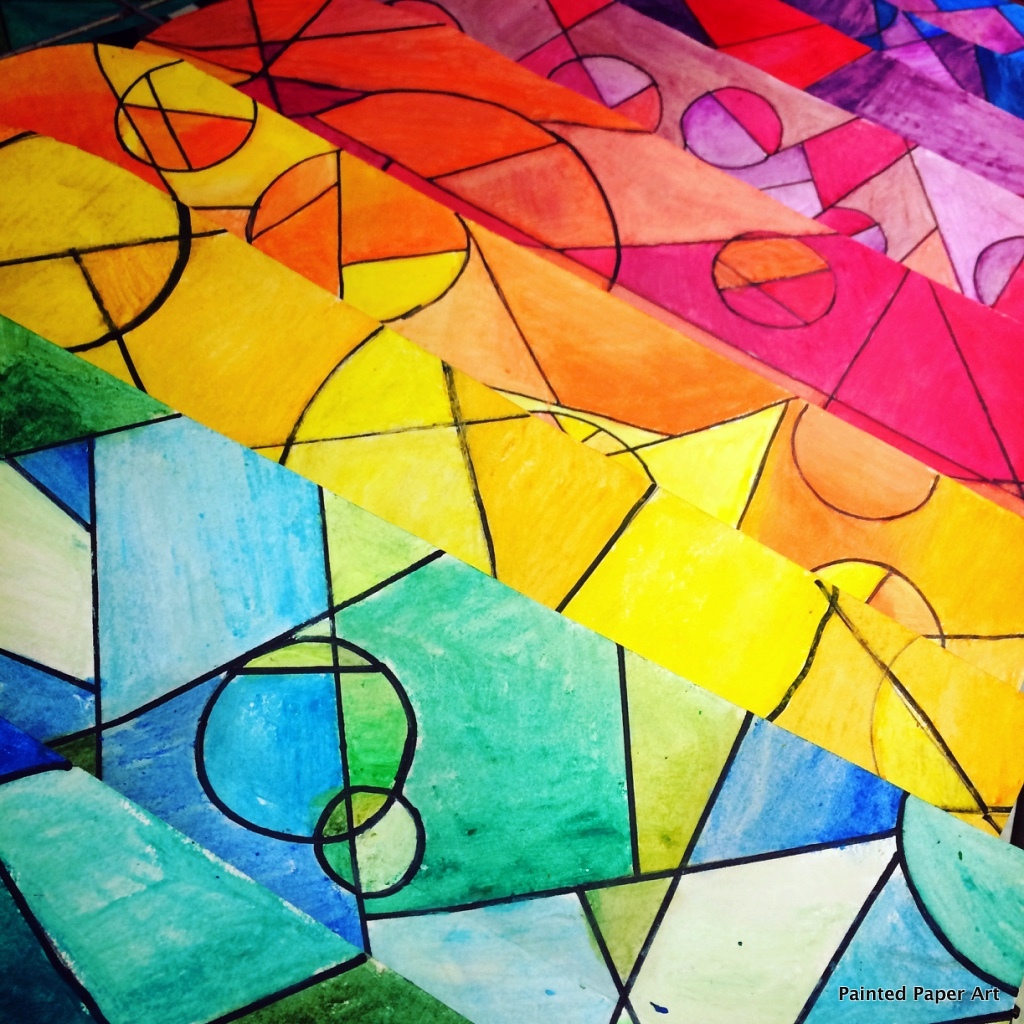
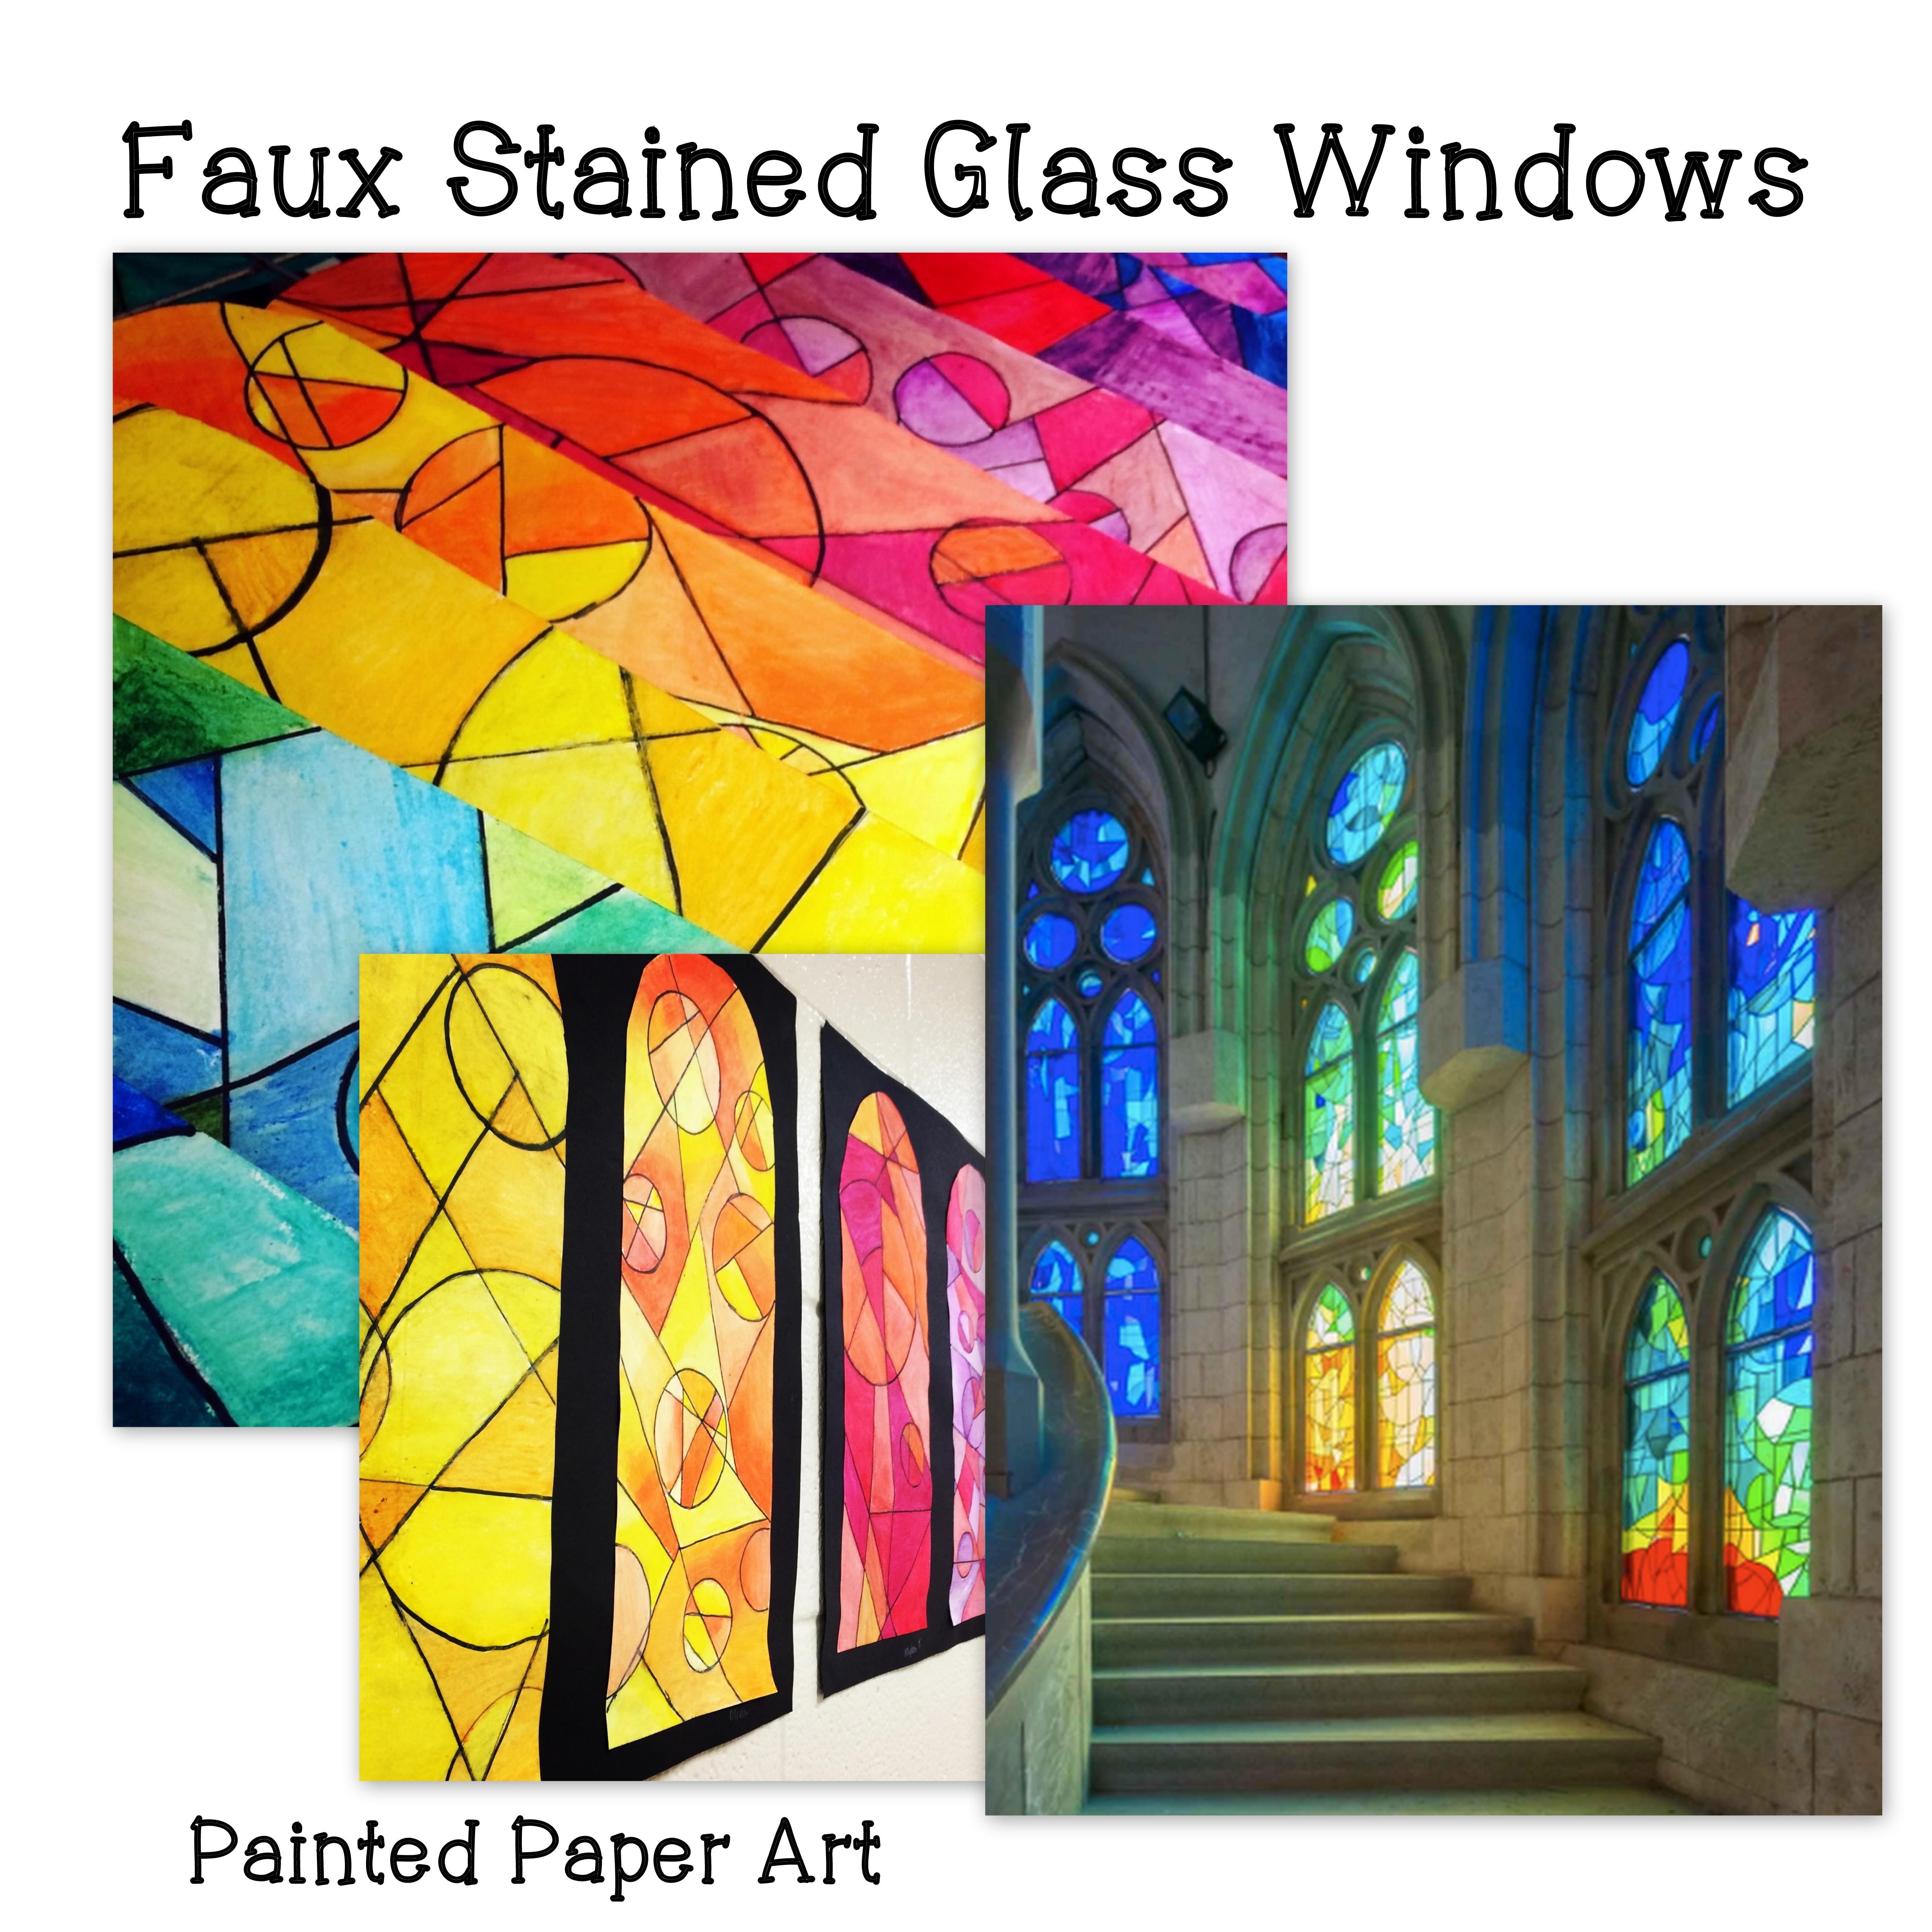
Faux Stained Glass Windows
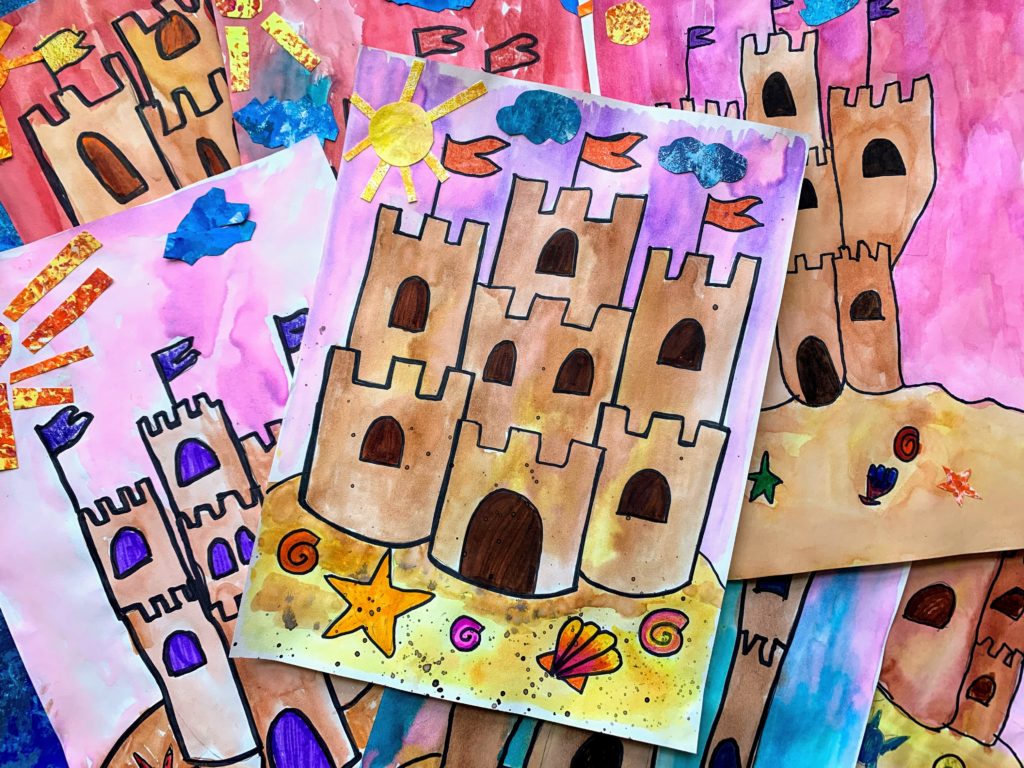
In 6th grade we study the Art Historical Time Line. We always do a “faux” stained glass window project using liquid watercolors and sharpies. We get inspiration from looking at artwork created by Louis Tiffany and other examples of windows found in churches.
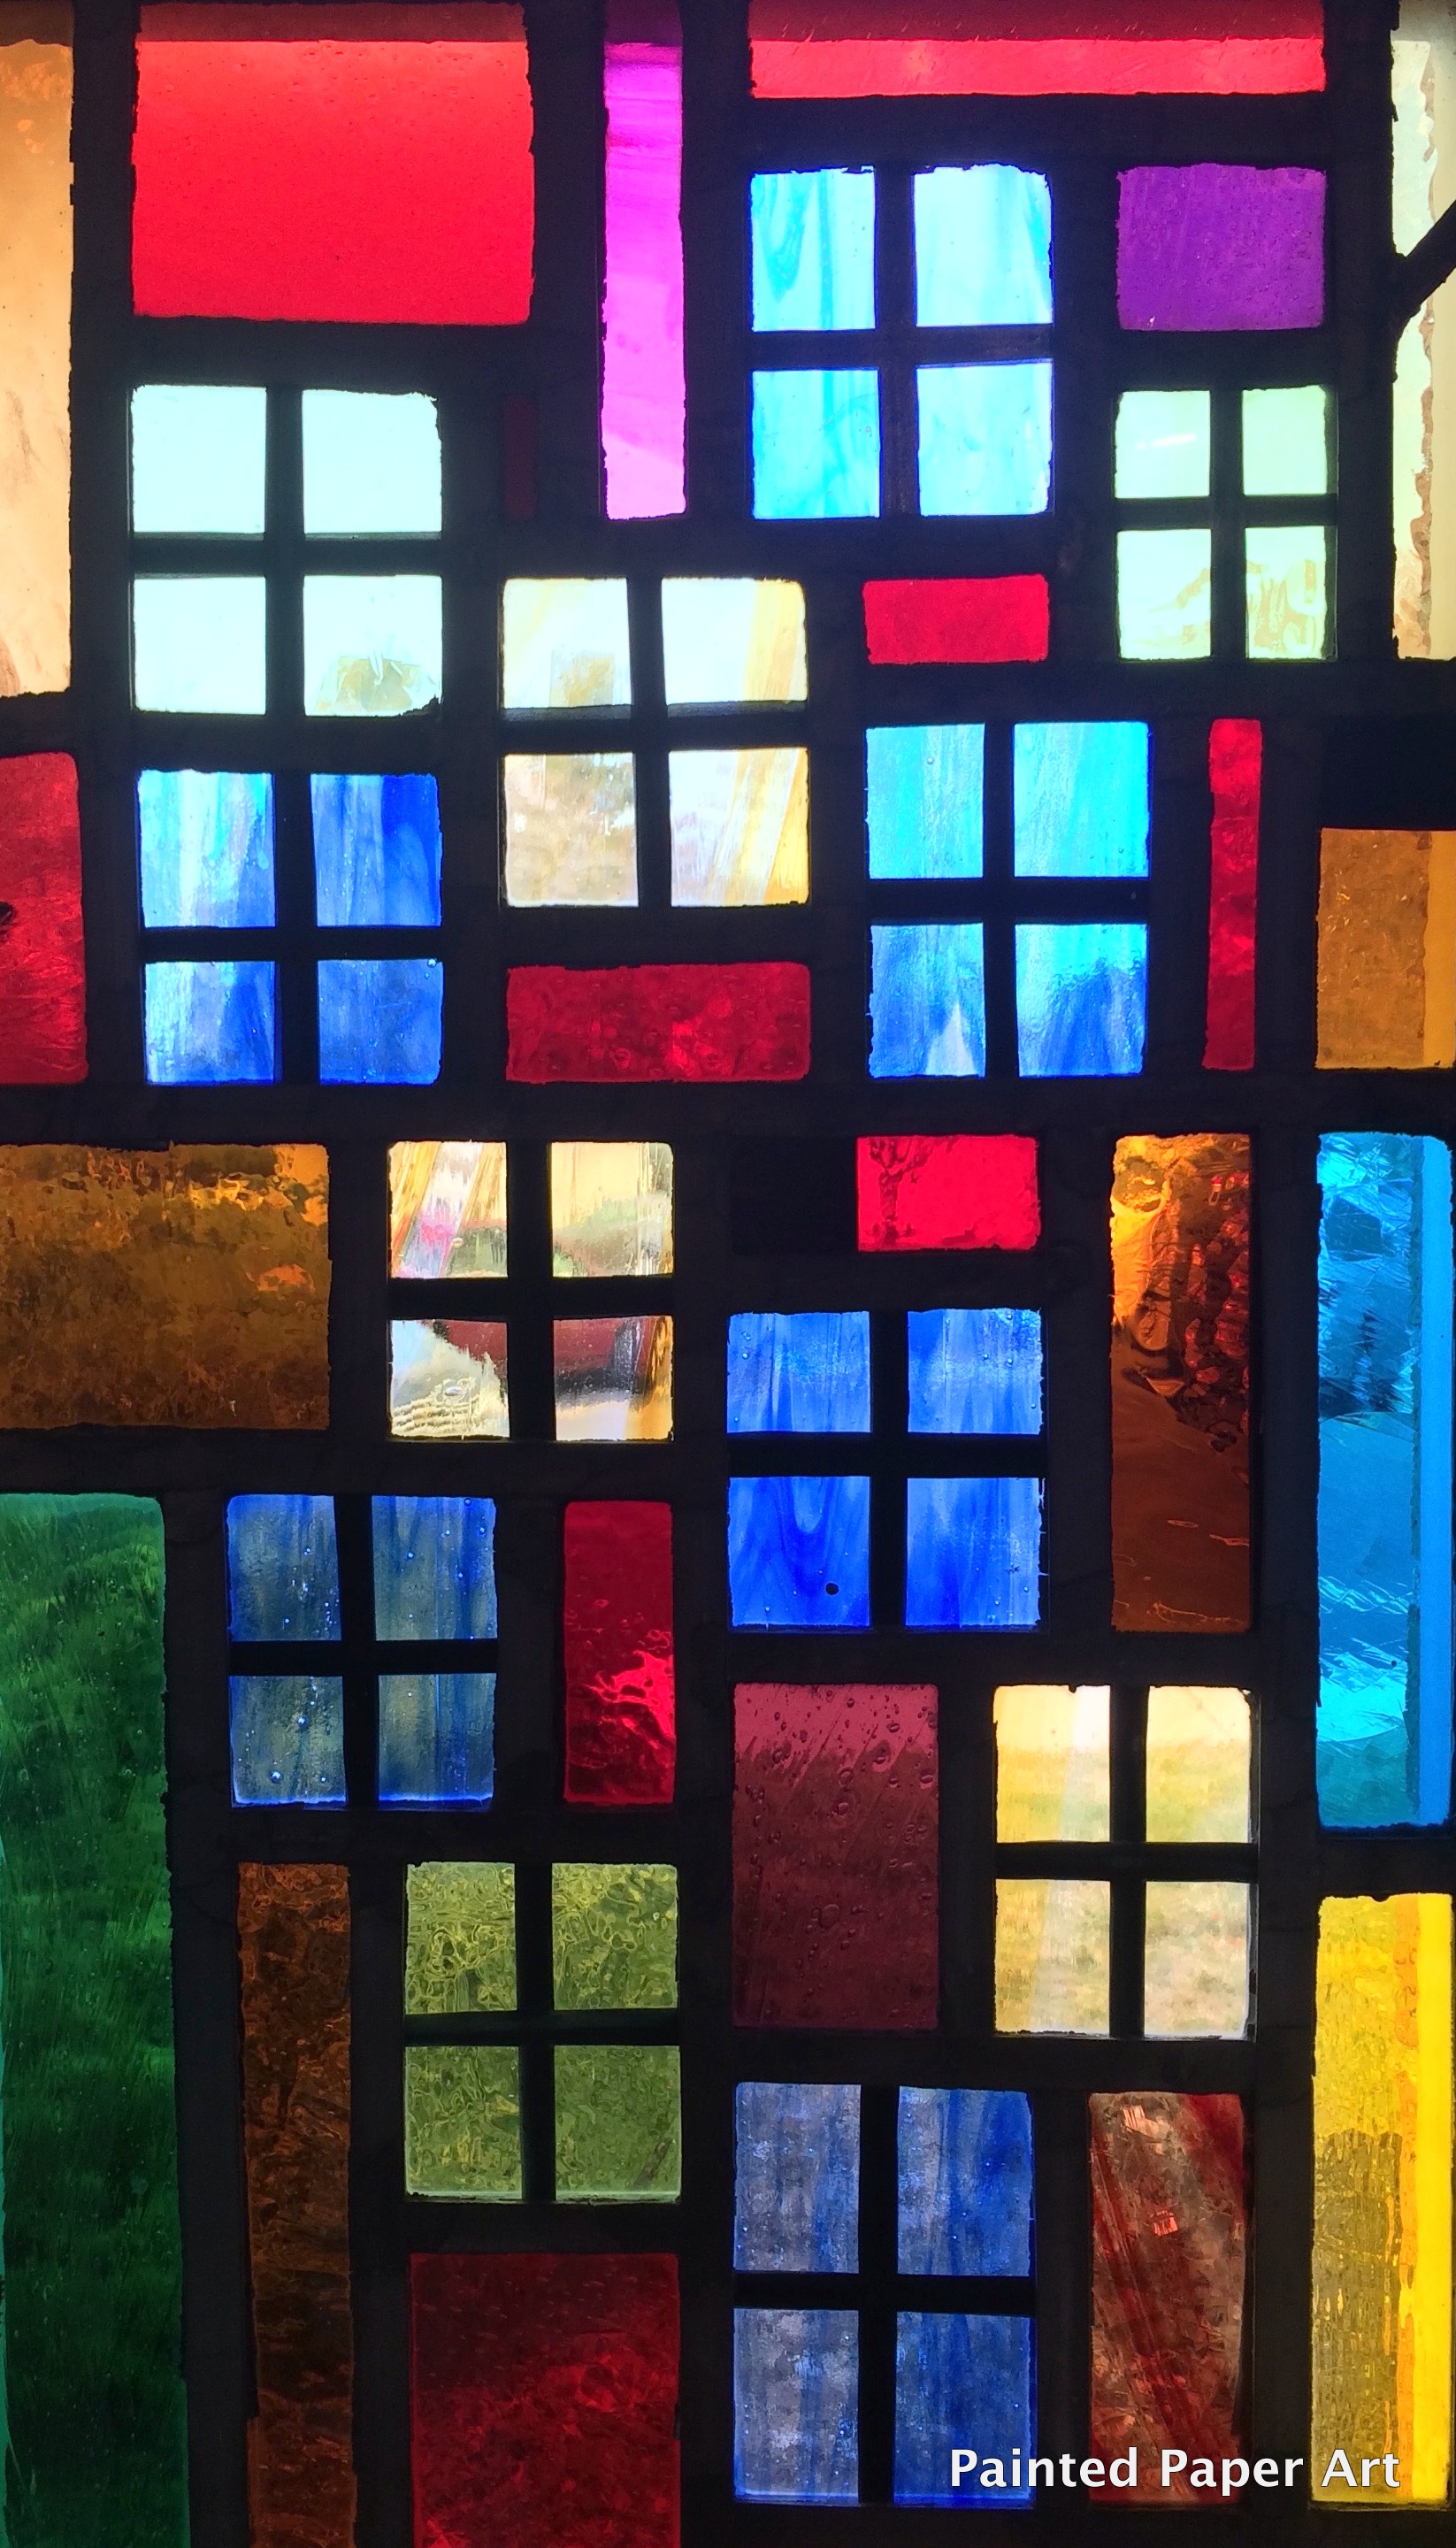
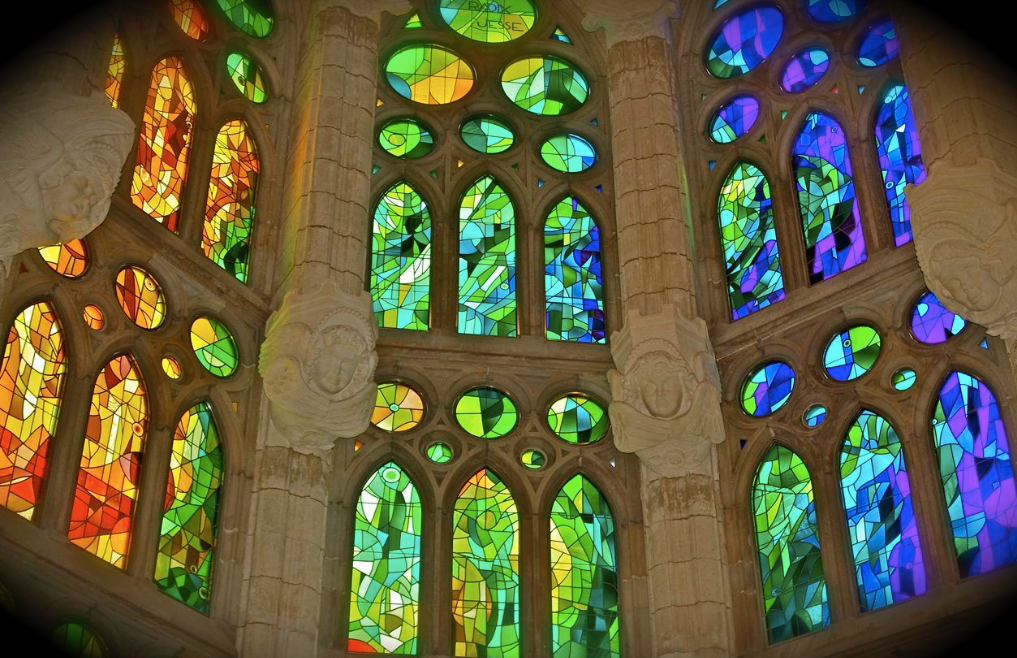
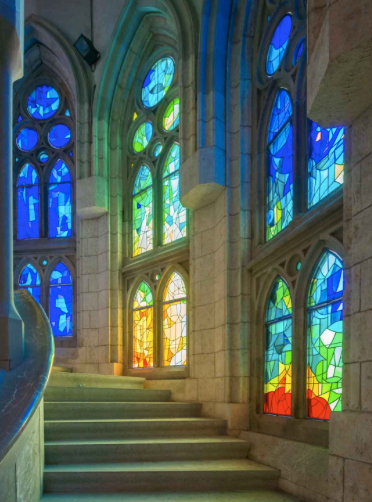
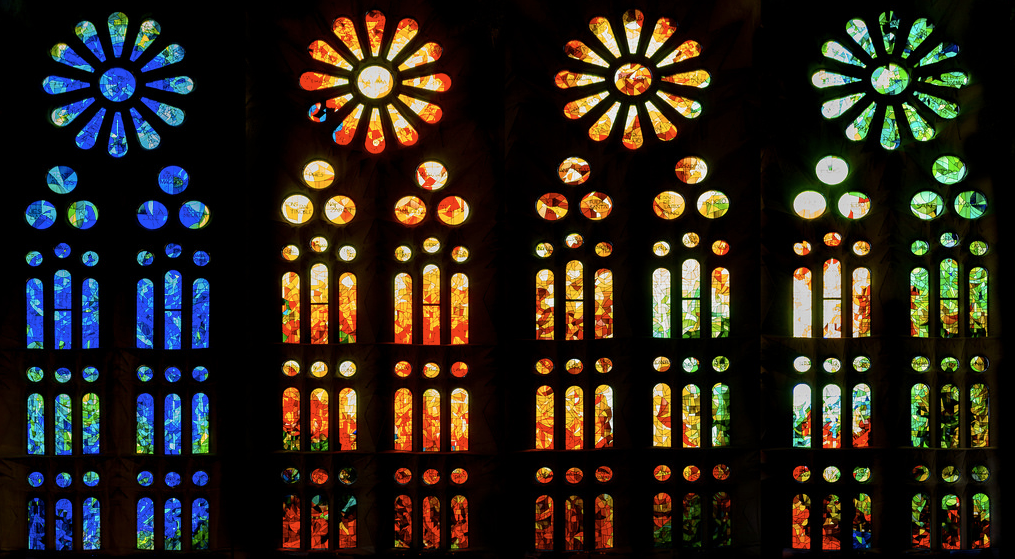
This year I thought I would bring in Gothic stained glass windows and the beautiful windows found in the large cathedrals. I found the beautiful La Sagrada Familia Cathedral designed by Antoni Gaudí in Barcelona, Spain.
Background Information
Antoni Gaudí was born on 25 June 1852 in Reus, in the Baix Camp, which was then the second city in Catalonia. He attended the Escoles Pies school, where he excelled in Geometry and Arithmetic, and received a traditional, religious and humanist education. Son of a coppersmith, he started learning about crafts in his father’s workshop in 1860.
In 1868 he moved to Barcelona and prepared for entry to the School of Architecture, which he joined in 1873. He combined his studies with working as an assistant in an architectural practice, as well as in the workshops of a carpenter, a glassmaker and a locksmith where he learned these crafts.
He was inconsistent in his Architecture studies, but stood out in the subjects of design, drawing and mathematical calculation. In 1878, after qualifying in Architecture, he received his first official commission. As his professional reputation grew he undertook larger projects commissioned by the bourgeoisie such as, amongst others, the Casa Calvet, the Casa Batlló and the Casa Milà. In 1883 he took over the design of the SagradaFamilia, while also working on other projects.
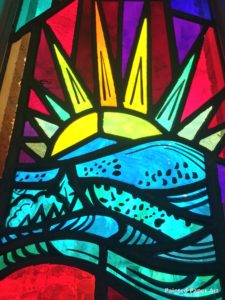
Gaudi said that colour was the expression of life, which is why he decided to make its presence felt in the stained glass windows of the Sagrada Familia.
Here is what you need:
6″ x 18″ white sulphite paper
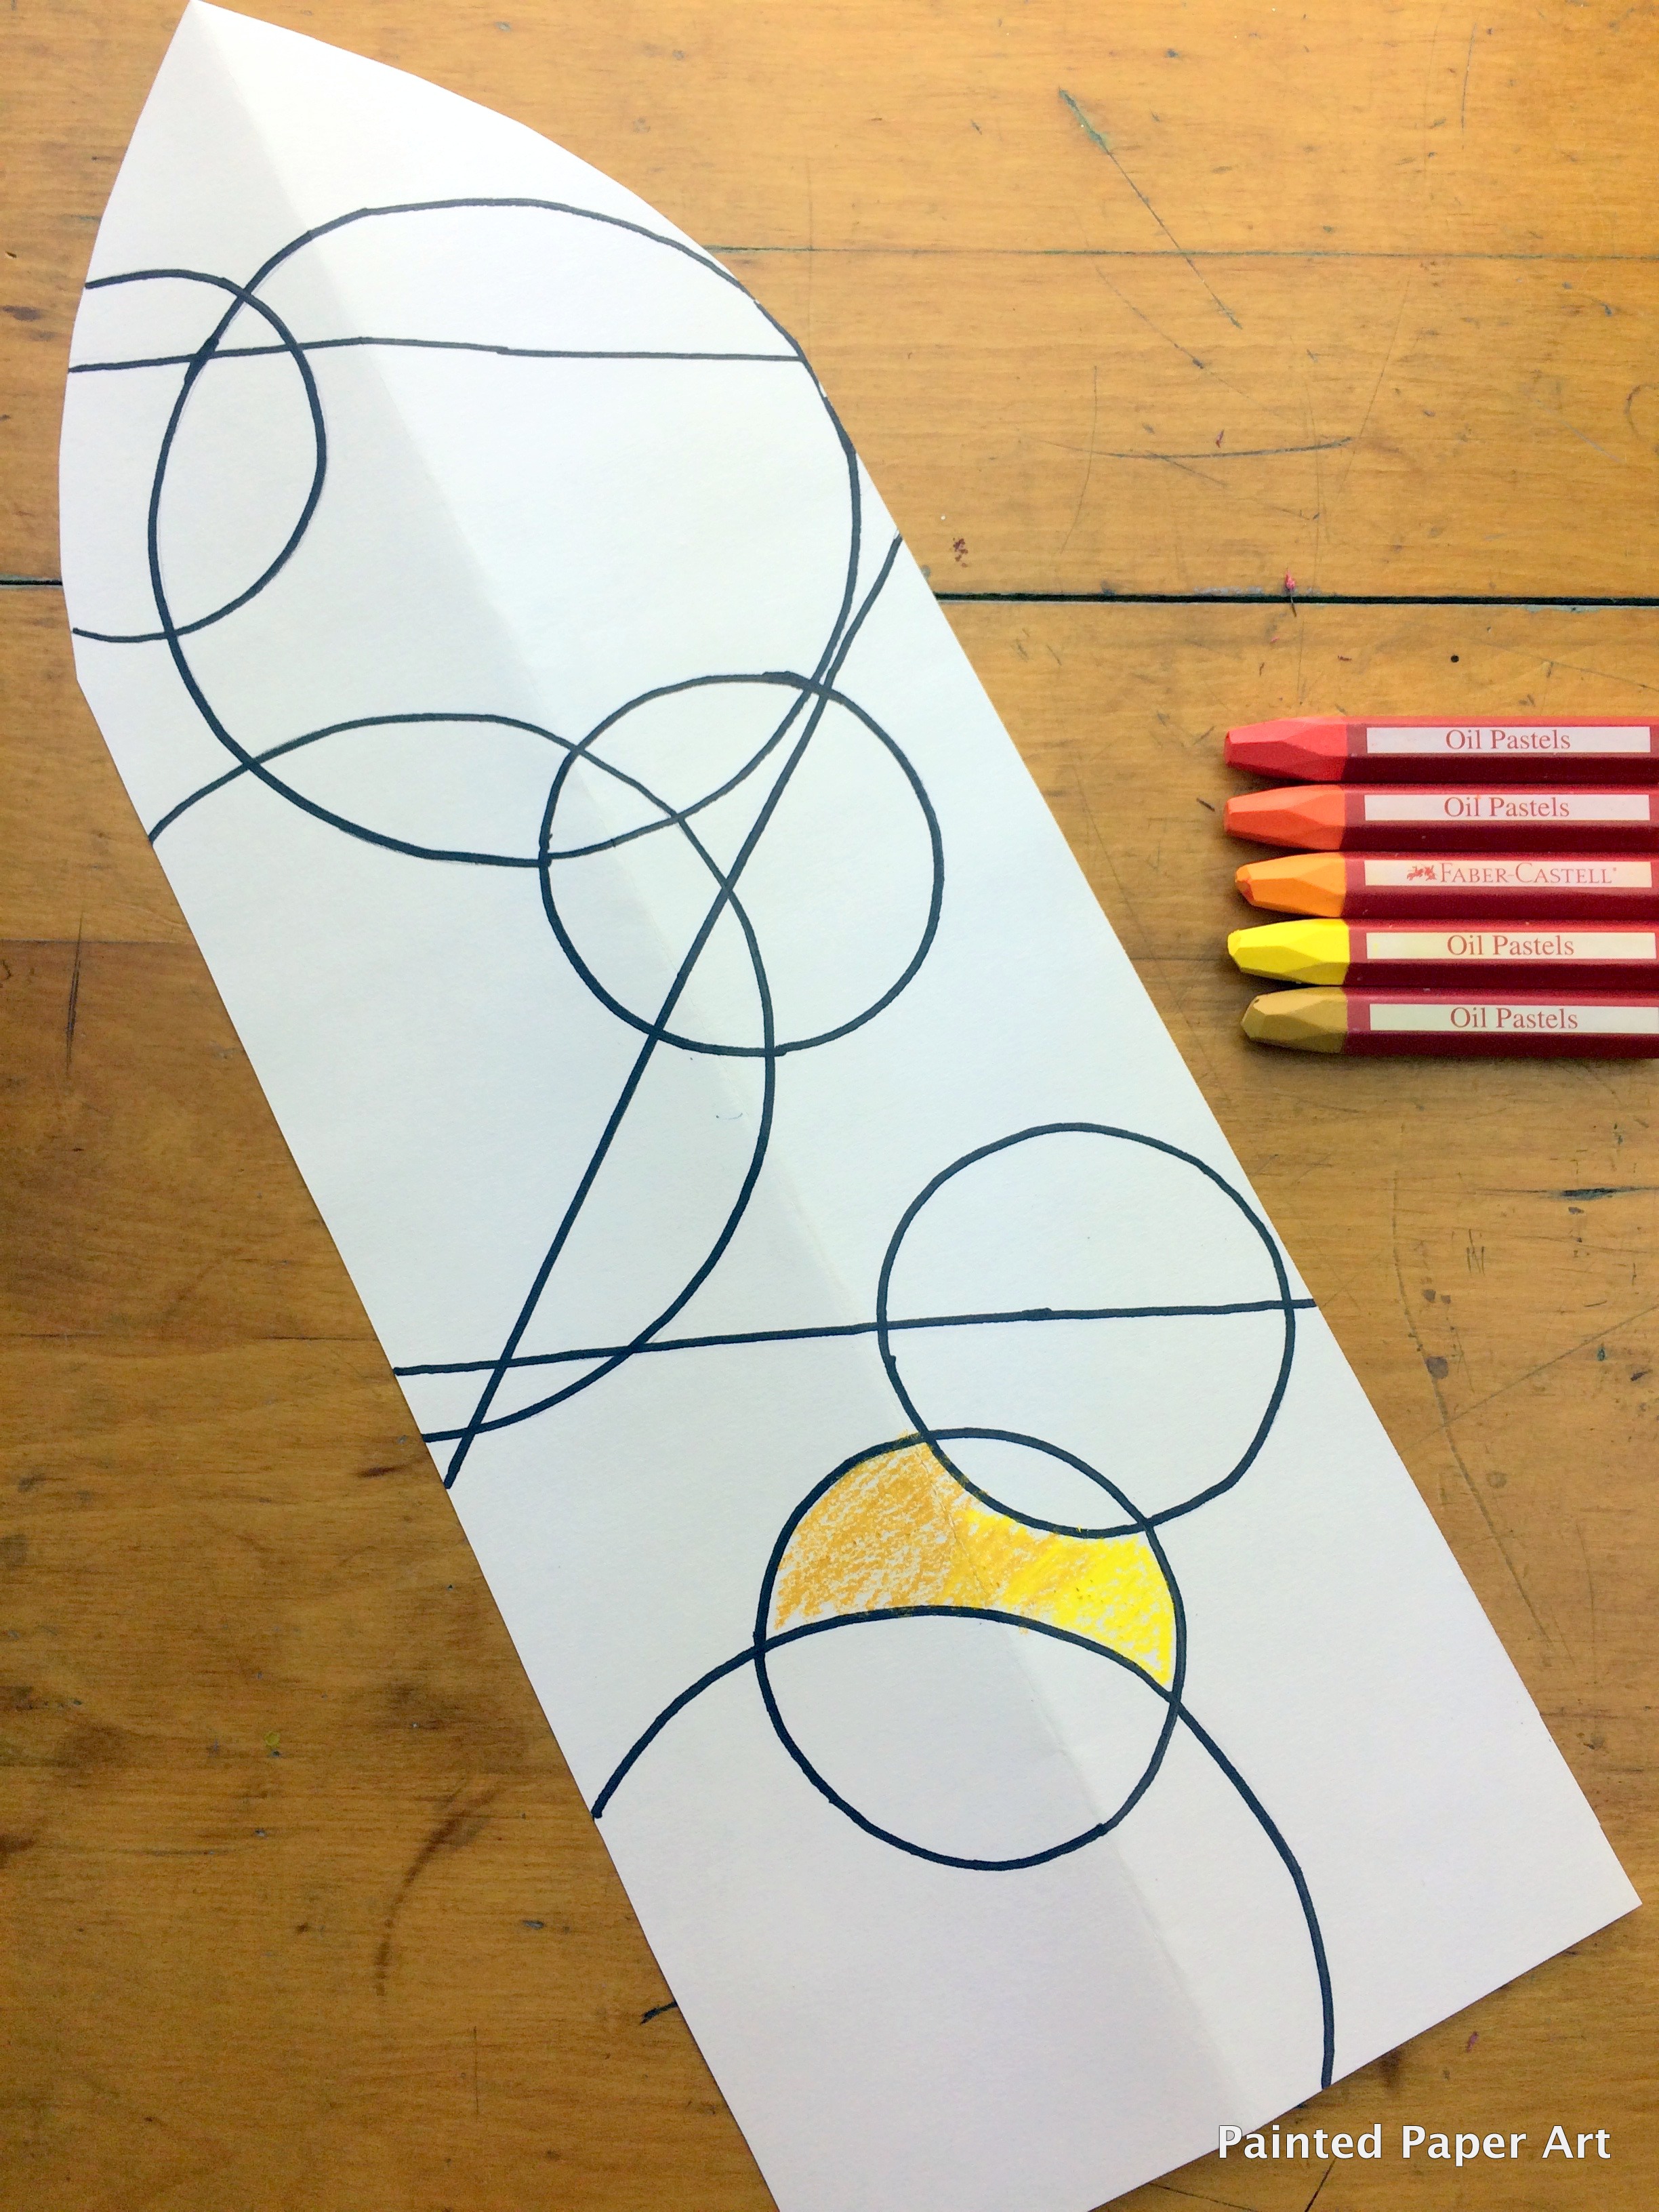
Oil pastels
Pencil
Scissors
Sharpie – black
Circle tracers
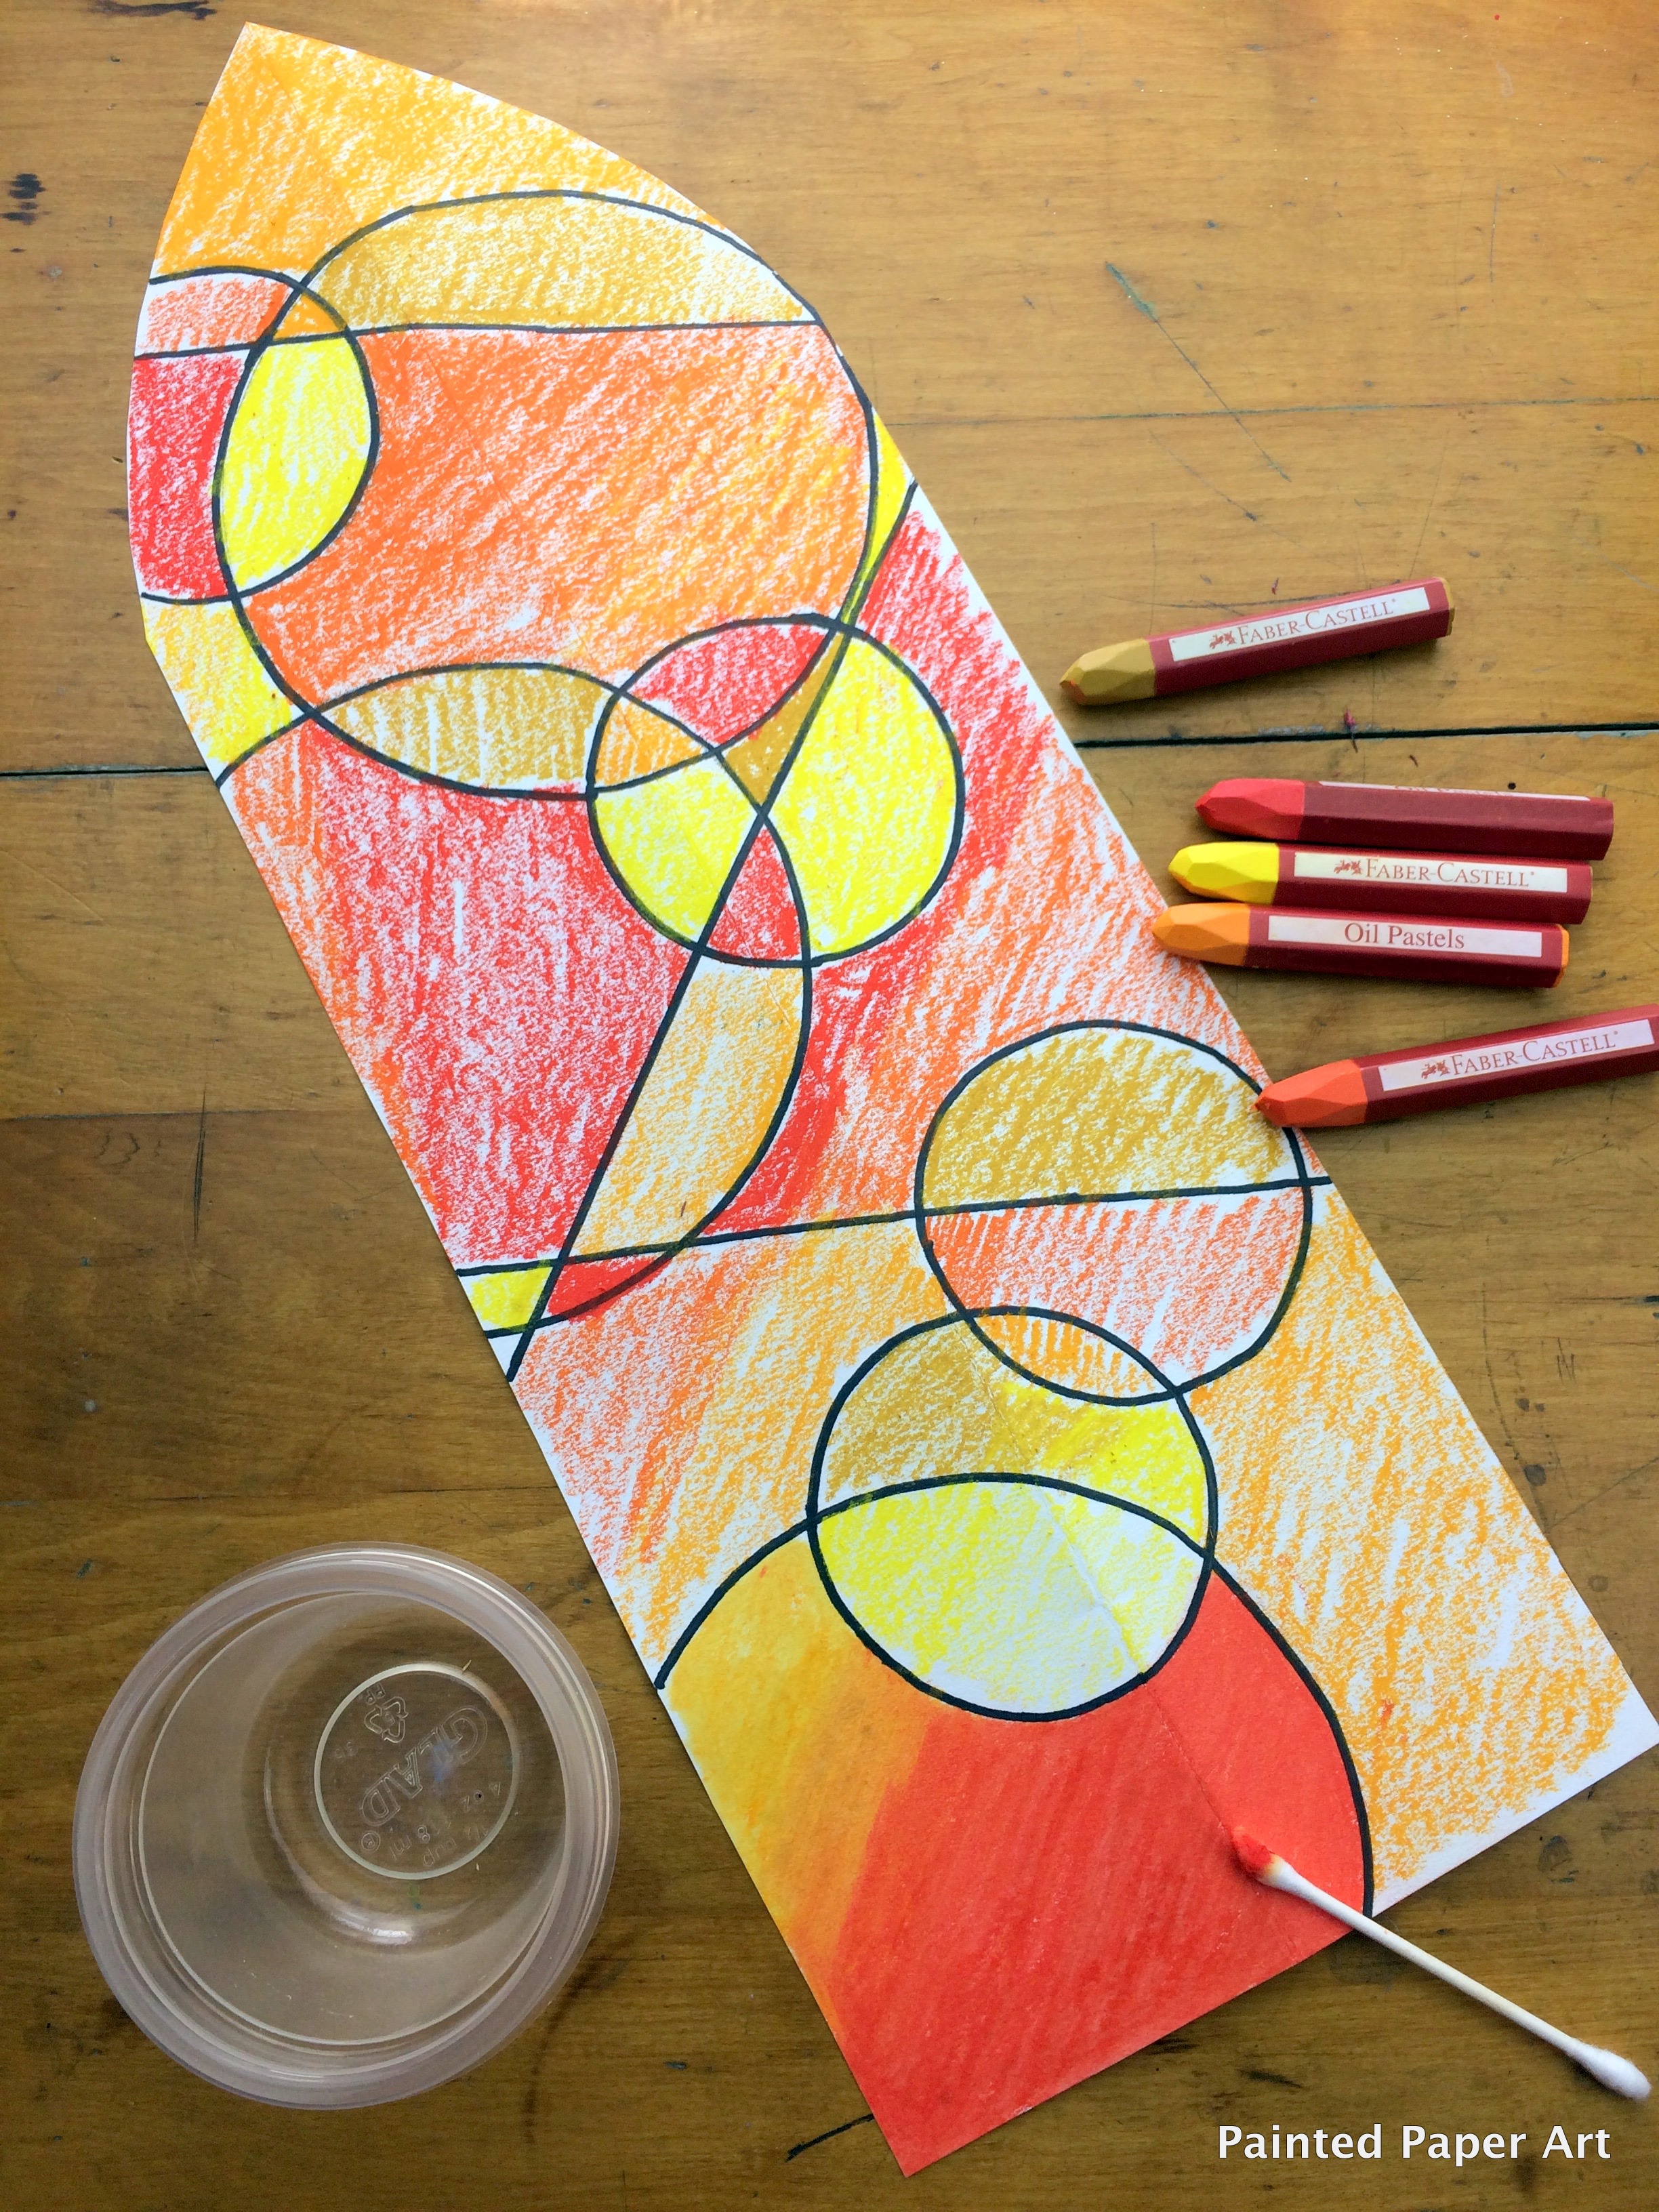
Oil – baby oil or vegetable oil
Q-tips

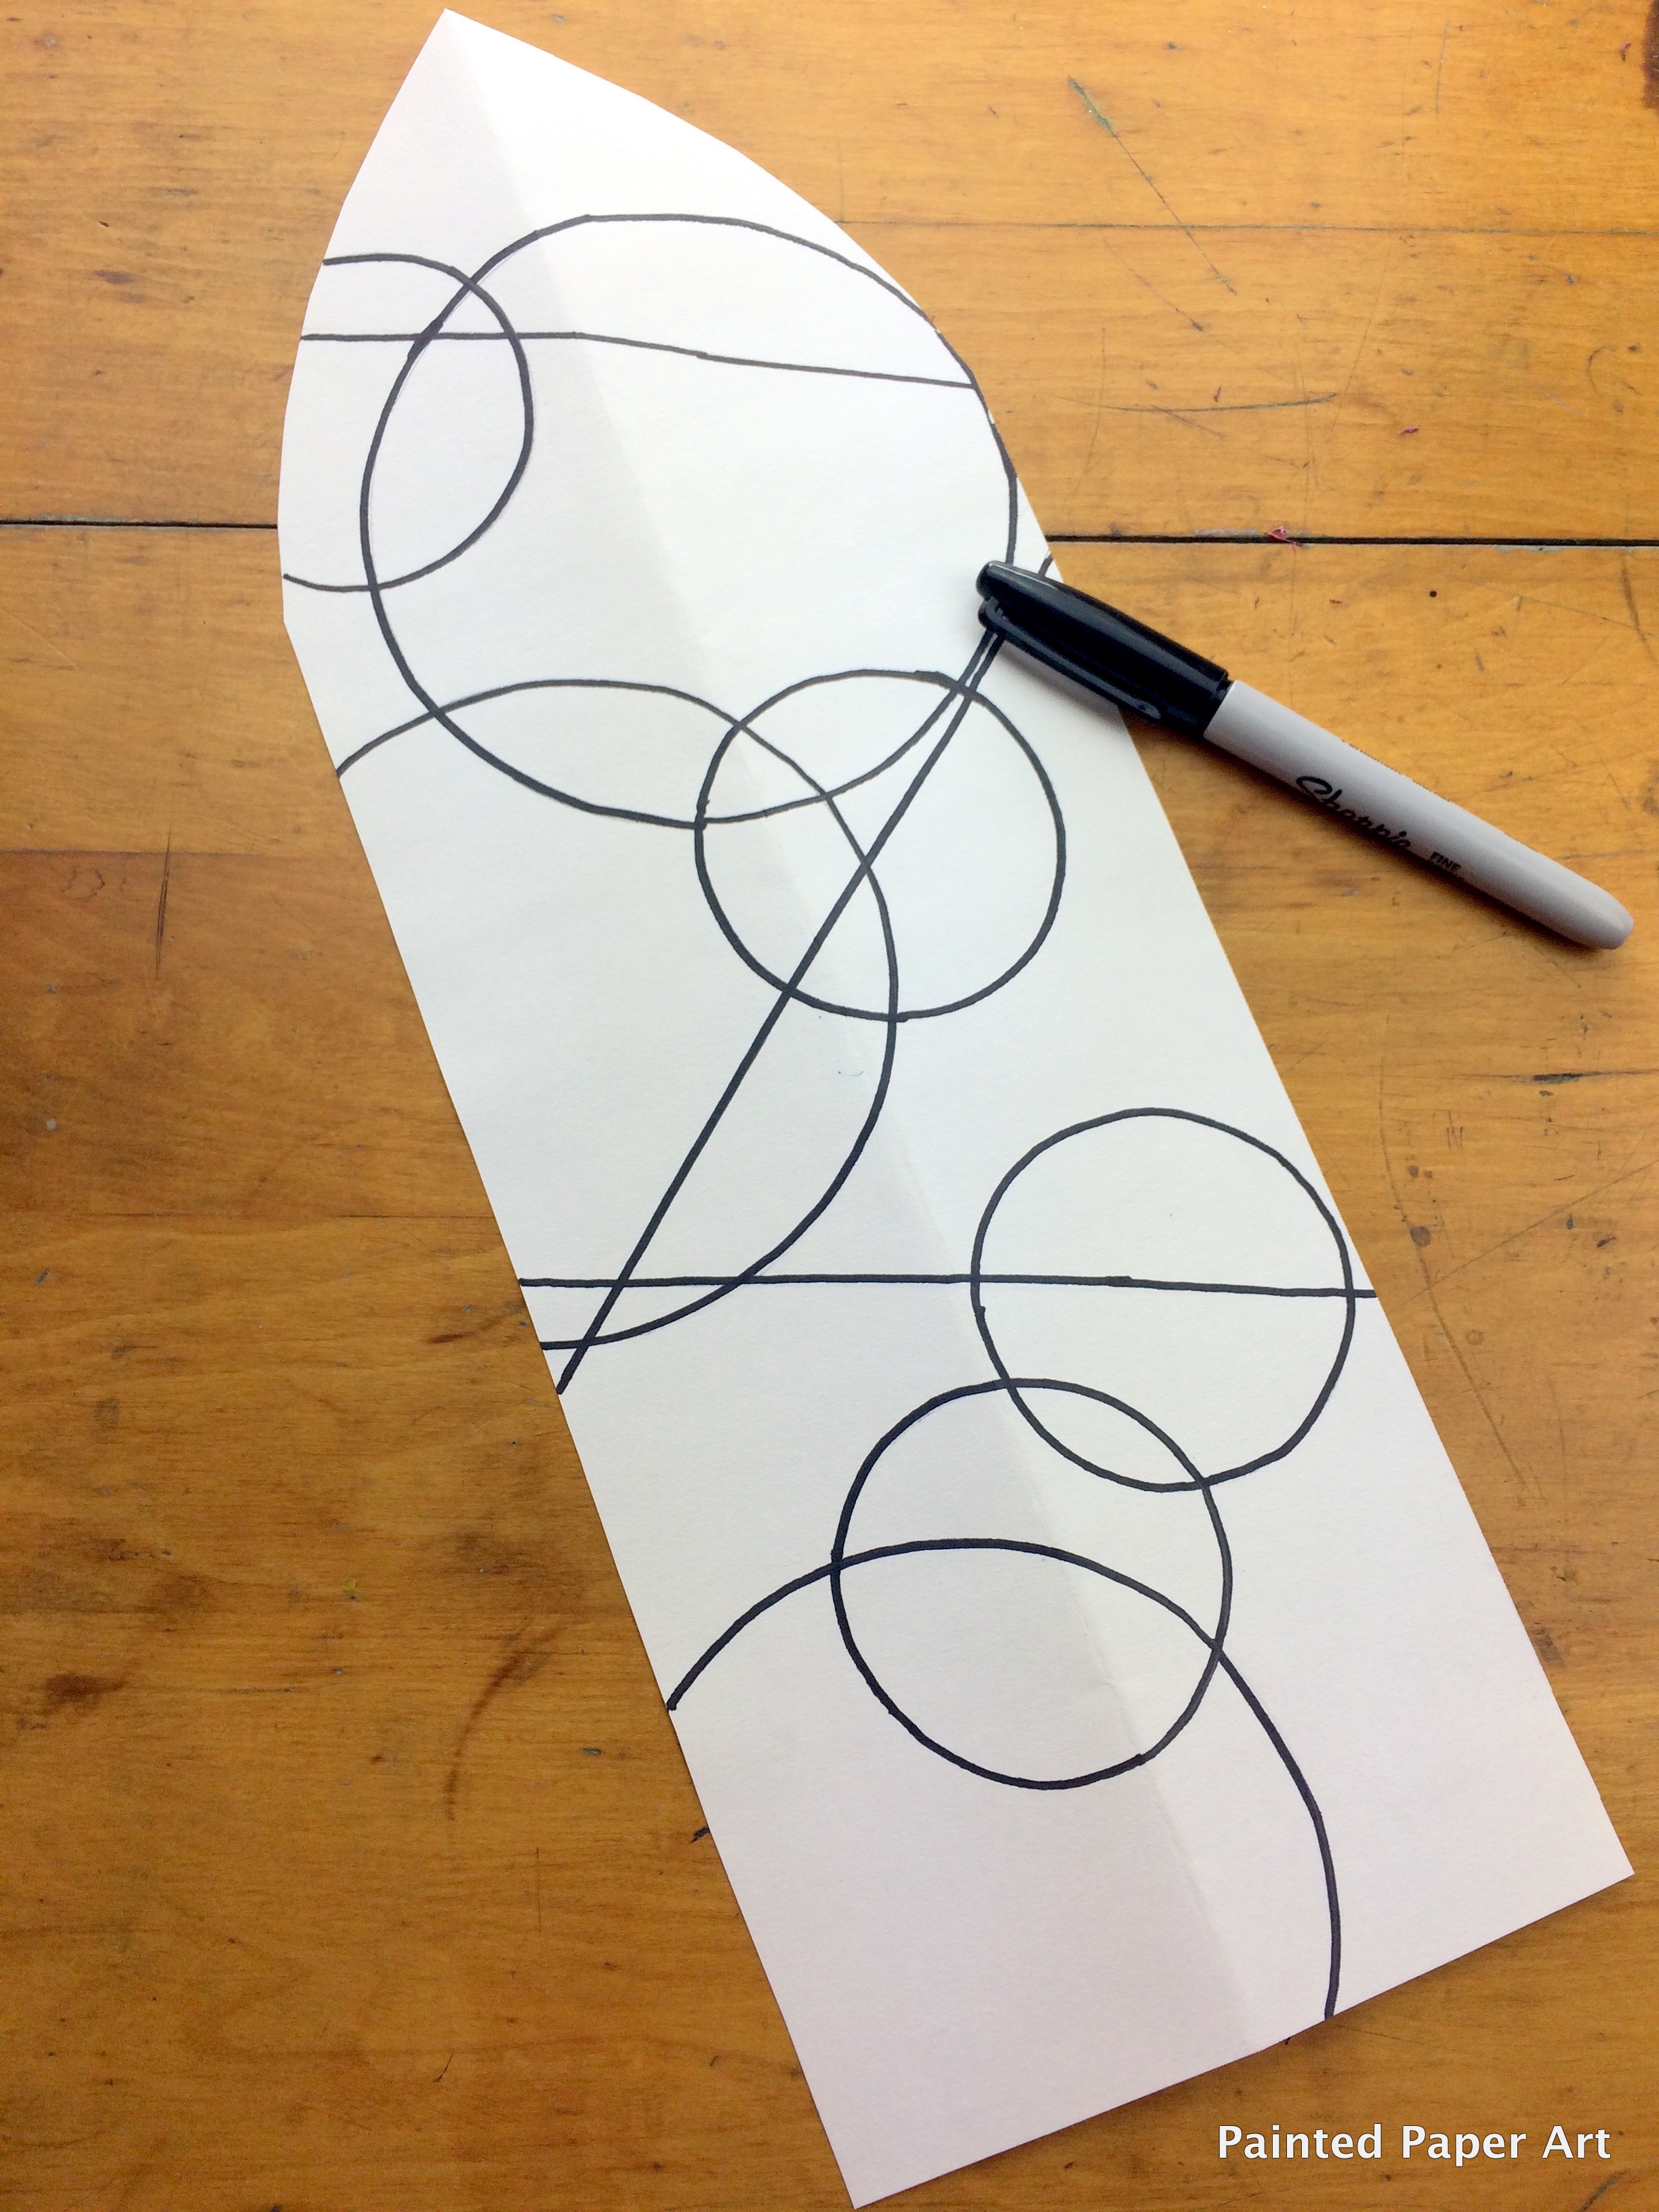
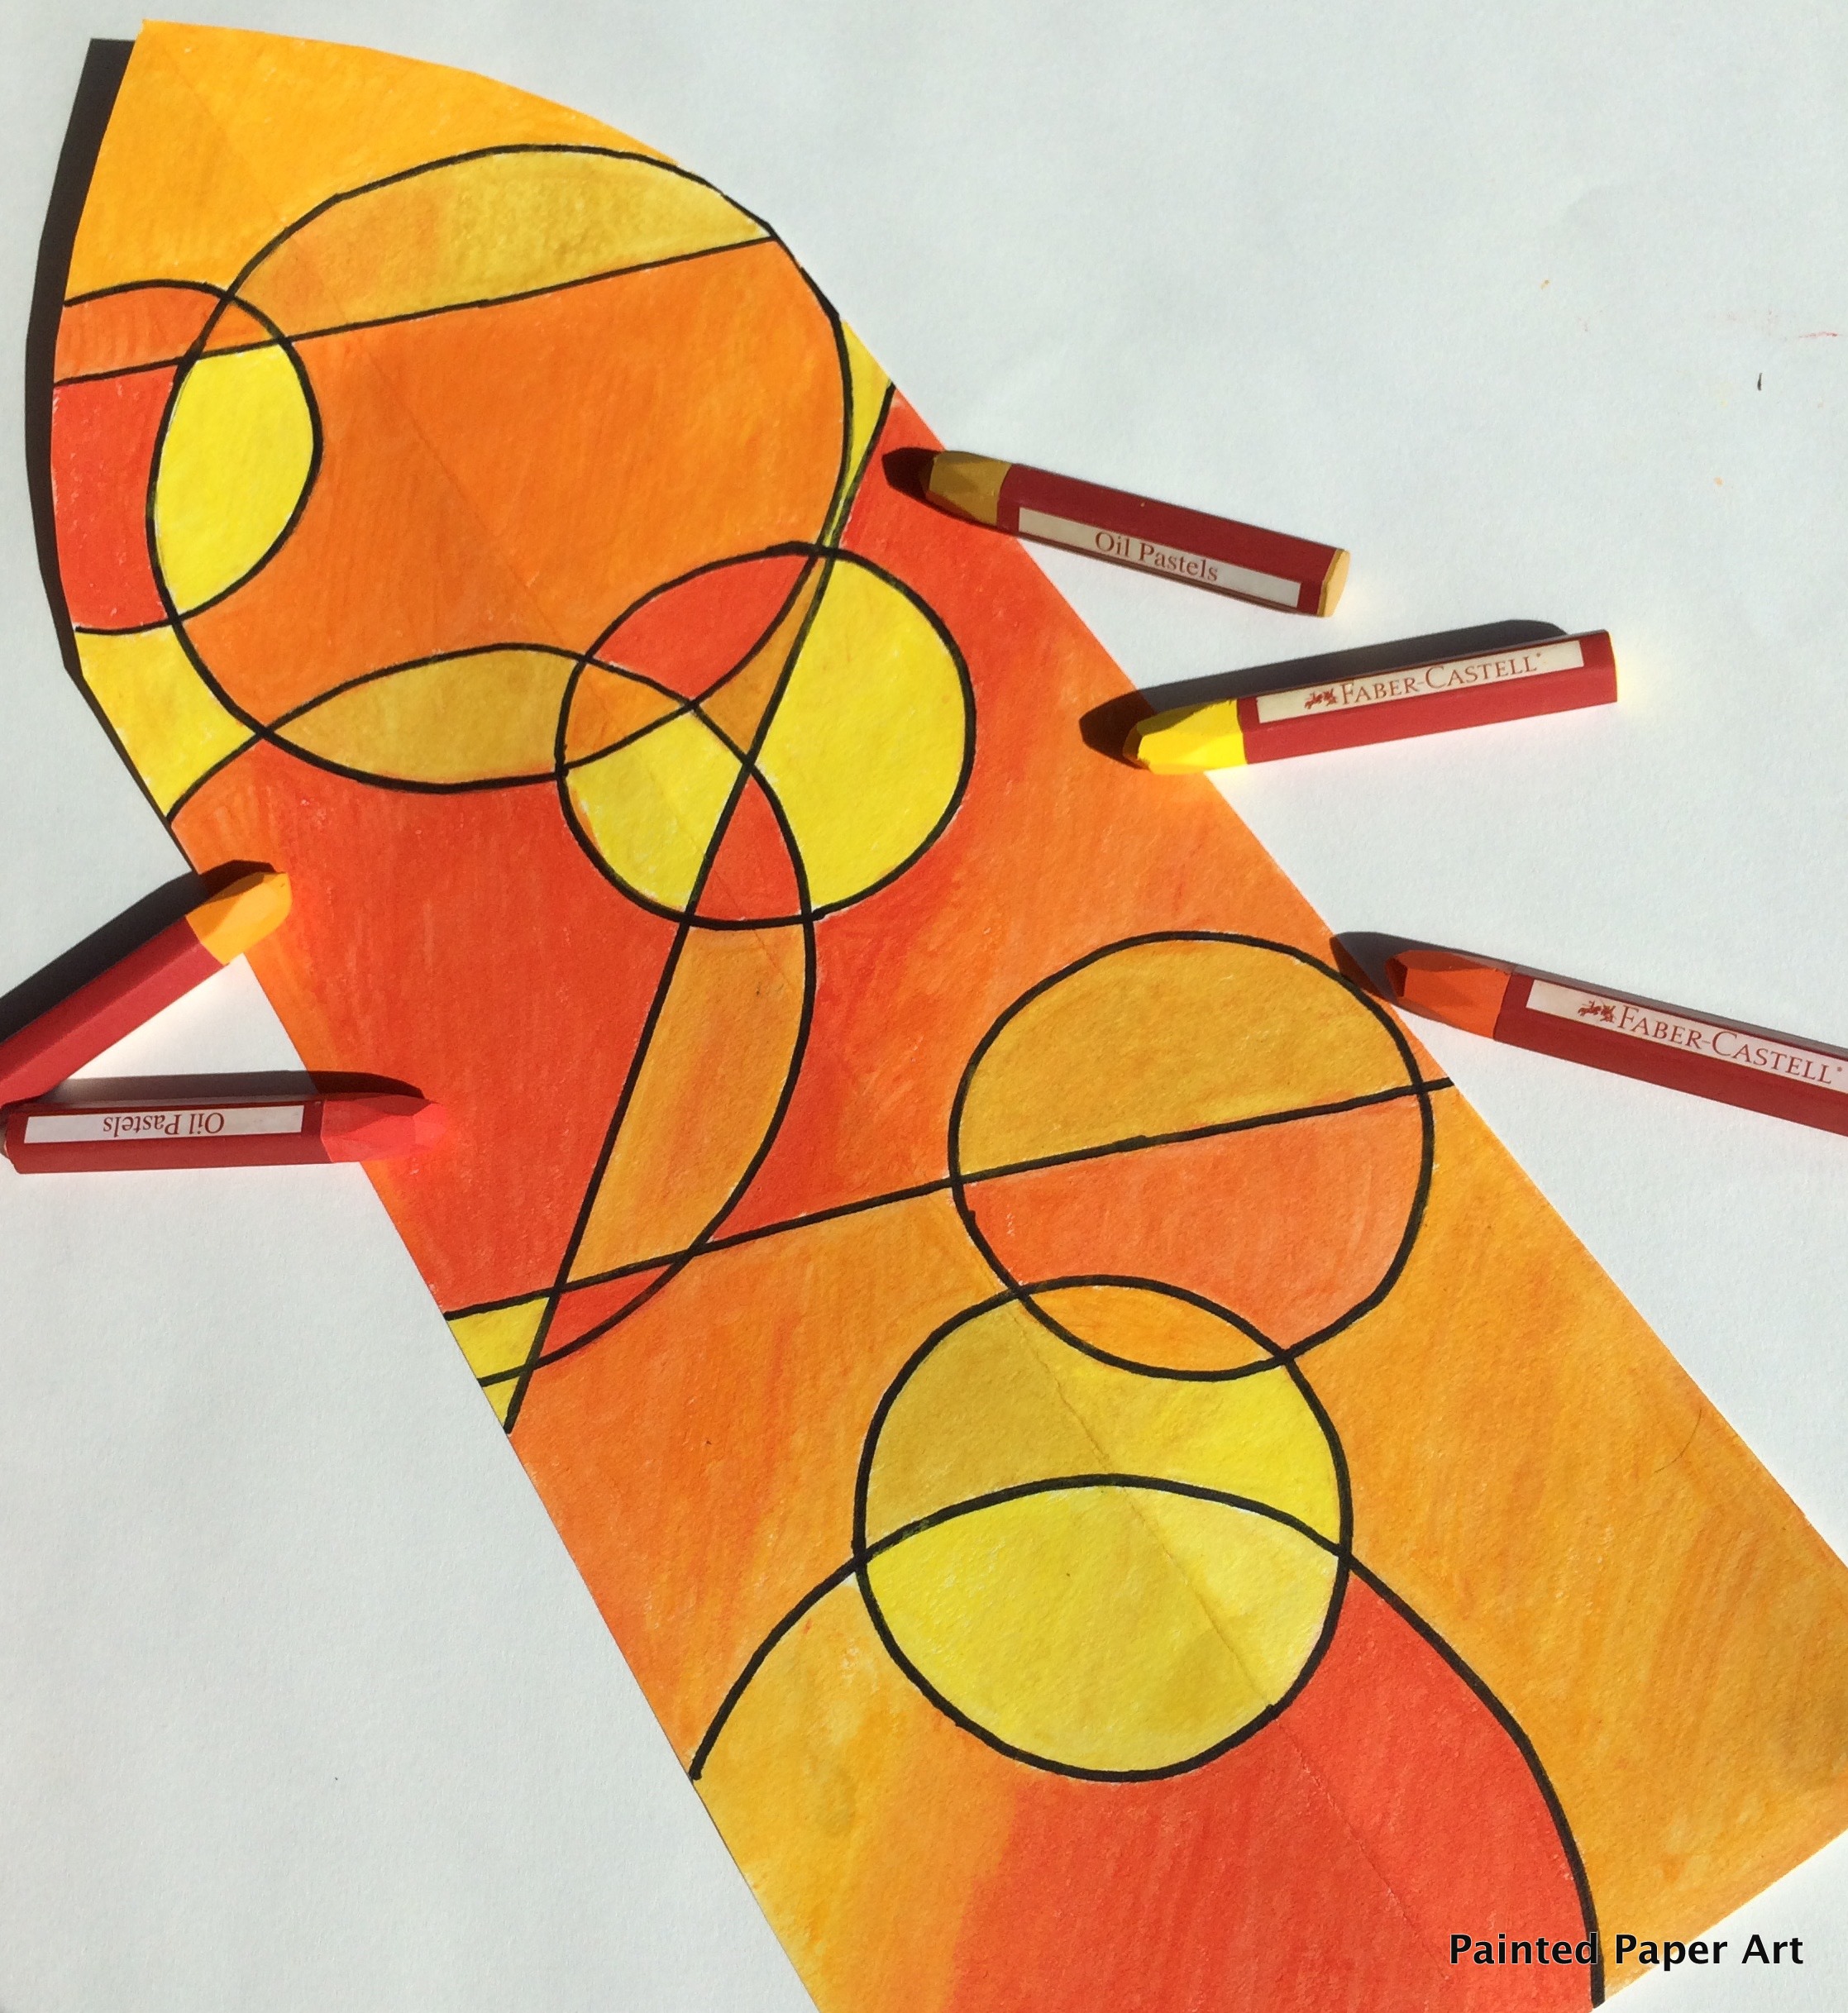
Fold paper vertically in half . Draw a curve line from the top of the fold to the edge of the paper. Cut on the pencil line. Also cut about 2 inches off the bottom of the paper.

Use circle templates to create 7-9 circles of different sizes. Also add some straight lines across the paper.
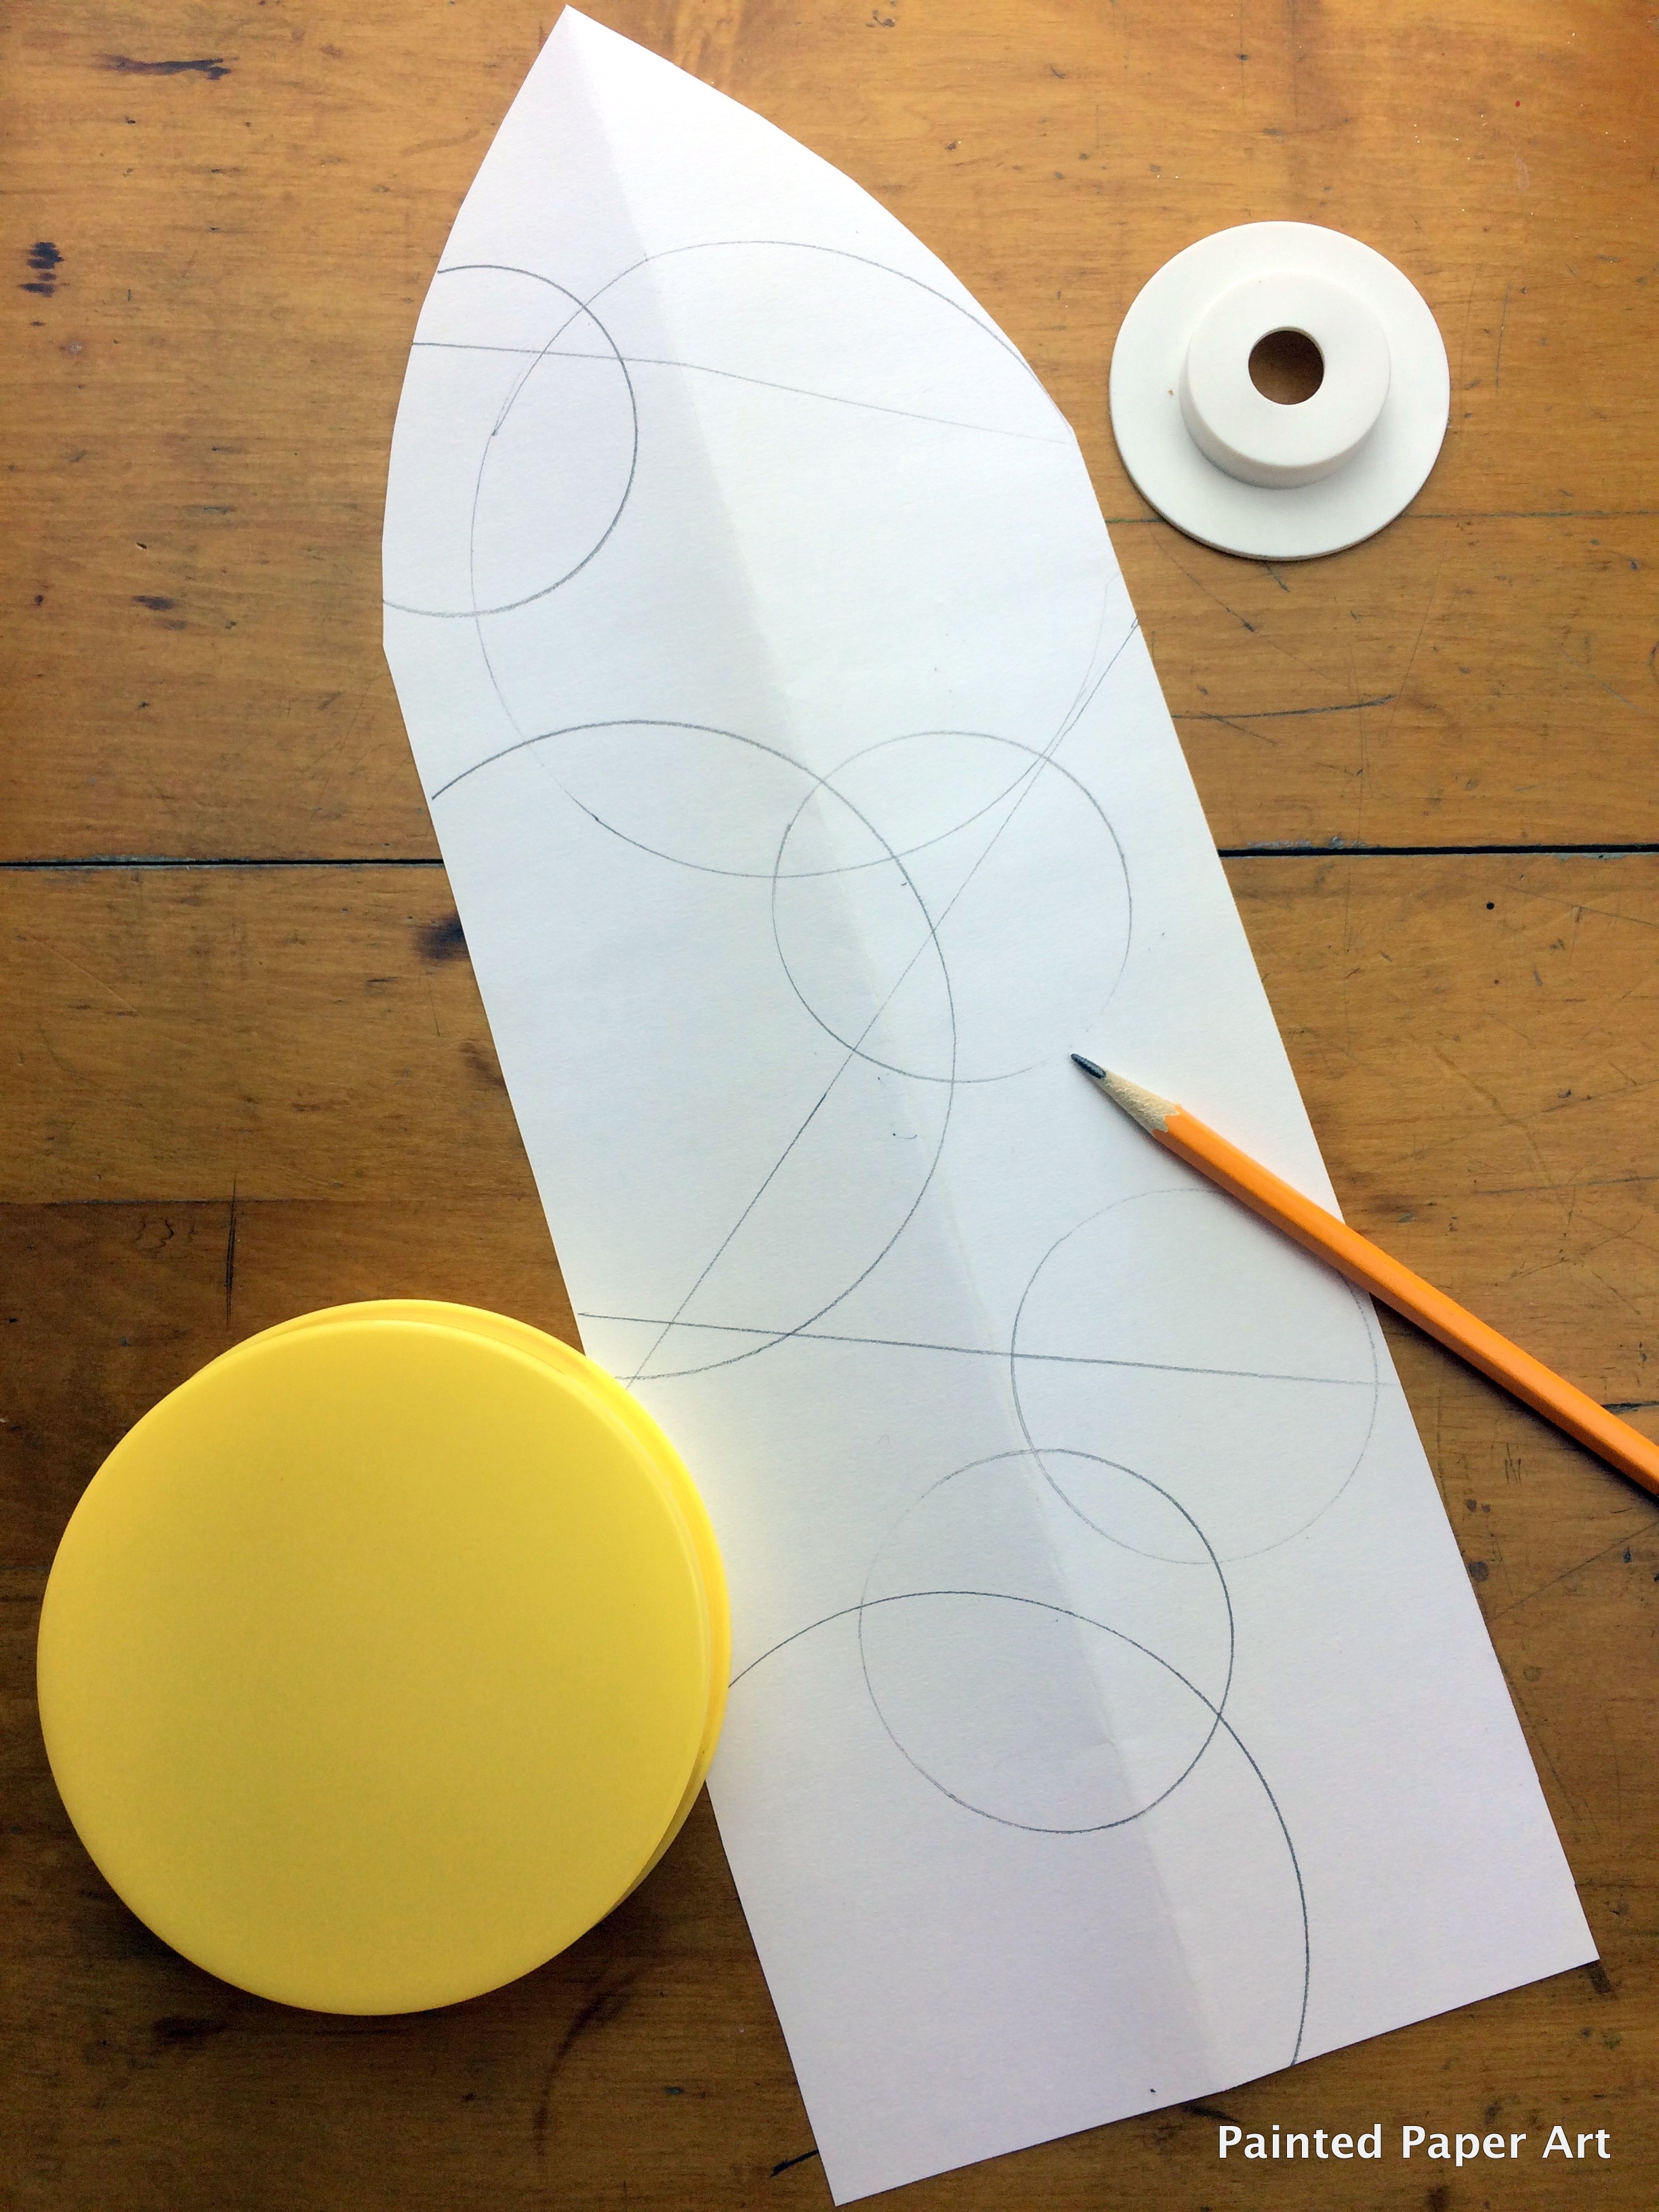
Use a black sharpie or permanent marker to trace over the pencil lines.
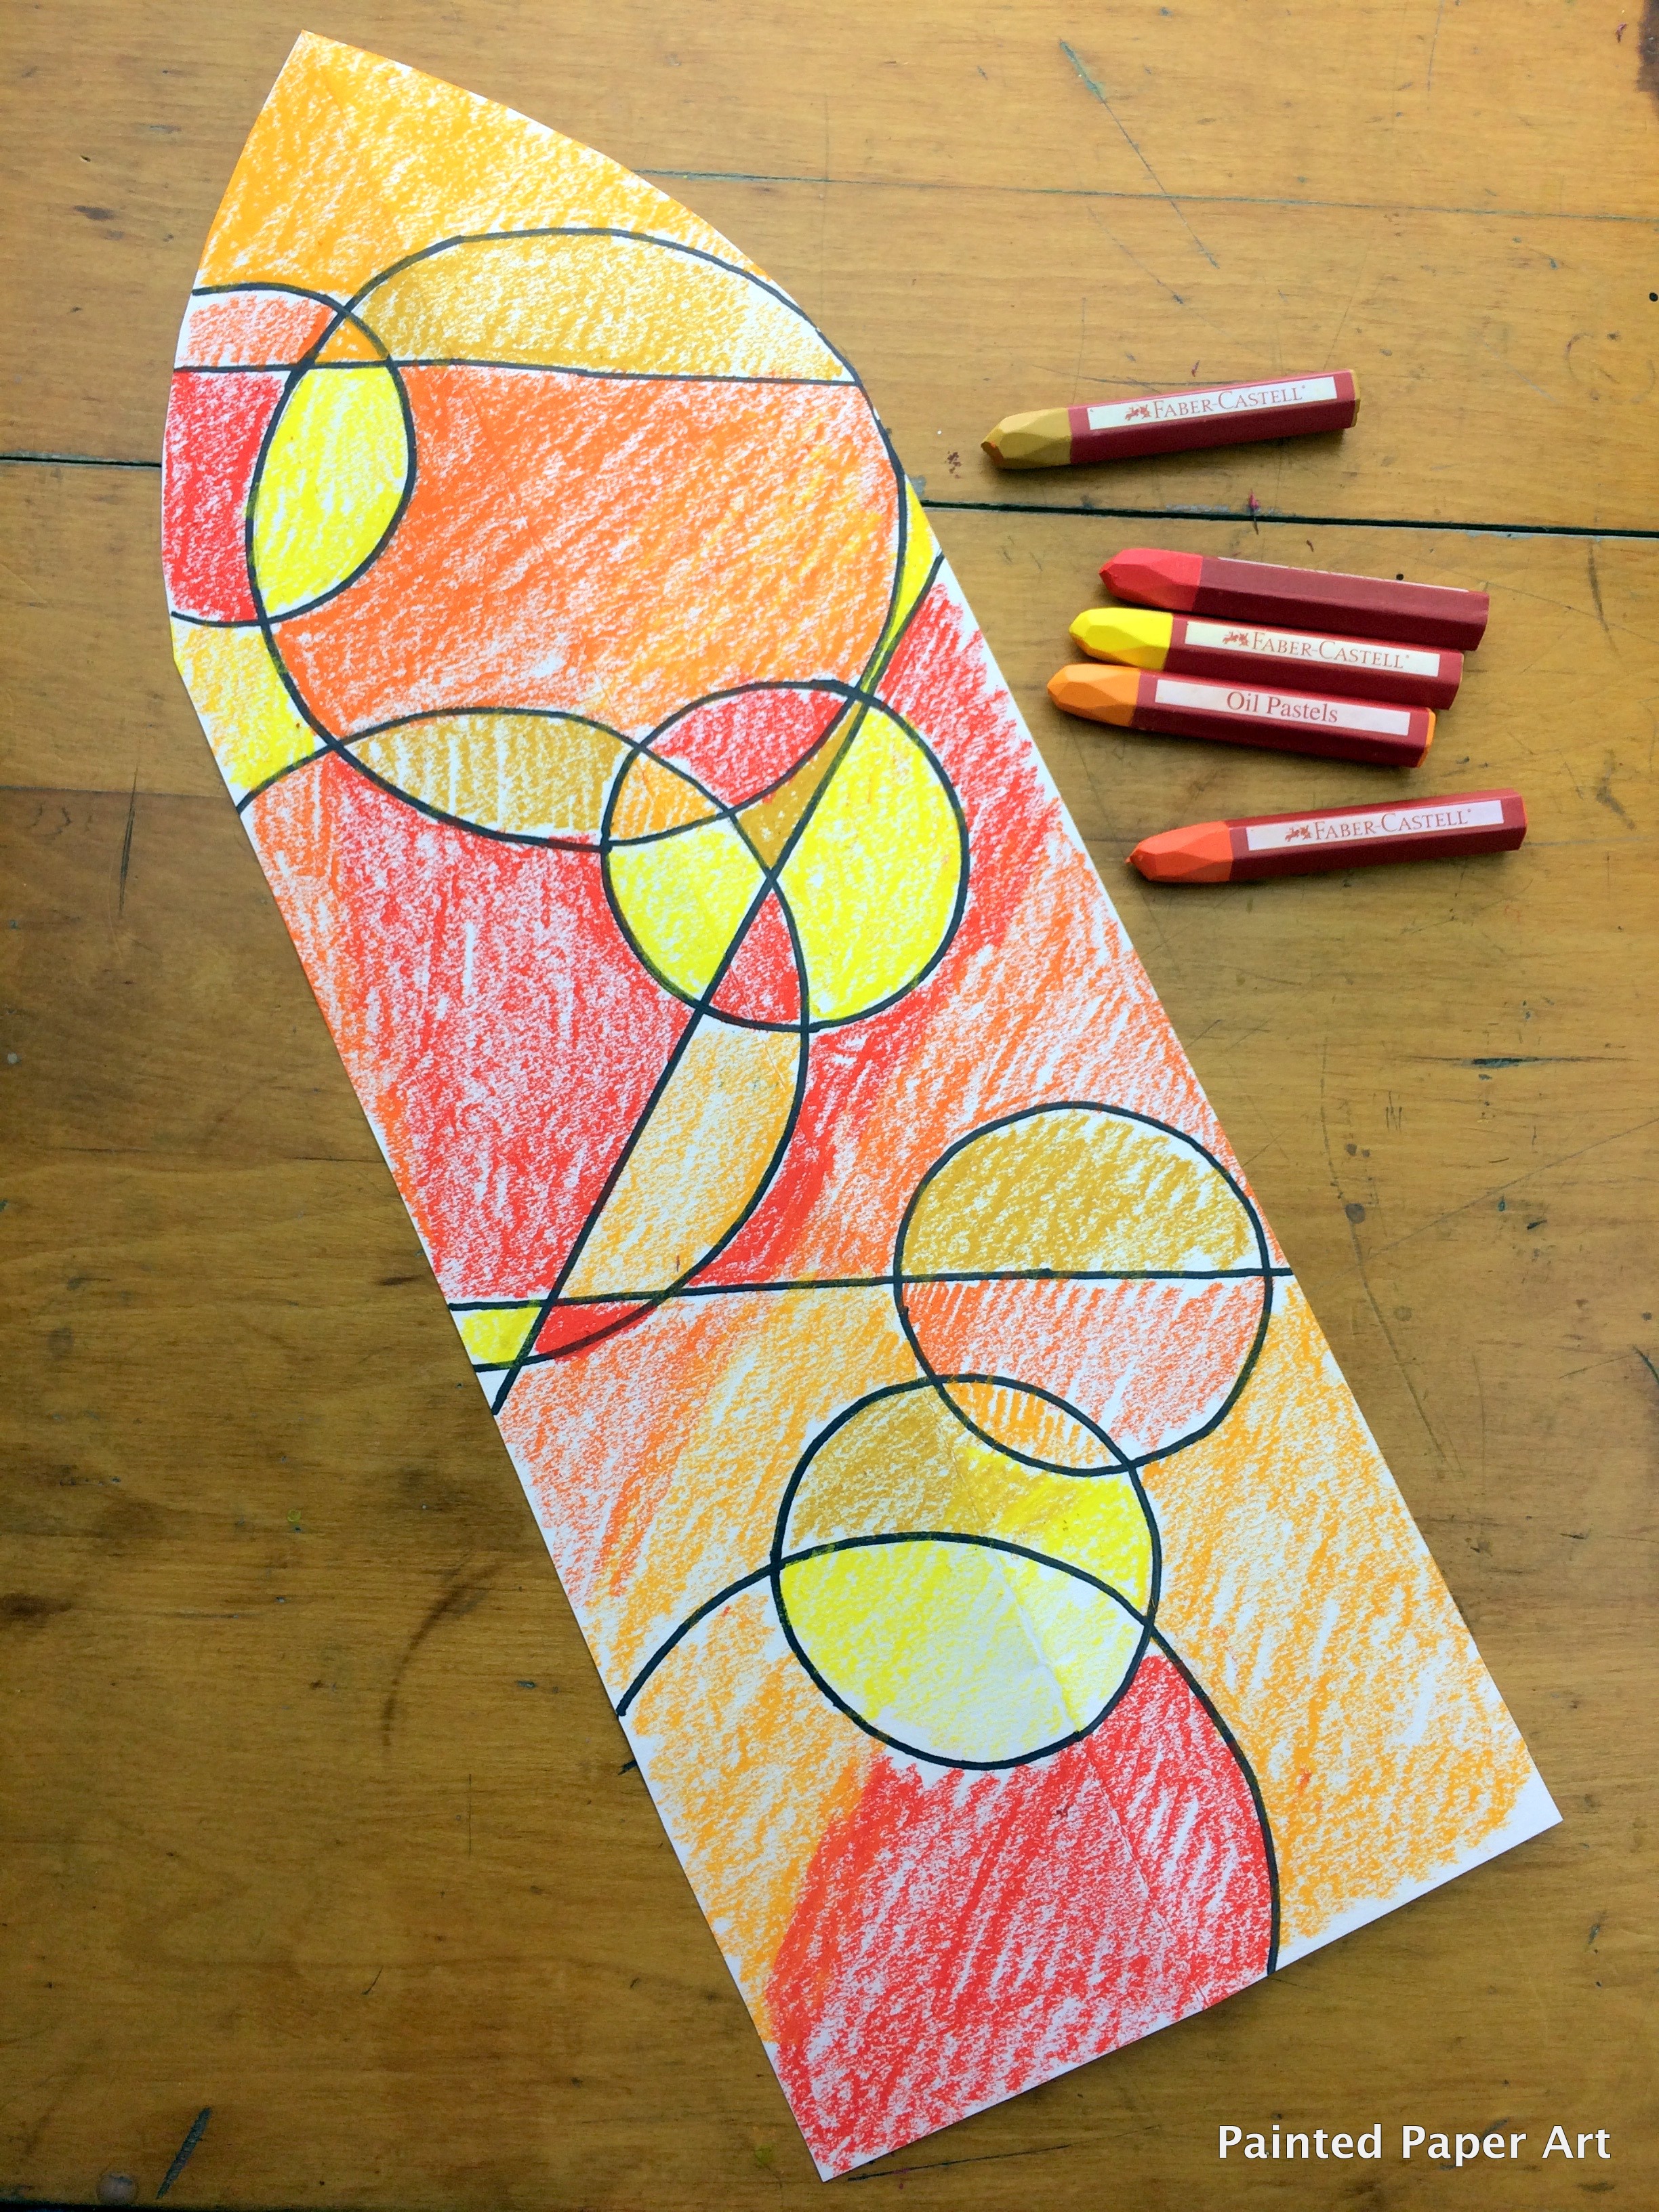
With 2-3 analogous oil pastels (colors next to each other on the color wheel), including the shade and tints of those colors, lightly color in the shapes making sure not to use the same colors next to each other. This creates a more pleasing piece of art.
Use a q-tip and dip once into a small container of baby oil or canola oil and gently blend the oil pastels in each shape. Make sure to start with all the lighter colors first then flip the q-tip and use the other end for the darker shades. This keeps the colors clean and vibrant and from blending into each other.
Display in a color wheel format for added interest.
Keep on Creating!!!
Laura