Painted Paper Trees
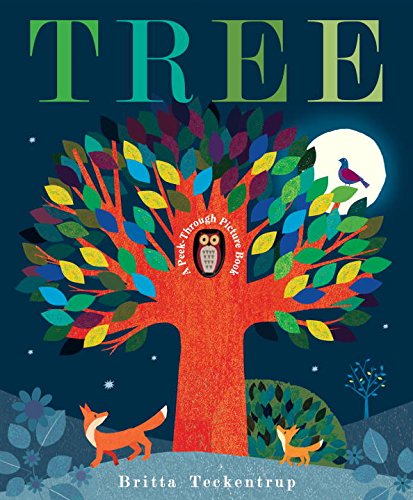
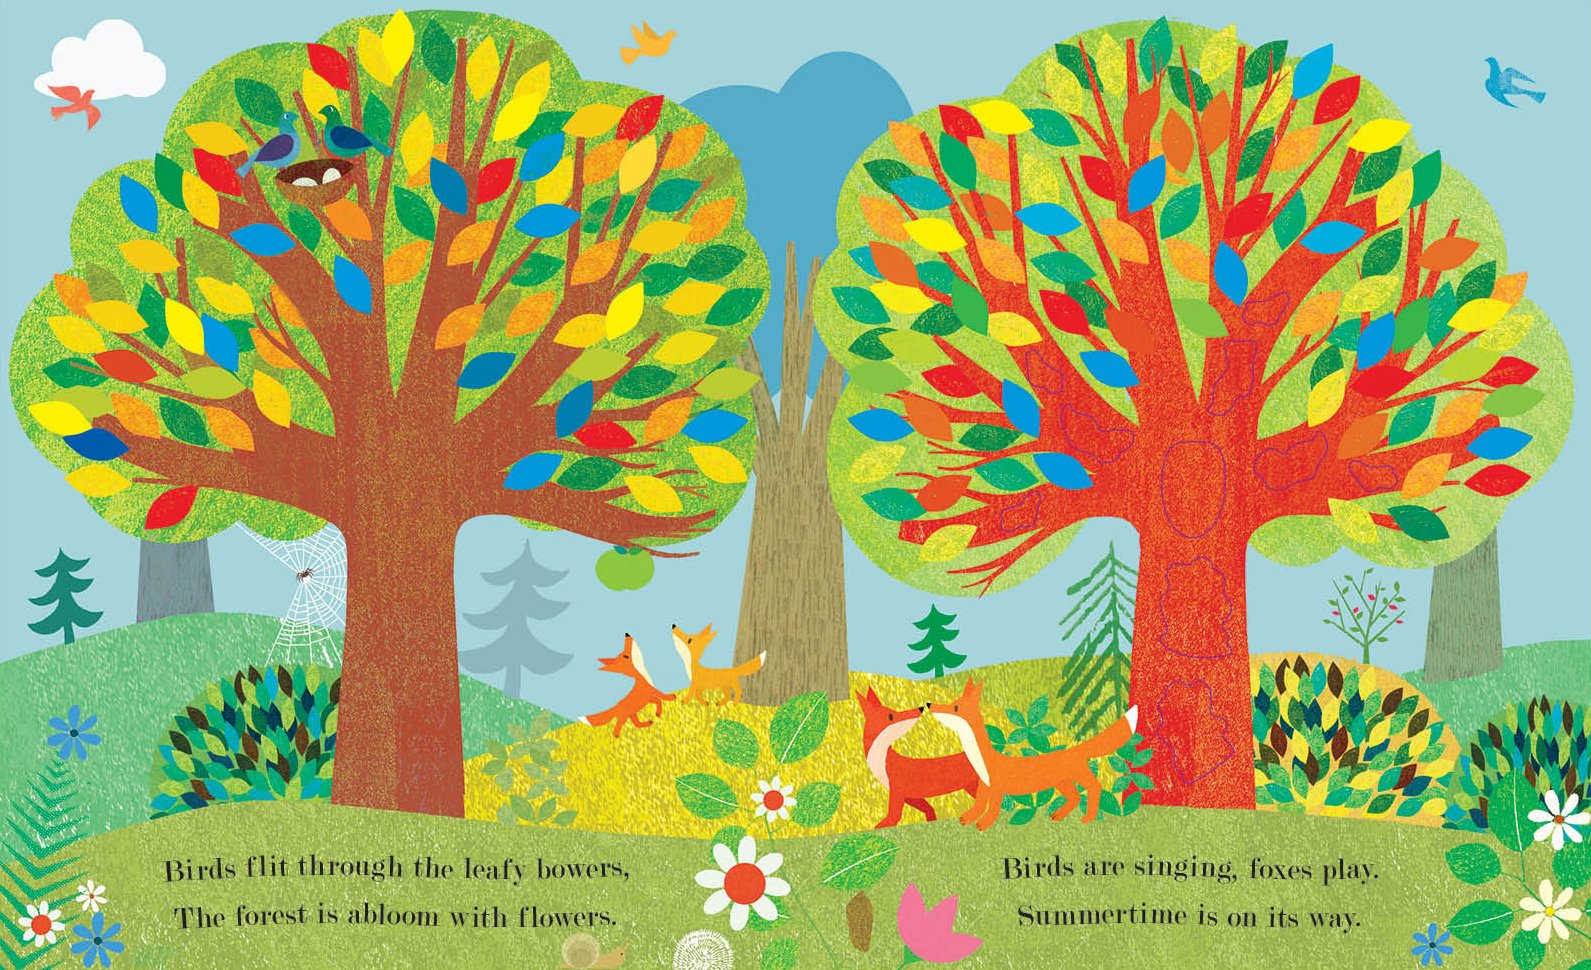
I always love seeing the beautiful fall projects that my little artists create. There are so many awesome books about Autumn. The book, TREE by Britta Teckentrup, is perfect for this art project. We created a painted paper tree with all of our various painted papers.
Inspiration
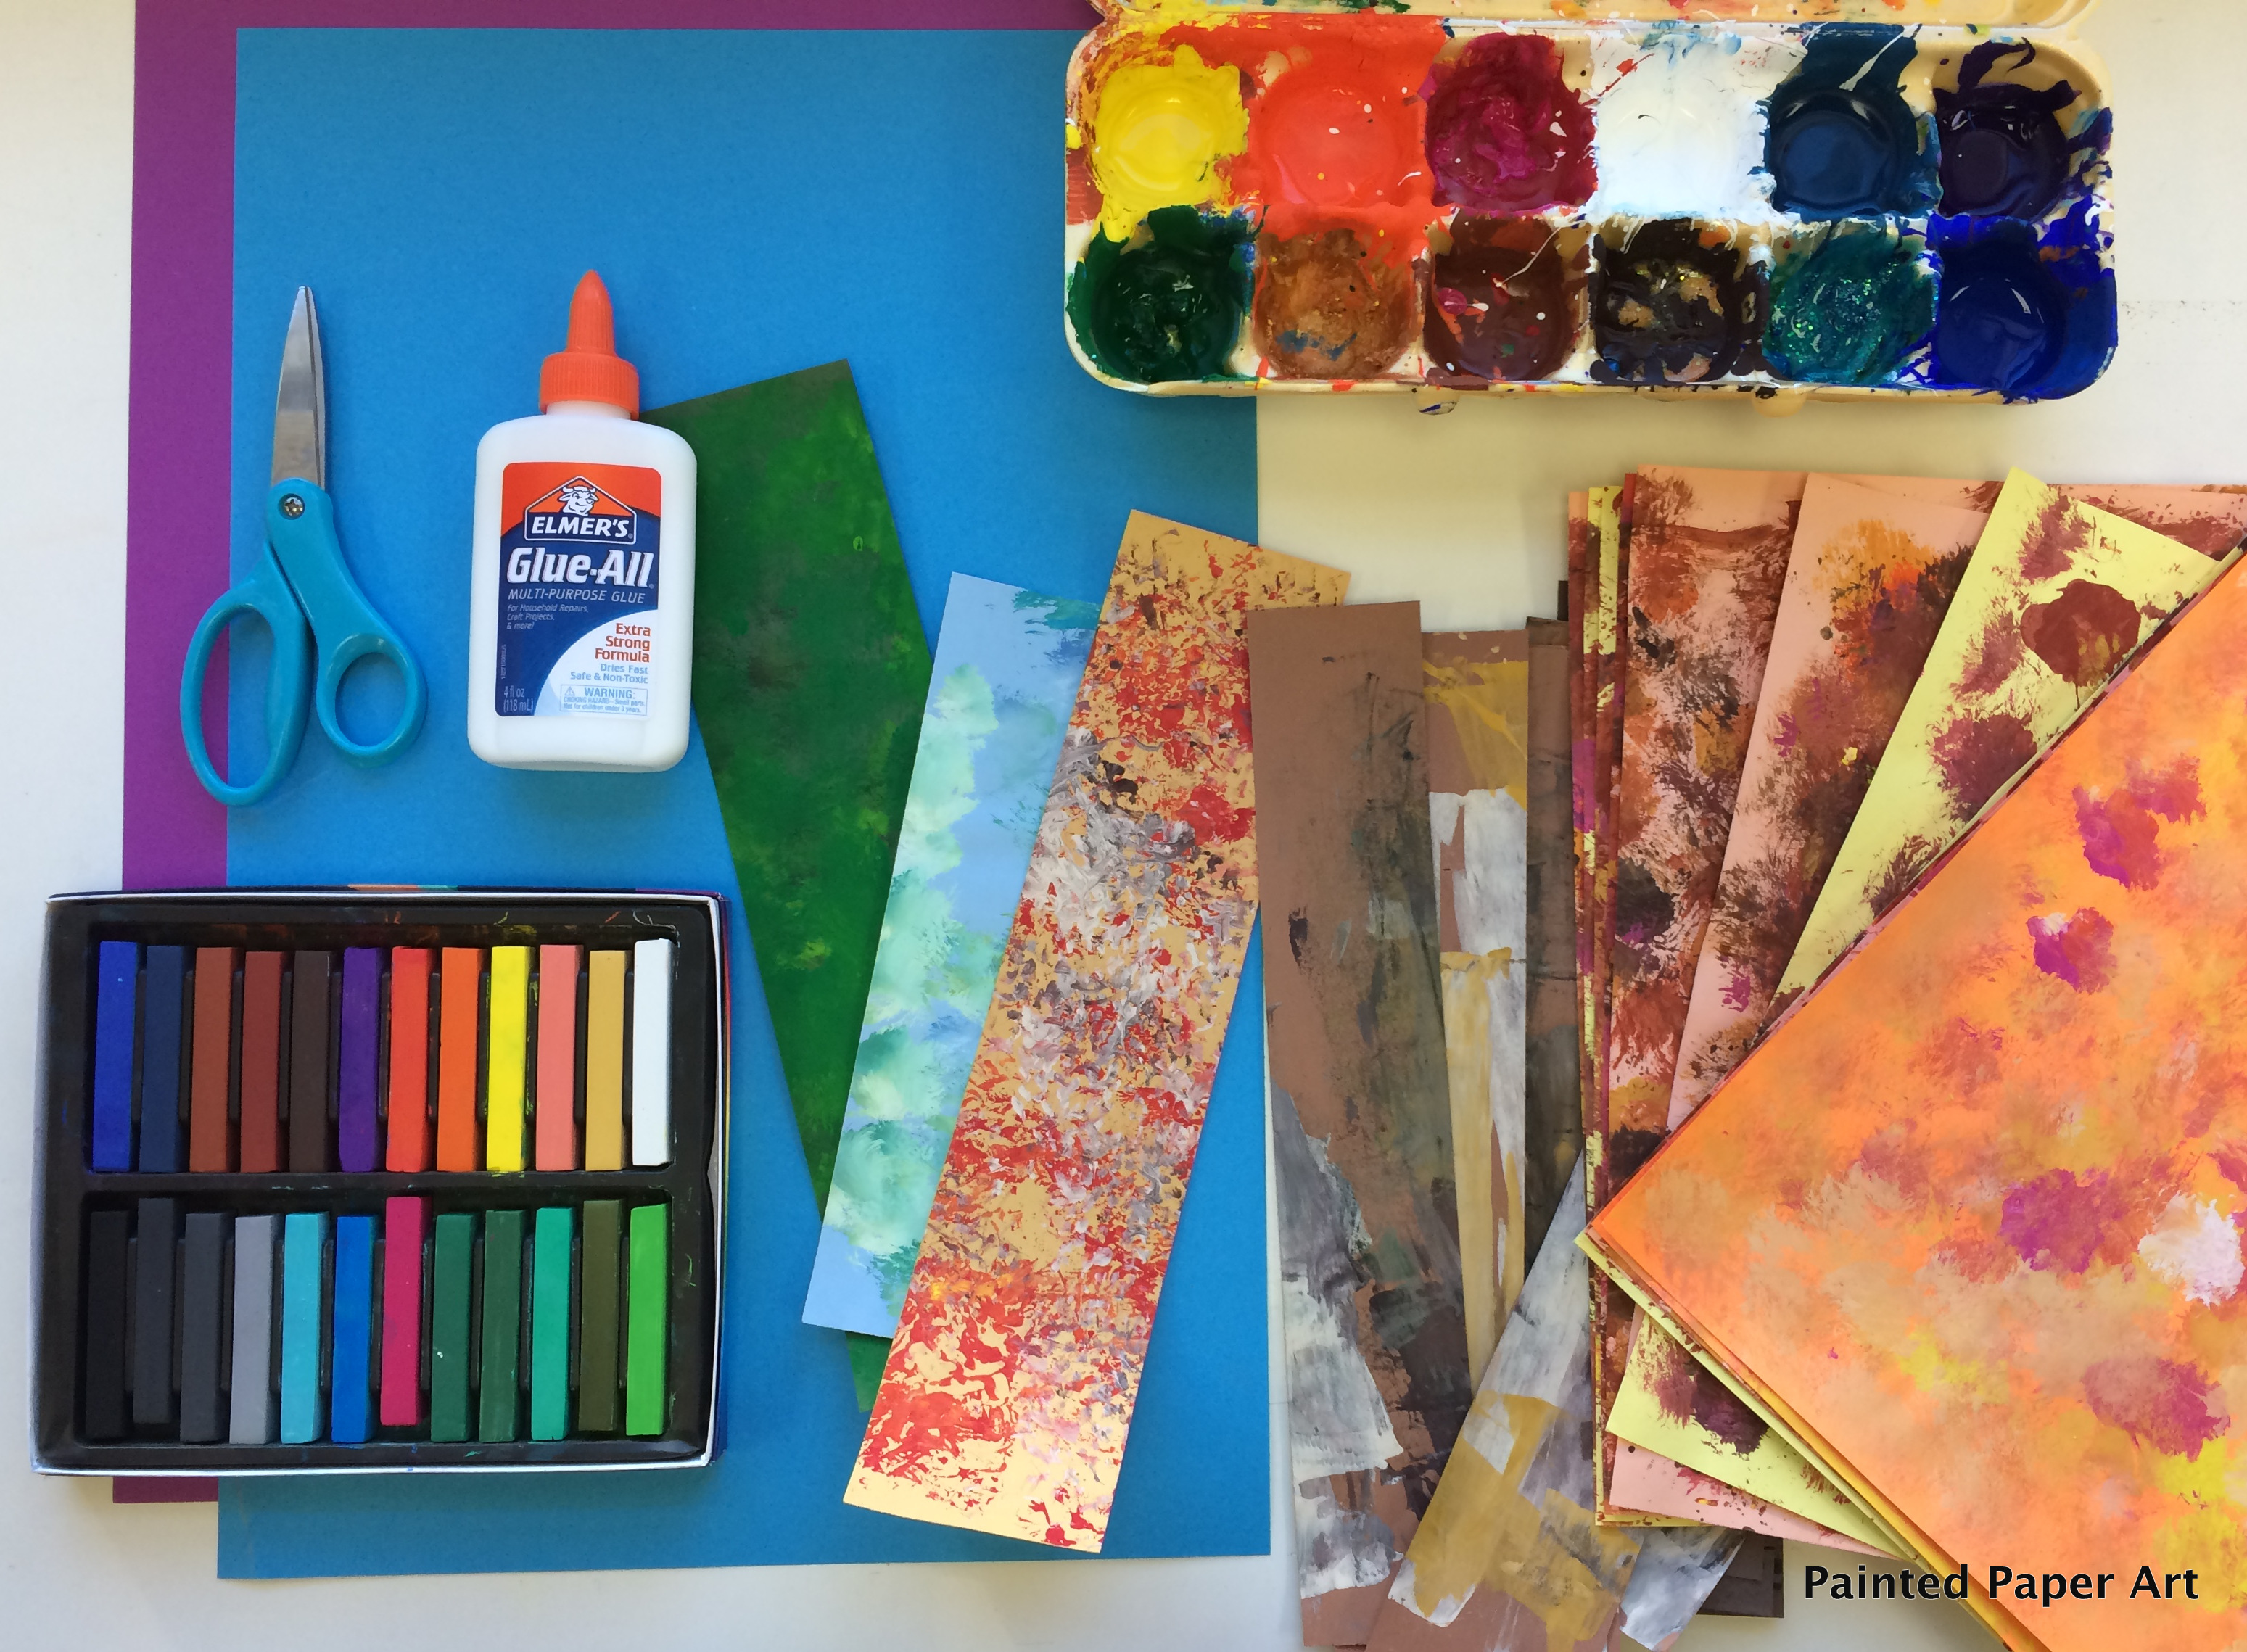
Supplies Needed:
Step 1
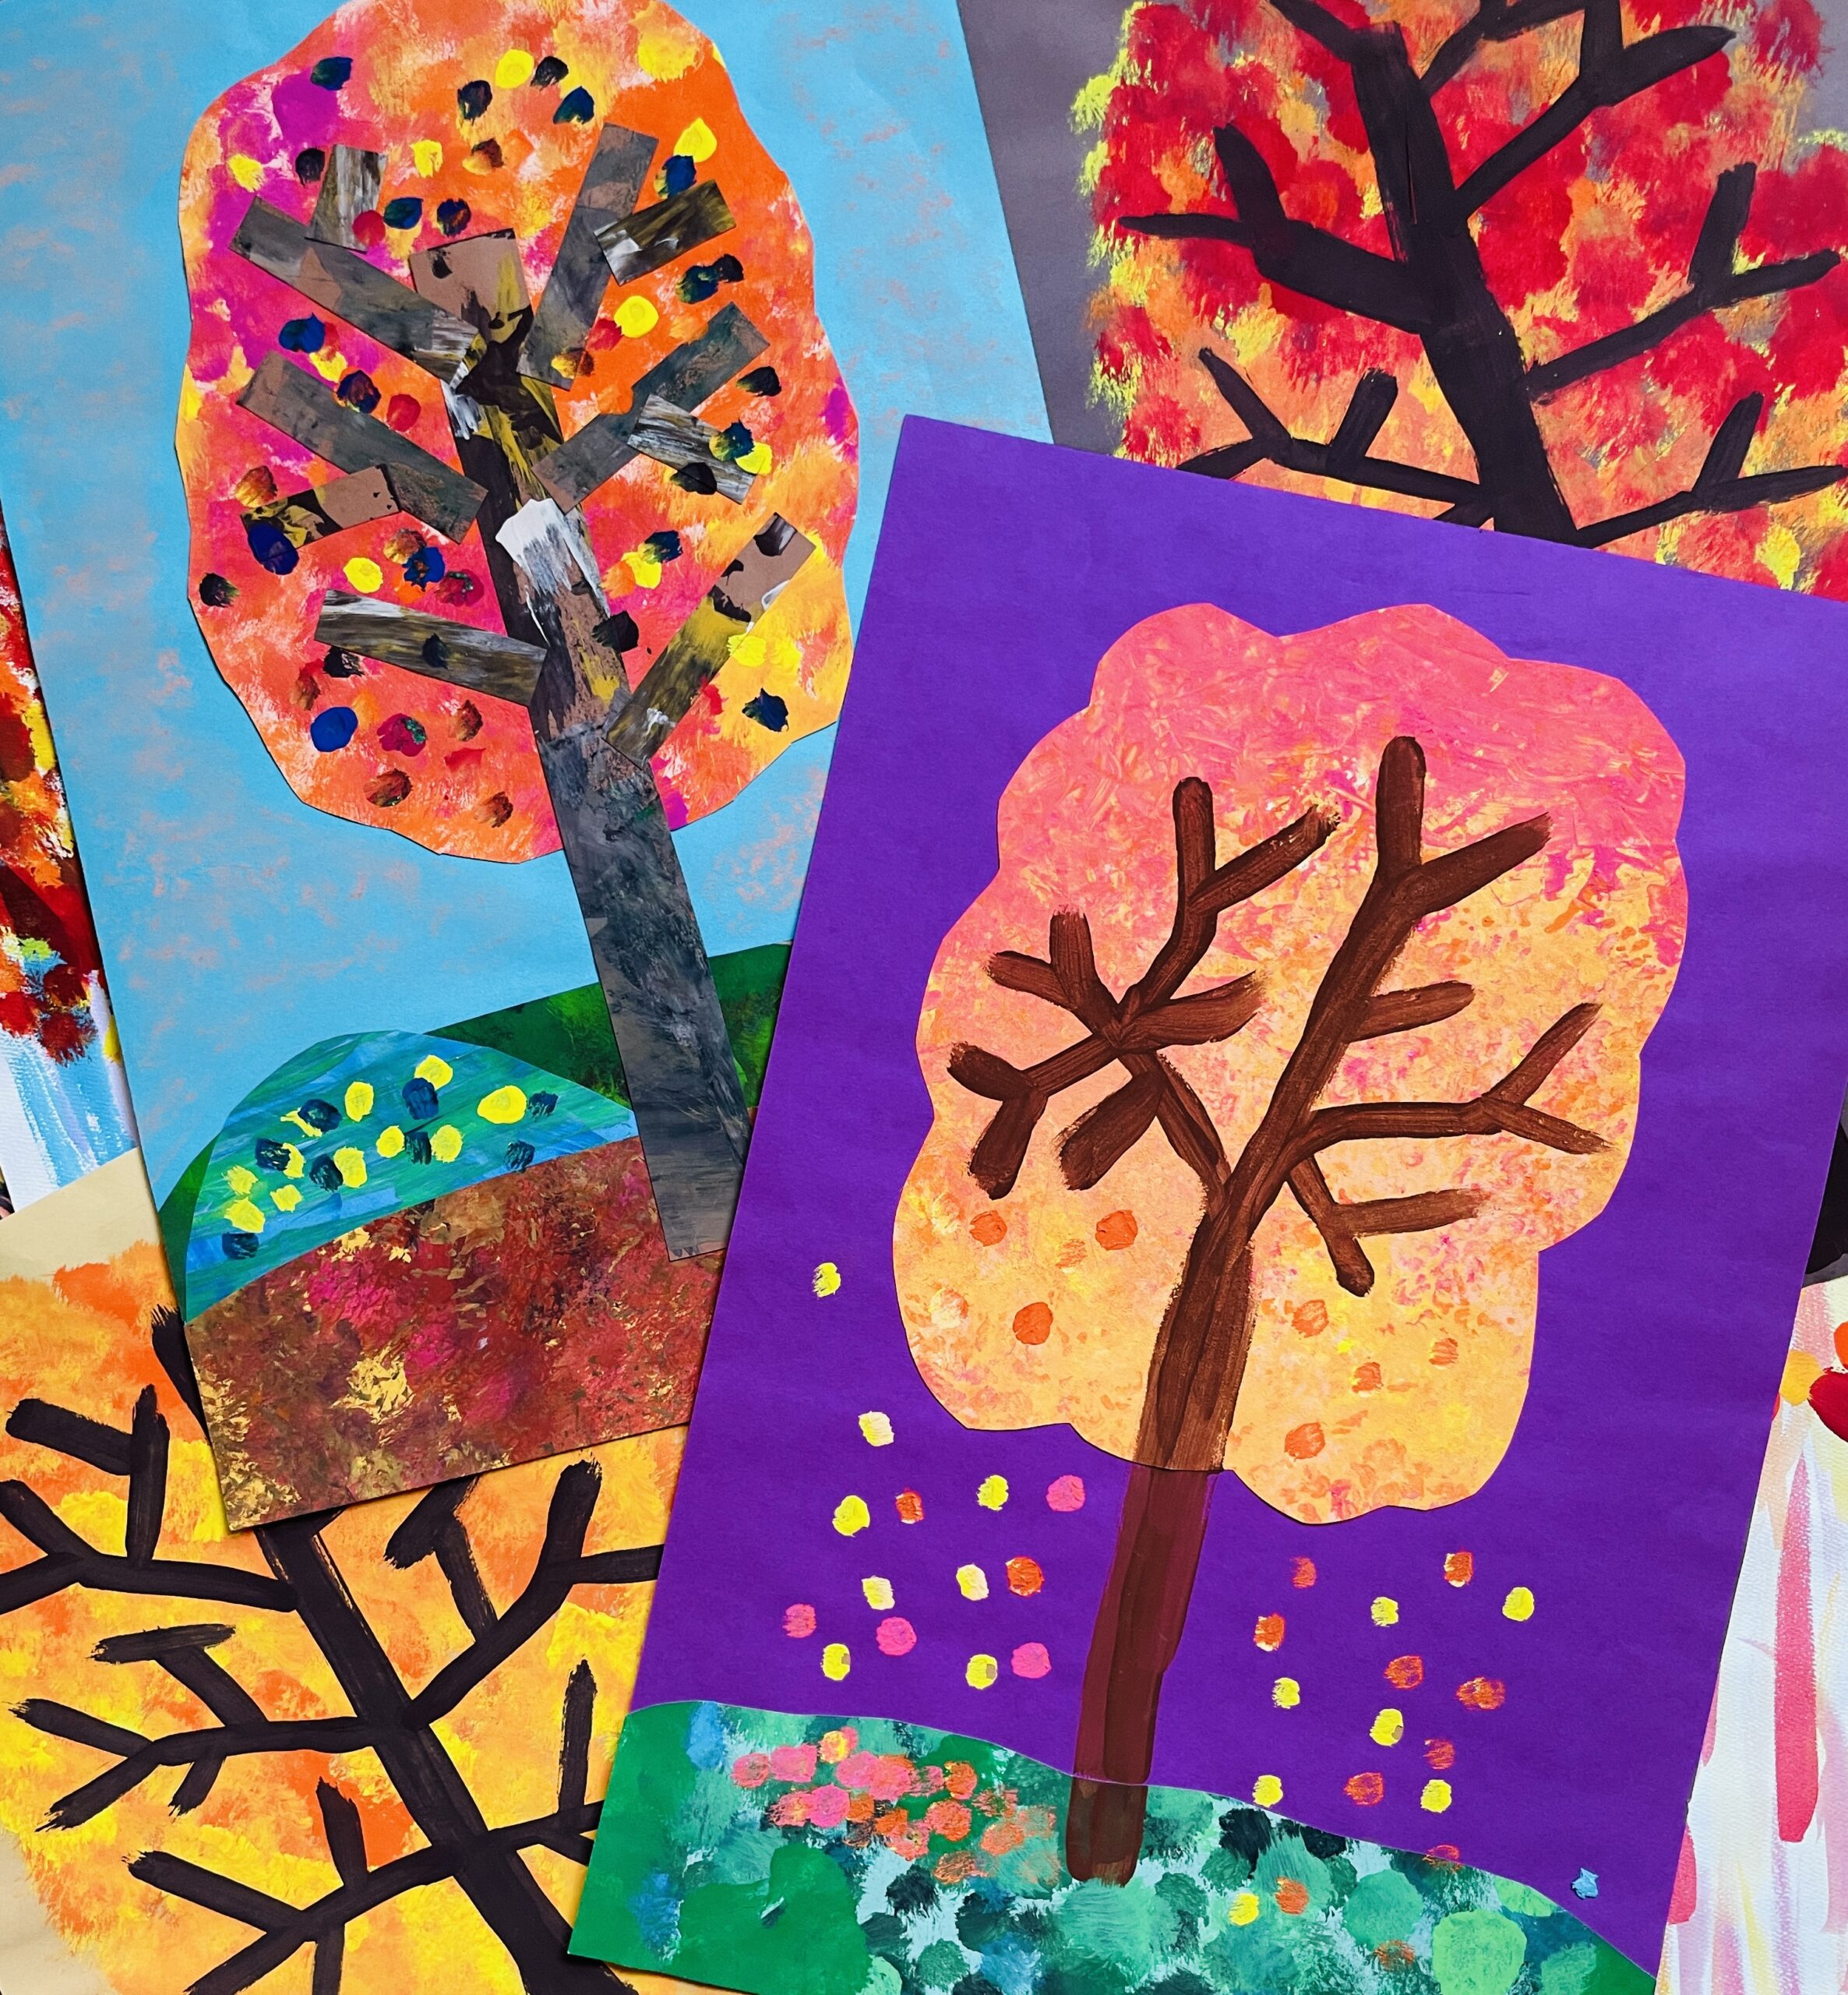
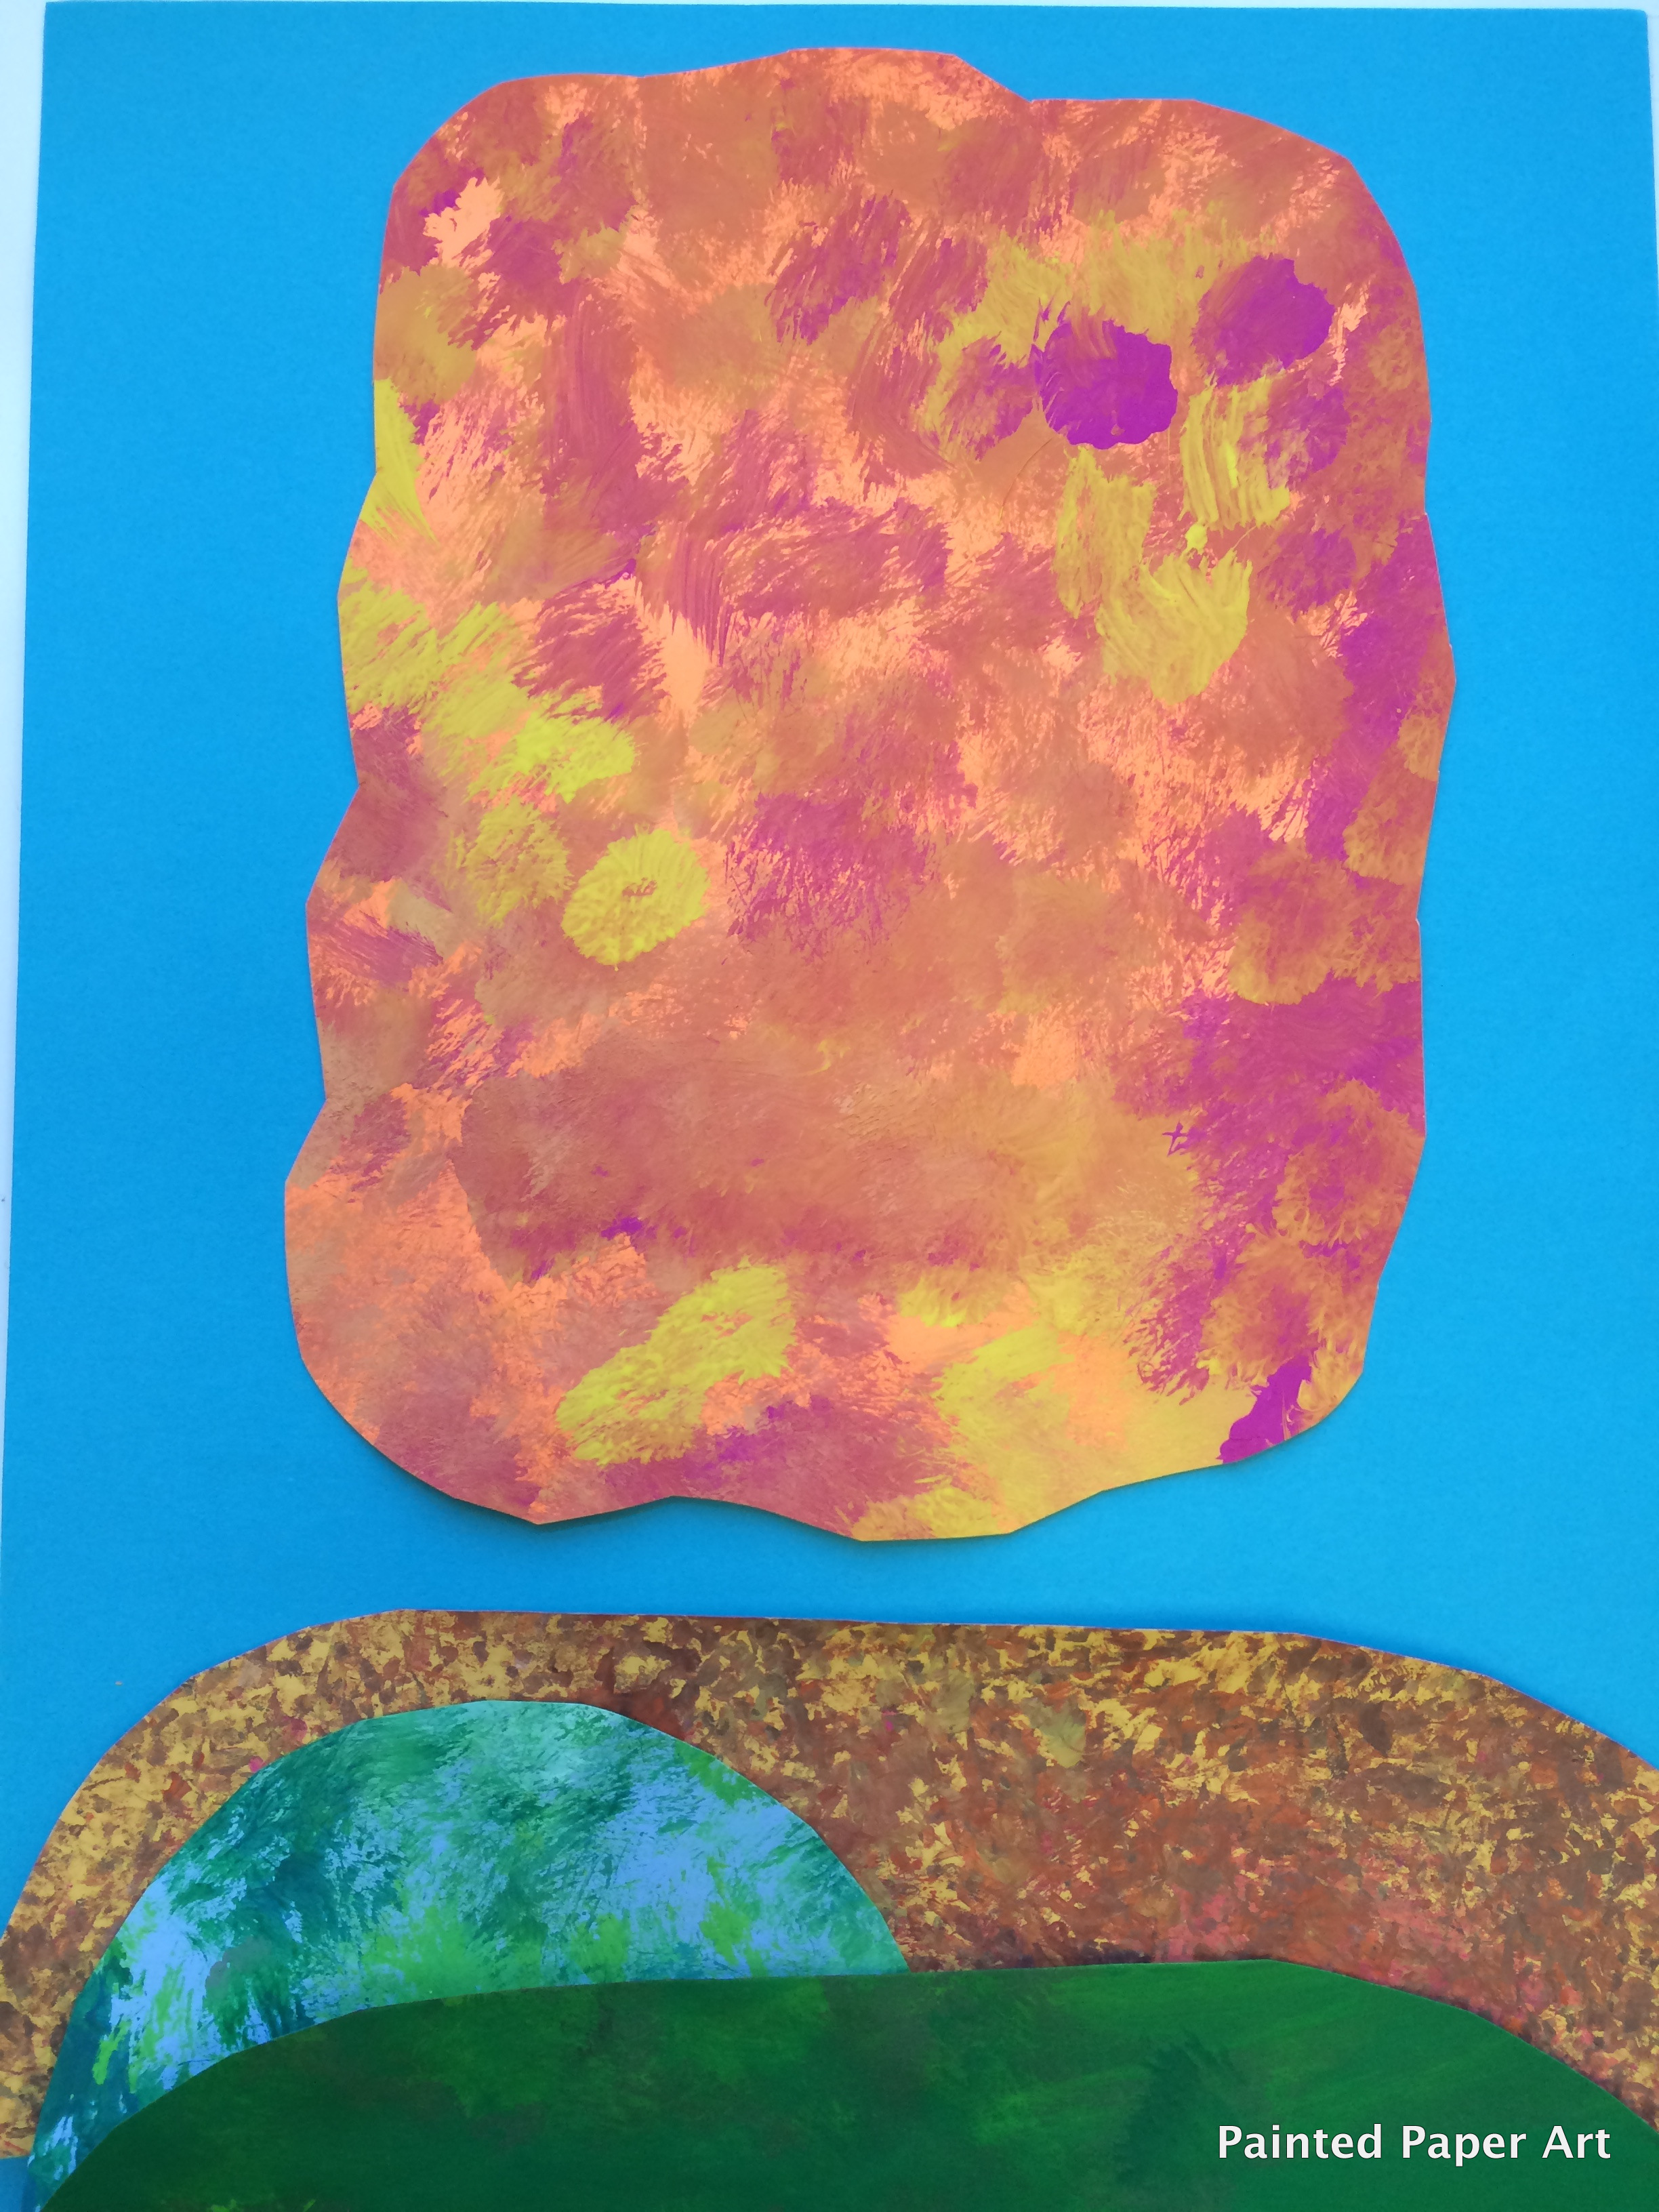
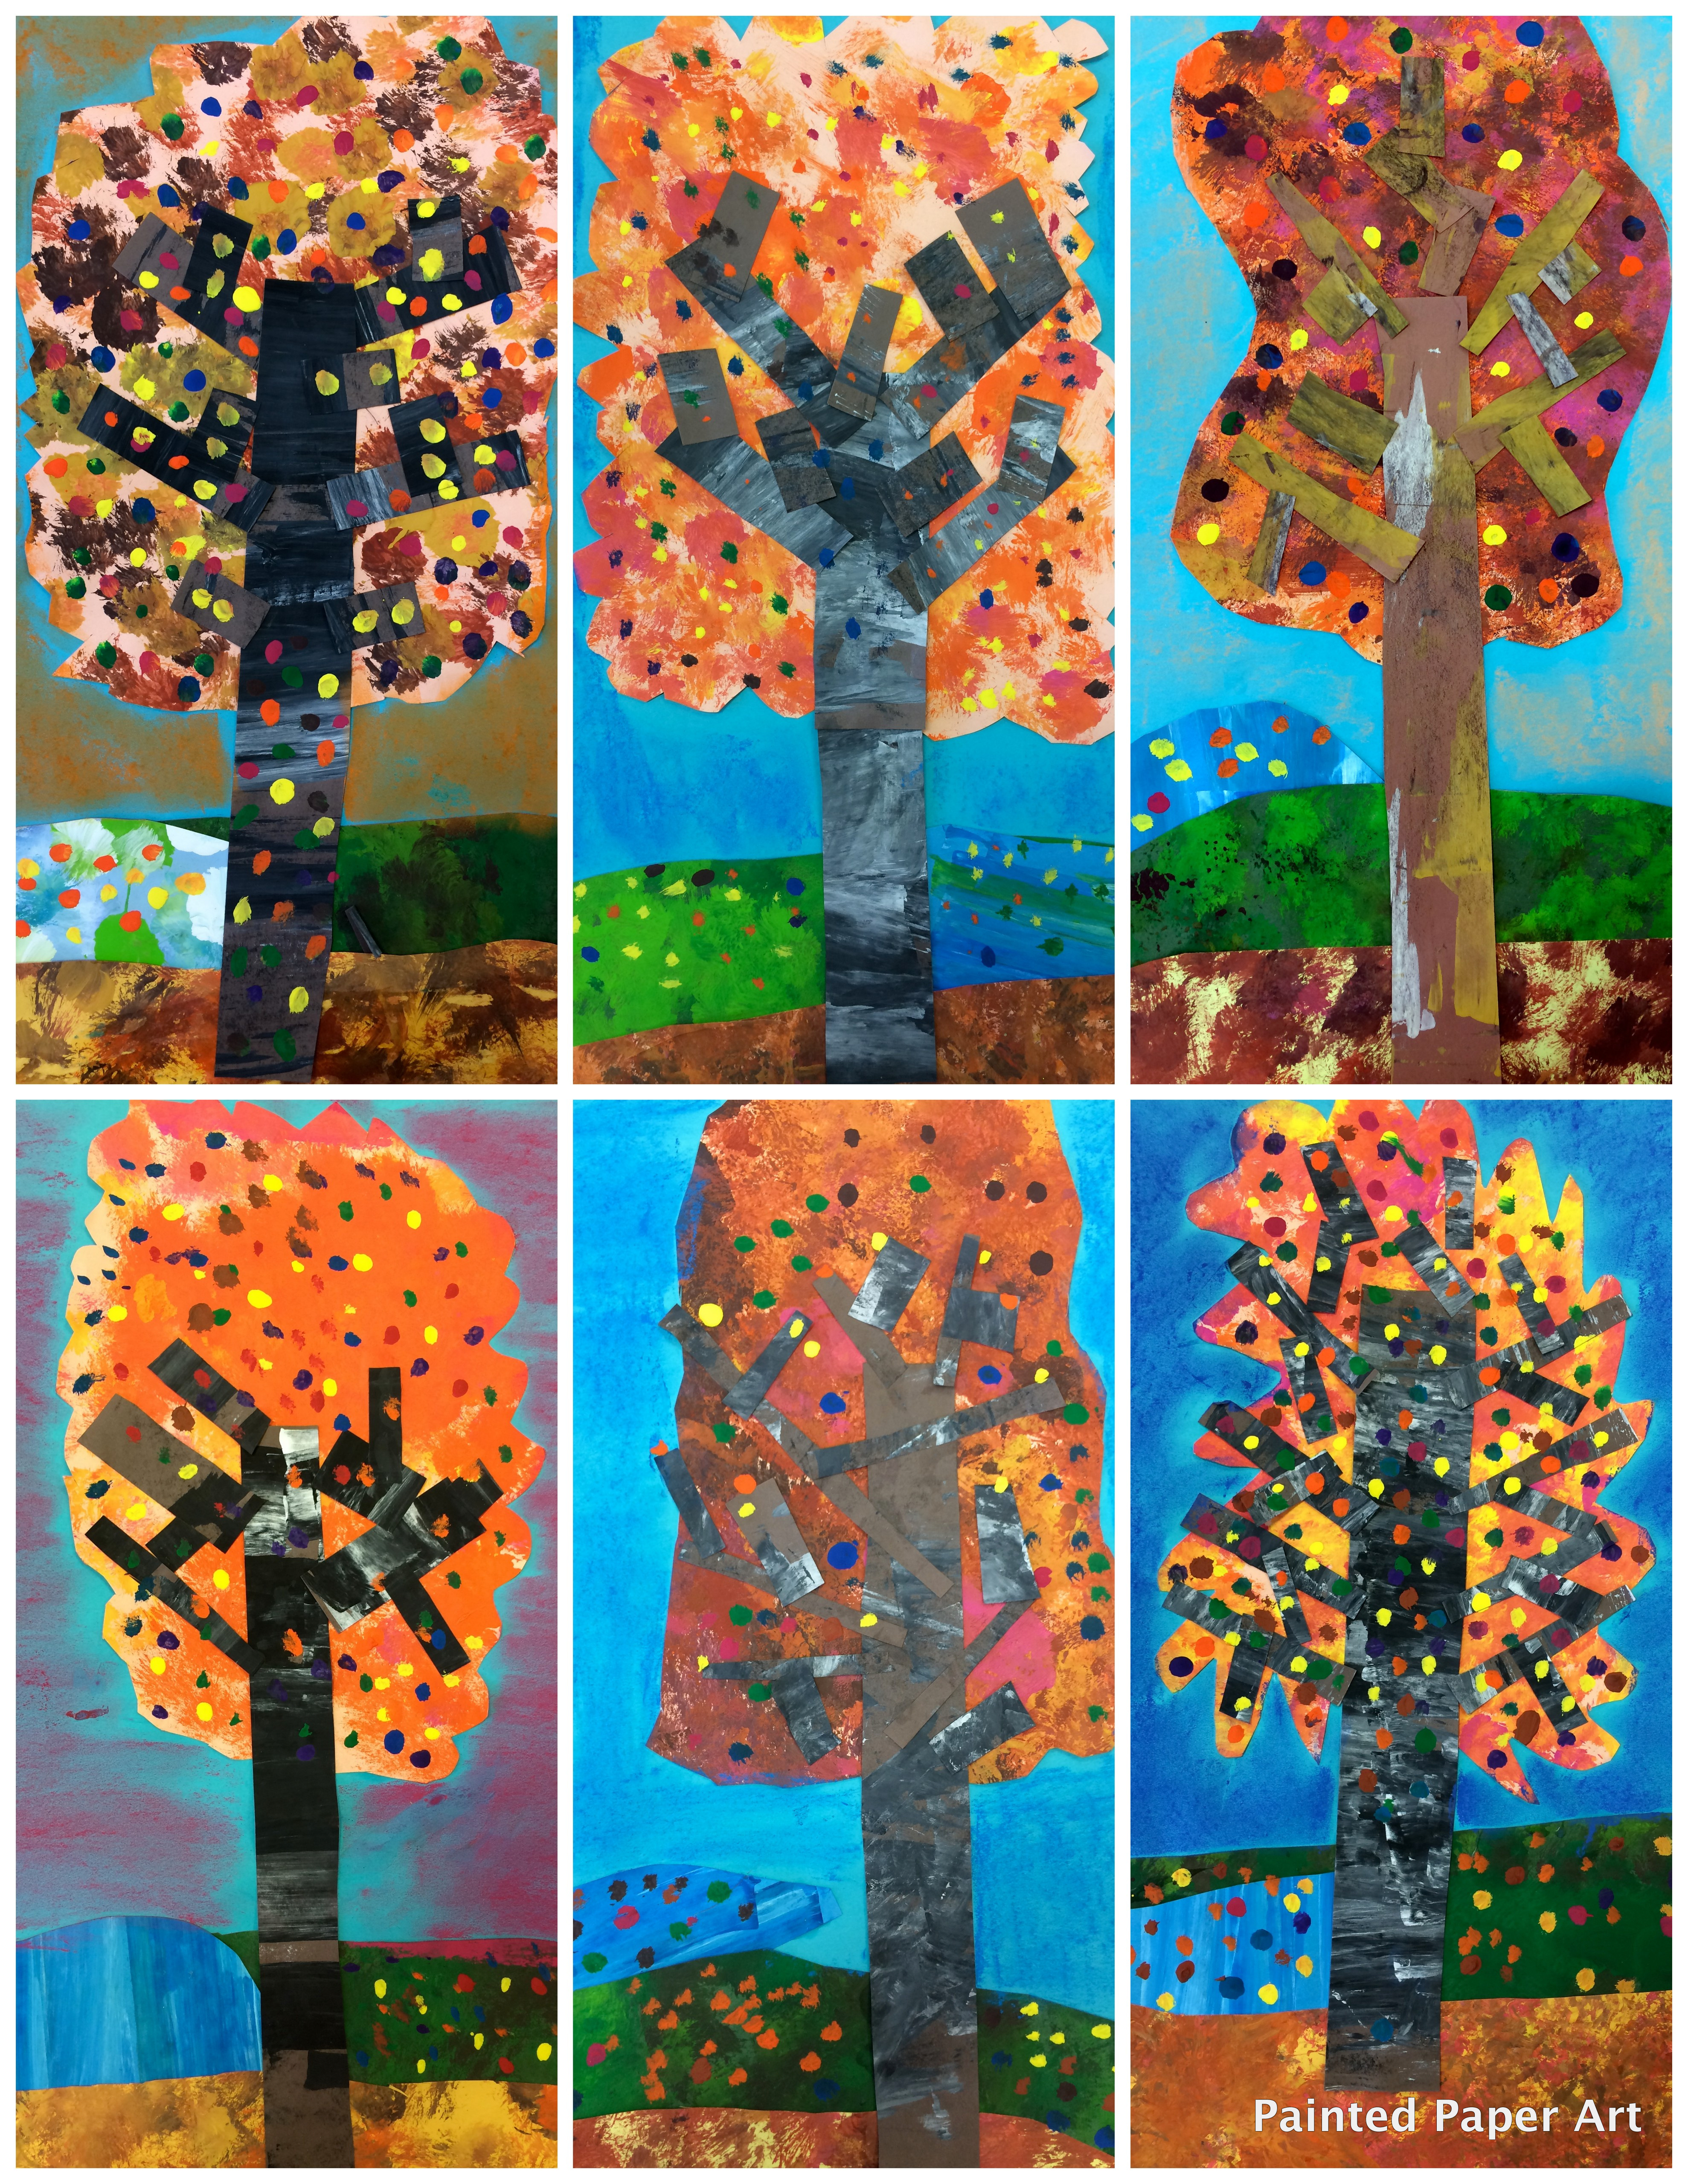
- Hills. Using a couple of small rectangle pieces of paper, trim the top corners of the paper to create hills. Overlap the shapes and glue at the bottom of a colored “12 x 18” pieces of construction.
- Tree Top. Cut a large “cloud” shape out of painted paper to represent the top portion of the tree.
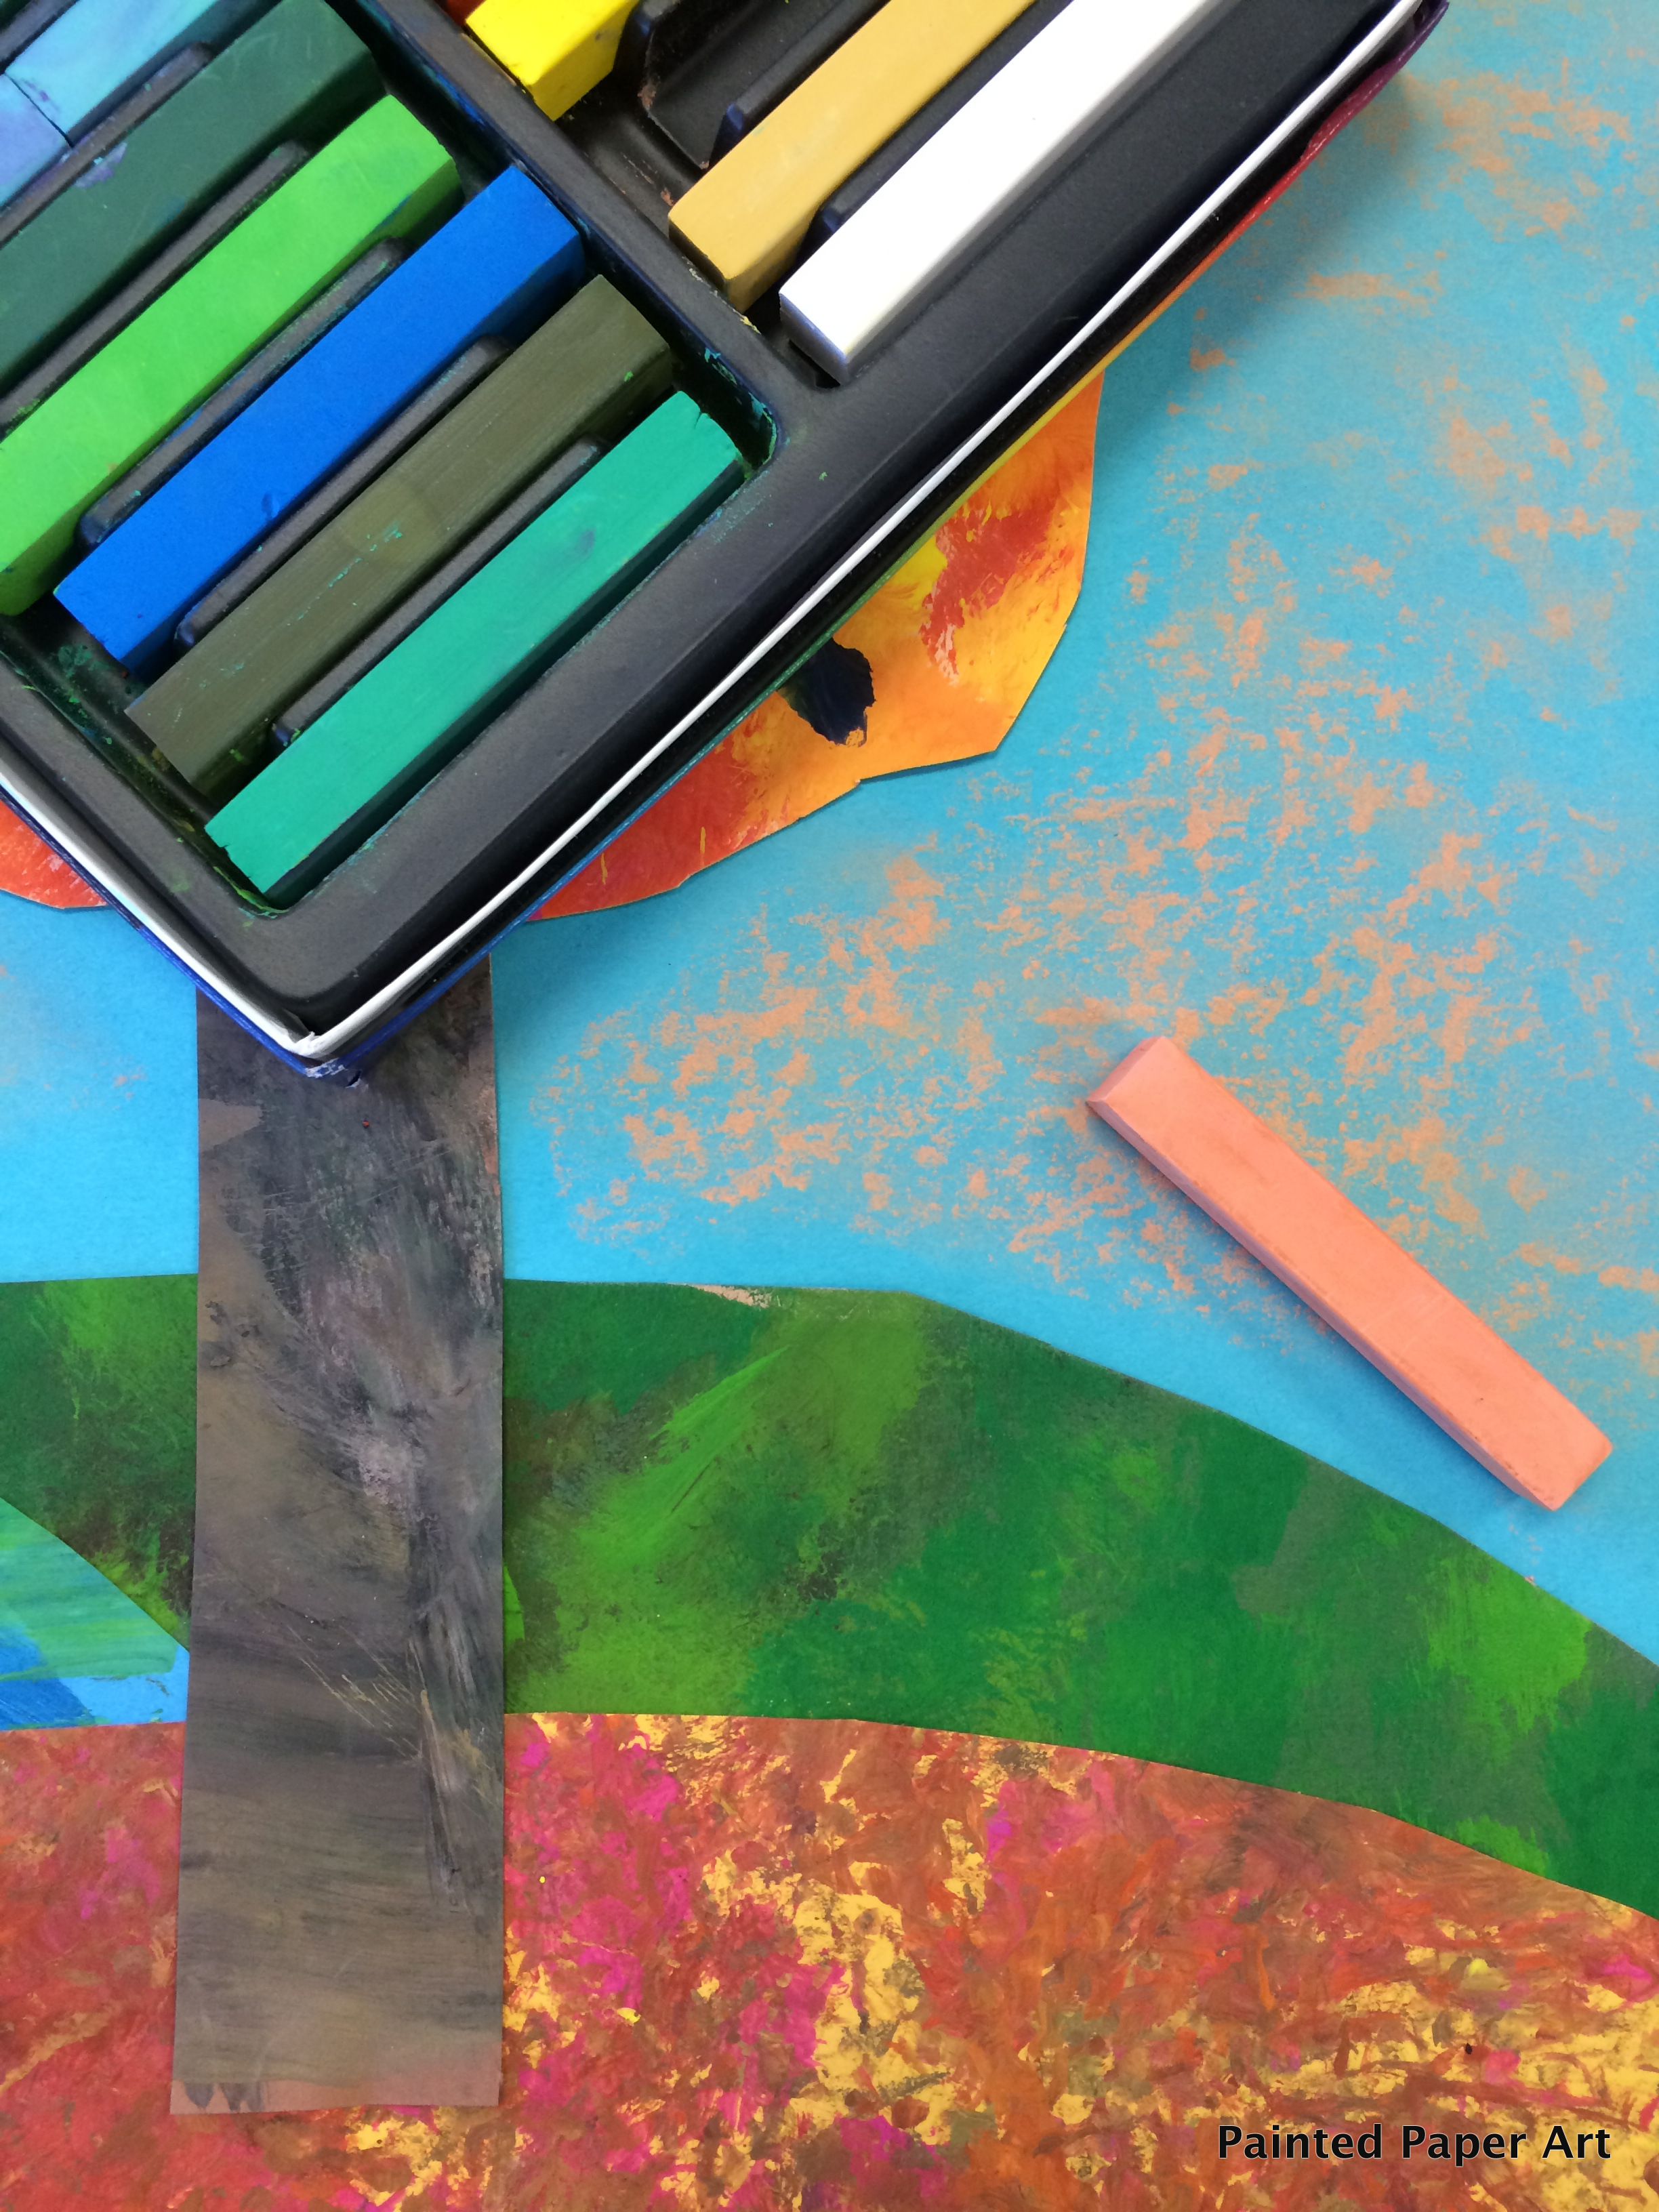
3. Trunk and Branches. Cut a couple of strips of dark shaded painted paper into pieces of a tree. A long strip represents a trunk and short pieces represent branches.

4. Using one color of chalk, lightly shade and blend in the background area for added interest.
5. Leaves. Using small brushes and various colors of tempera paints, add small dots. These dots represent leaves. Make sure to put a few in a tree and some on the ground.
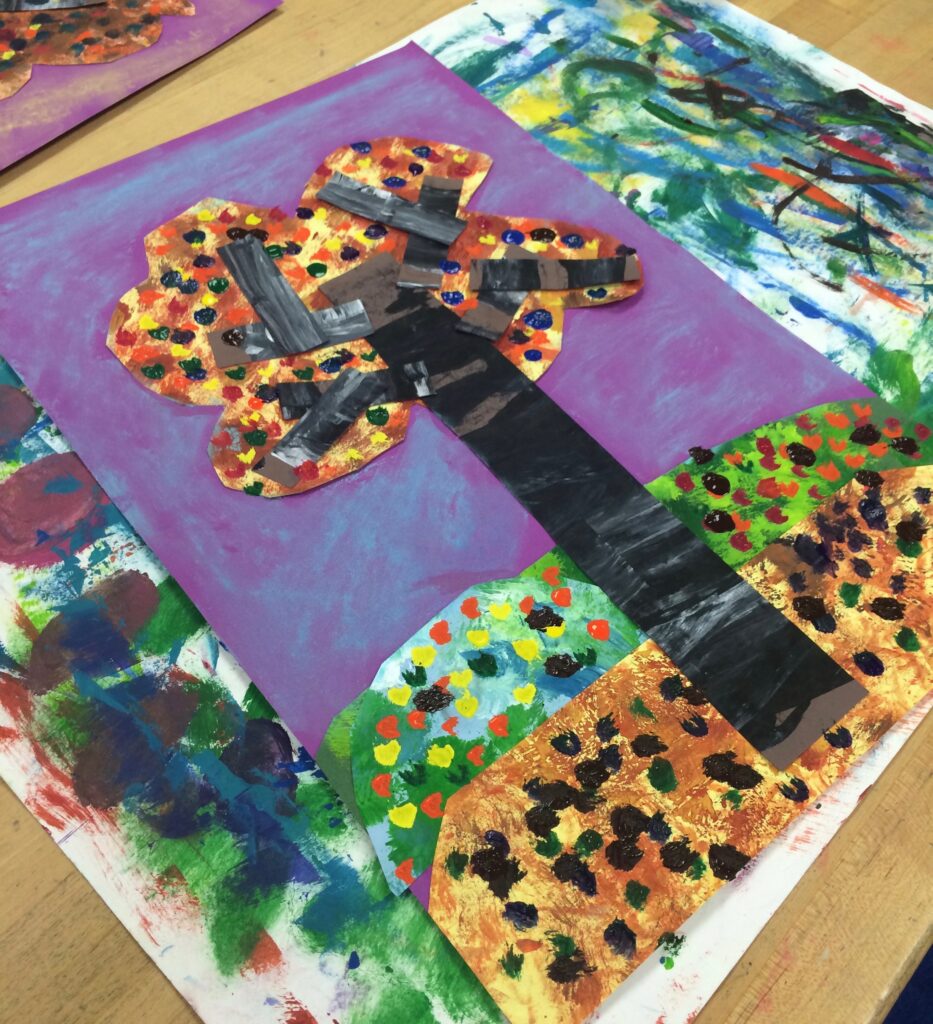
6. Let the paintings dry. Display with fun painted paper leaves.
Gallery
Thanks for stopping by!


1 Comments
Snippety Gibbet
October 1, 2016 at 9:02 pm
These turned out beautifully.